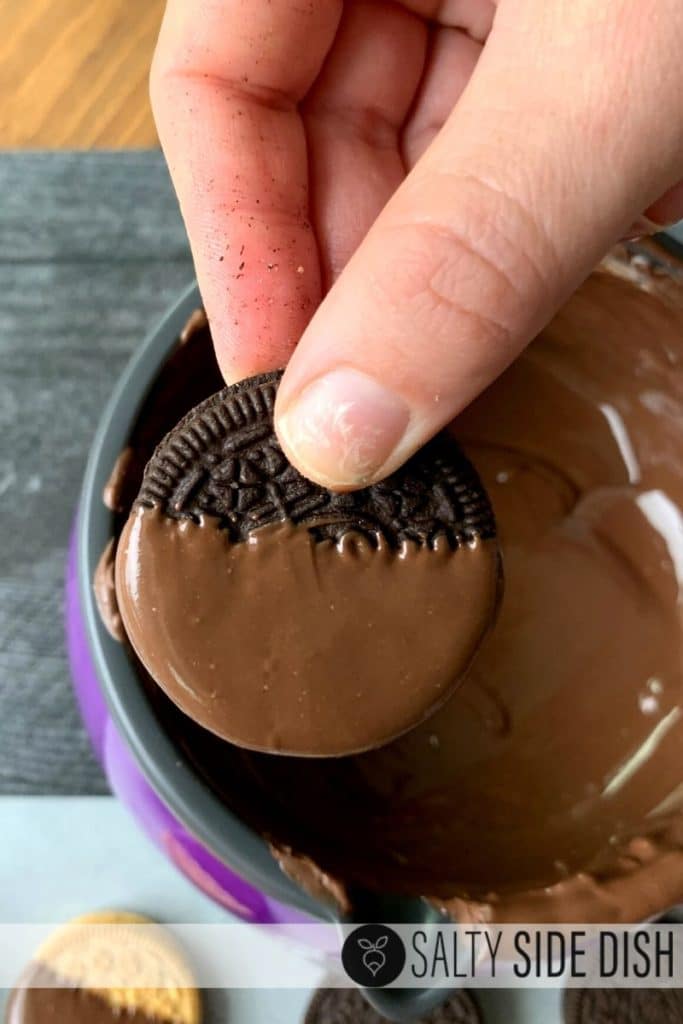
How to Dip Cake Pops and Cake Balls in Chocolate
If you have ever had a cake pop fall off the stick halfway through dipping, or watched perfectly smooth candy coating turn thick before you finish the batch, you already know that dipping is usually the trickiest part of making cake pops.
The good news is that most dipping problems have a pretty simple fix. The type of coating you use, how warm it is, how cold your cake pops are, and even the container you dip them in can make a huge difference.
I use these same basic techniques for cake pops, cake balls, Oreo truffles, and other bite-size treats. Once you get the coating consistency right, the rest goes pretty quickly.
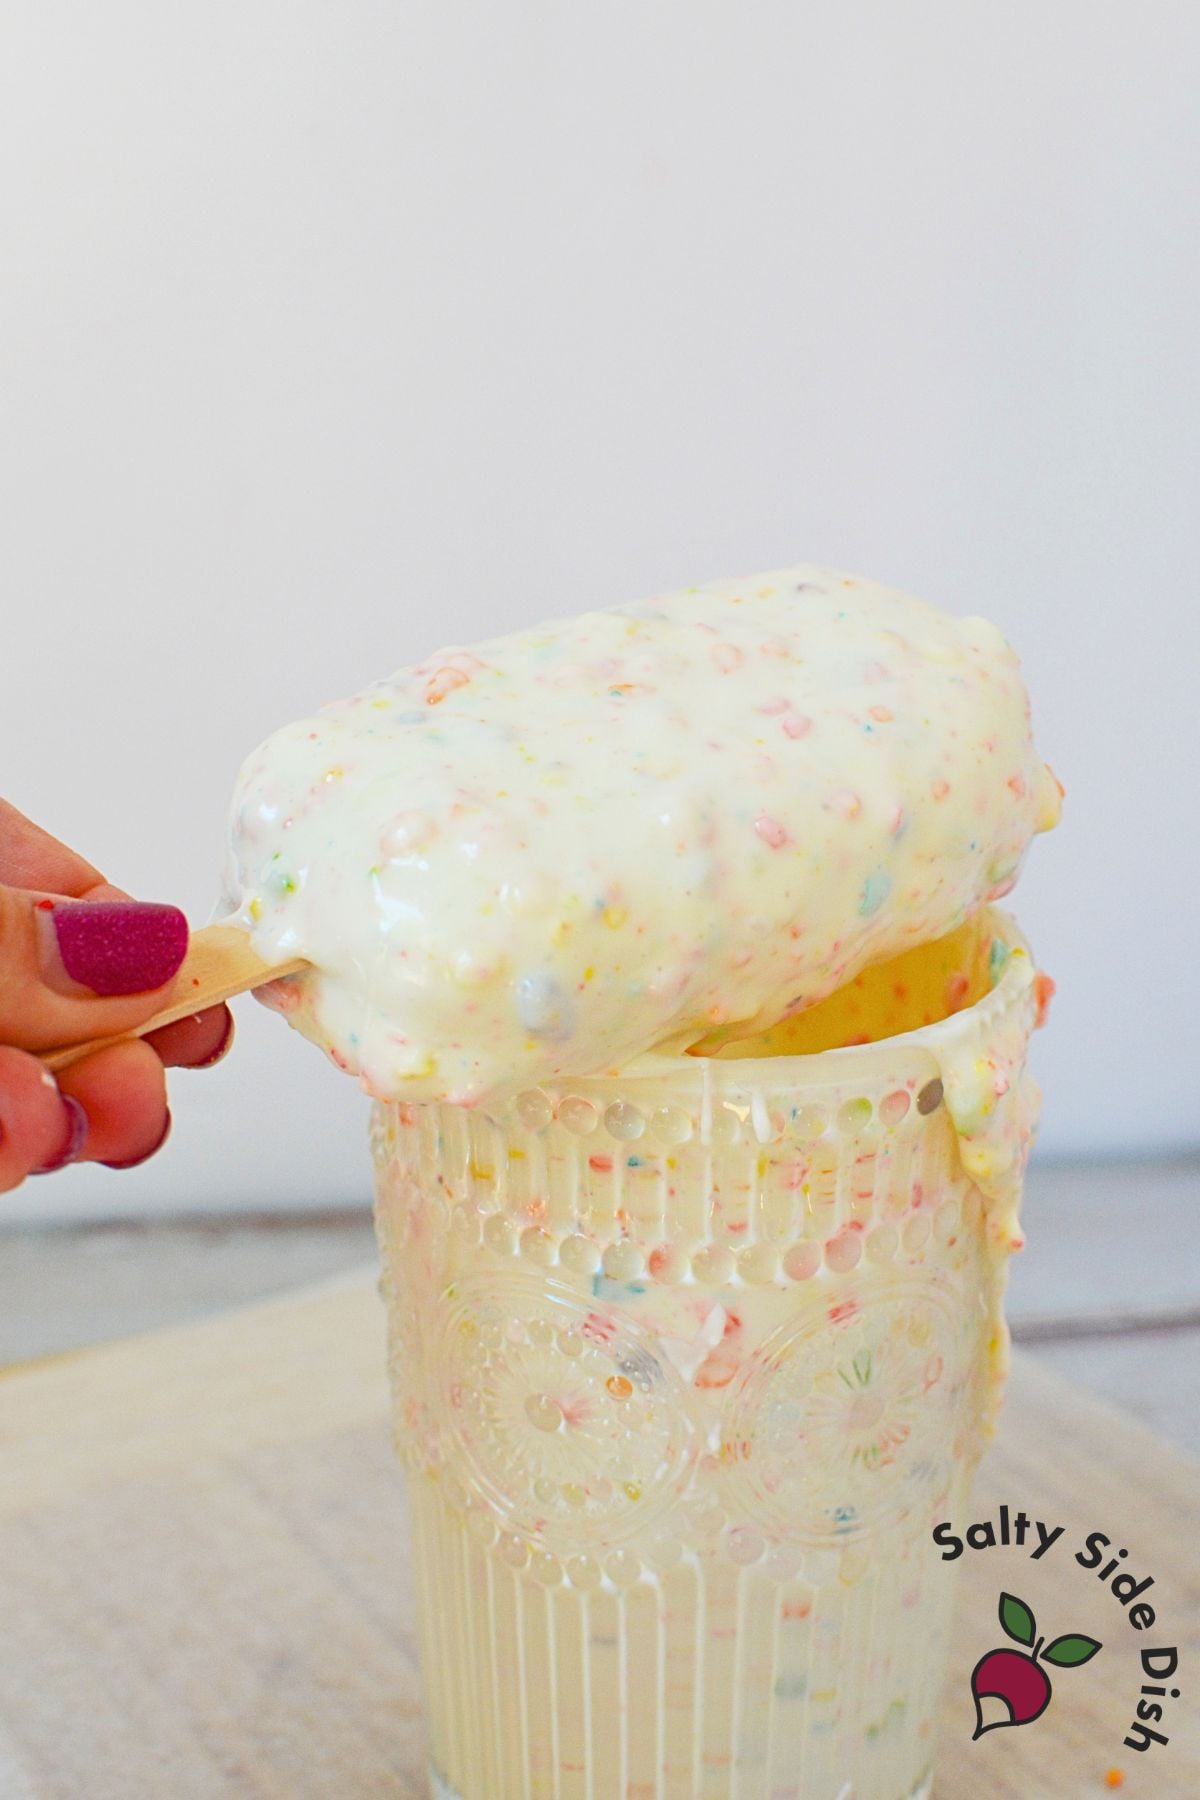
Chocolate vs. Candy Coating for Cake Pops
First, a quick clarification because we tend to call everything “chocolate” when we are dipping treats.
For most of my cake pops and truffles, I am actually using almond bark, CANDIQUIK, melting wafers, or candy melts. These are candy coatings rather than traditional chocolate, and they are much easier to work with because they melt smoothly and set without needing to be tempered.
You can certainly use real chocolate, but if you are just learning how to dip cake pops, candy coating is usually the easier place to start.
For my Fruity Pebbles Cake Pops, I use almond bark or CANDIQUIK because I find both easy to melt and dip with.
What Is the Best Coating for Cake Pops?
Personally, I usually have the easiest time with almond bark or CANDIQUIK.
They tend to melt fairly thin, which is exactly what you want when coating something sitting on the end of a stick.
Candy melts work too and are great when you want a specific color, but some varieties melt thicker. If the coating is so thick that you have to push the cake pop through it, dipping is going to be much harder.
For truffles and cake balls that are dipped with a fork, a slightly thicker coating isn’t quite as troublesome because there is no stick to pull loose.

Cut Almond Bark Before Melting
If you are using a large brick of almond bark, cut it into smaller pieces before microwaving it.
Try to keep the pieces roughly the same size so they melt at the same rate. You do not need to measure them or worry about getting every piece identical.
Smaller pieces simply melt more evenly and make it less likely that you will overheat part of the coating while waiting for one giant piece to melt.
How to Melt Almond Bark or Candy Coating
I use the microwave because it is quick and doesn’t require any extra equipment.
Place the coating in a completely dry microwave-safe bowl or glass measuring cup.
Microwave for about 30 to 45 seconds, then stir well.
Continue heating in short intervals, stirring between each one, until the coating is smooth.
Do not keep microwaving just because you can still see a few pieces. Stir first. Candy coating often holds its shape even after it has softened, and a good stir may melt those last pieces without any additional heat.
Once the coating flows smoothly from your spoon, stop heating it.
Overheating can make candy coating thicker instead of thinner, which is the exact opposite of what you need for dipping.
Use a Tall Cup for Dipping Cake Pops
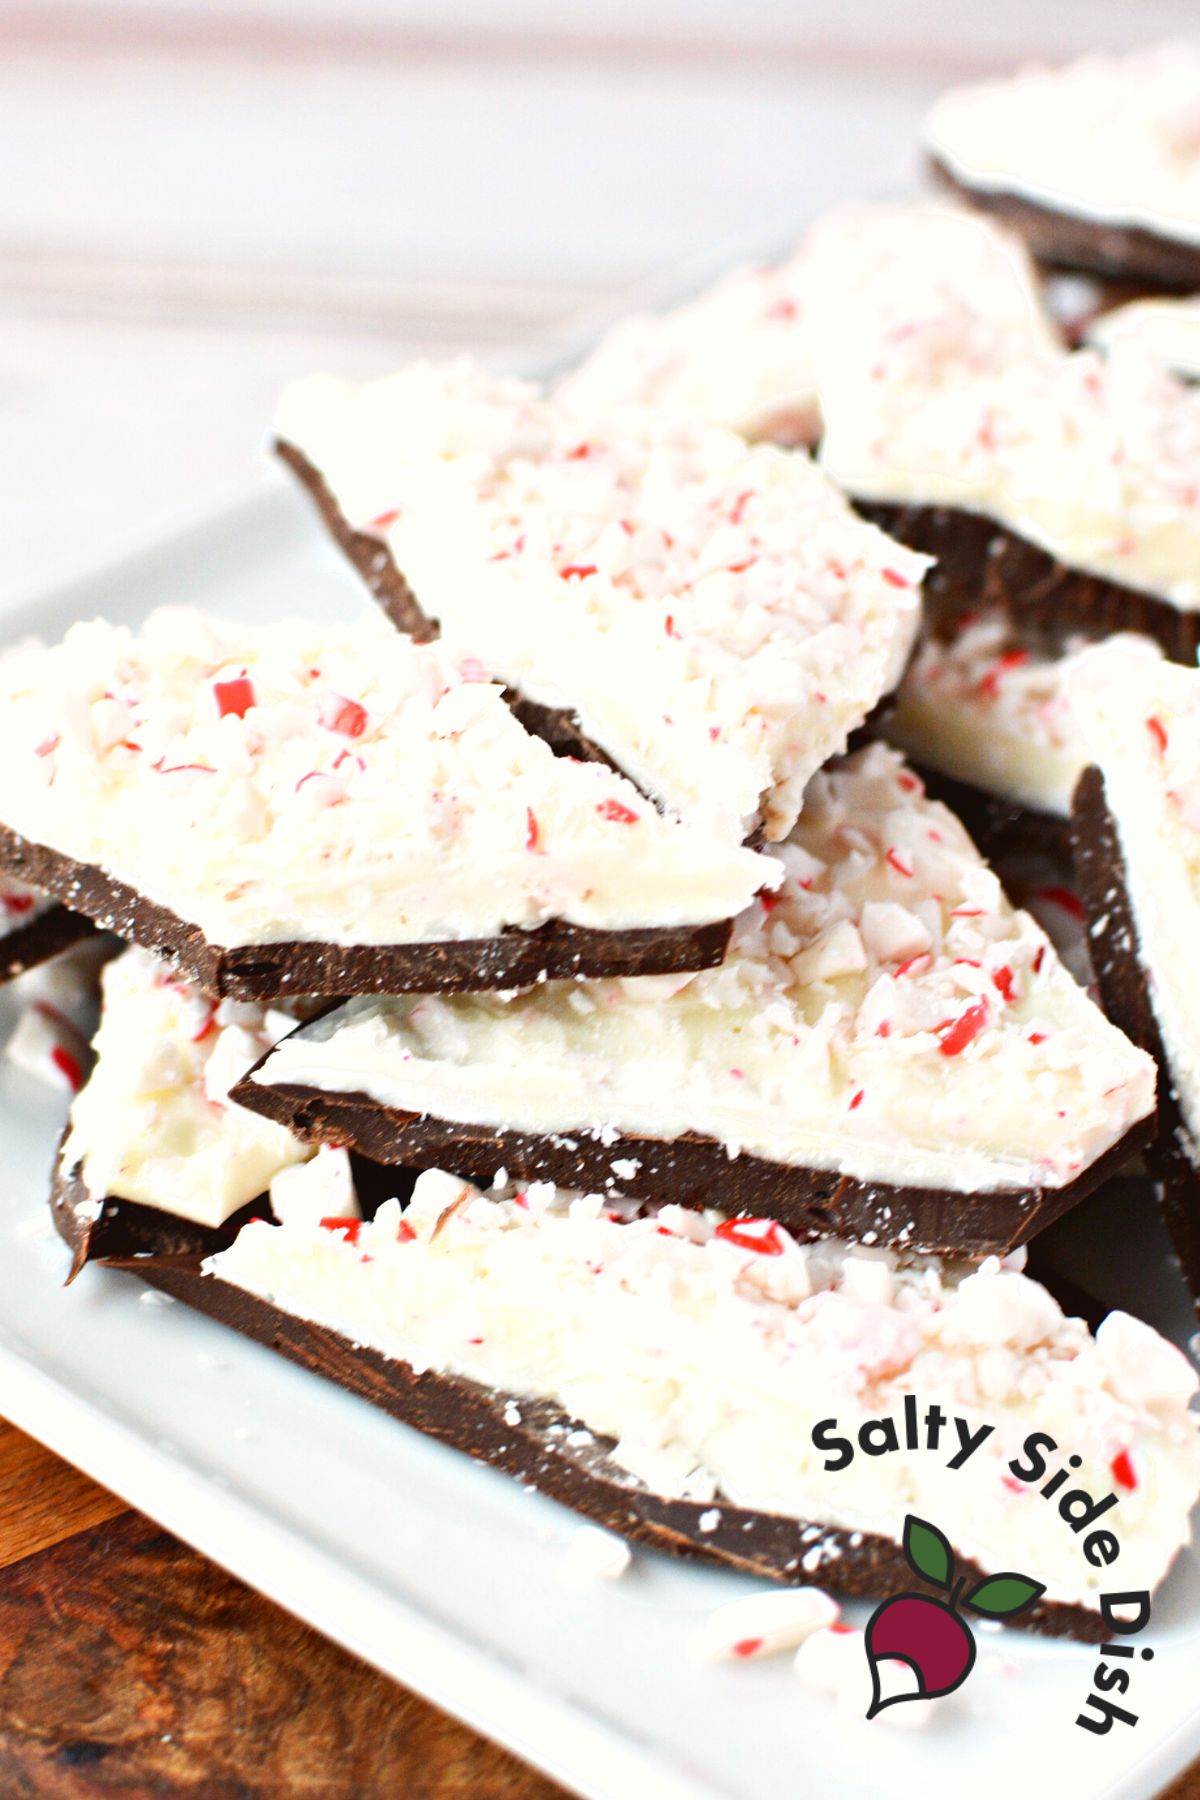
One of the simplest things you can do to make dipping easier is switch from a wide bowl to a tall mug or narrow heat-safe cup.
A shallow bowl requires a lot more coating before it is deep enough to cover an entire cake pop.
A narrow cup gives you more depth with less coating, so you can lower the whole cake pop straight into it.
Just don’t fill the cup all the way to the top. Remember that the coating will rise when you put the cake pop in.
For truffles and regular cake balls, I still prefer a small bowl because those are usually rolled through the coating and lifted out with a fork.
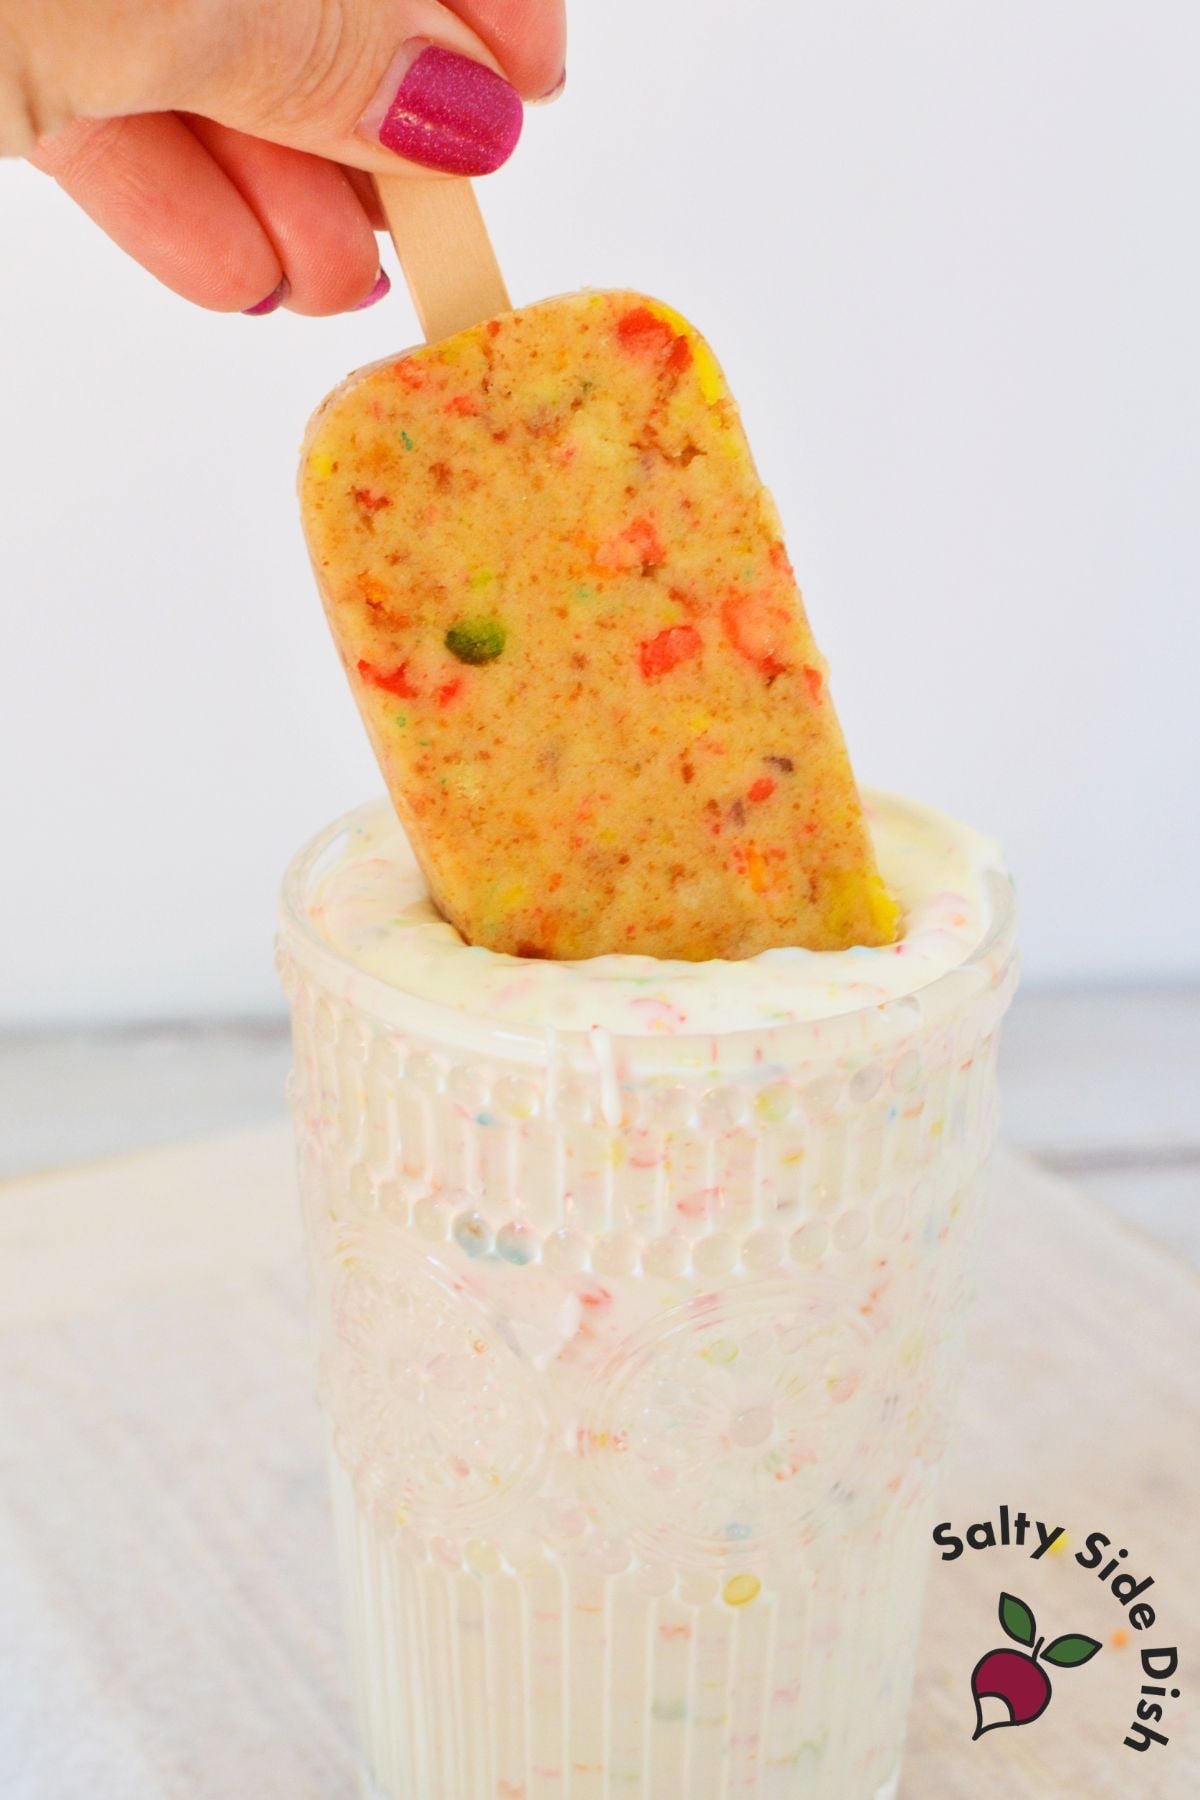
Secure Cake Pops to the Stick Before Dipping
If you are working with traditional cake-and-frosting cake pops, you can give the stick a little extra hold before dipping.
Dip the tip of the cake pop stick into a small amount of melted coating and then insert it into the cake ball.
That coating acts like a little bit of glue once it sets.
You do not need to push the stick all the way through the cake ball. It should go far enough inside to hold securely without coming through the opposite side.
After that, follow the chilling or freezing instructions for the specific cake pop recipe you are making.

Should Cake Pops Be Cold Before Dipping?
They should be firm, but there isn’t one temperature rule that works for every cake pop recipe.
Traditional cake balls made with cake and frosting are usually refrigerated until firm before dipping.
Some larger or molded cake pops need more time in the freezer so they stay securely attached to the stick. My Fruity Pebbles Cake Pops are a good example. I freeze those longer because of the size and shape of the pops.
At the same time, dipping an extremely cold center into very warm coating can sometimes lead to cracking as everything changes temperature.
So don’t automatically freeze every cake pop solid just because you are making cake pops. Follow the recipe you are using.
How to Dip Cake Pops
Once your coating is smooth and fluid, start dipping.
Hold the cake pop by the stick and lower it straight down into the melted coating until the entire cake pop is covered.
Avoid stirring or swirling the cake pop around inside the cup. That extra movement puts more pressure on the cake around the stick.
Lift the cake pop straight back out.
Hold it over the cup and let some of the excess coating drip off naturally.
Then gently tap the hand holding the stick against the edge of the cup. You can also lightly tap the stick against the rim.
Turn the cake pop a little as you tap so the coating settles evenly around it.
You are trying to remove the extra coating, not all of the coating. There is no need to scrape the cake pop against the side of the mug.
If you are using sprinkles, cookie crumbs, cereal, or another decoration, add them while the coating is still wet.
How to Dip Cake Balls and Truffles
Cake balls and truffles are a little different because there is no stick involved.
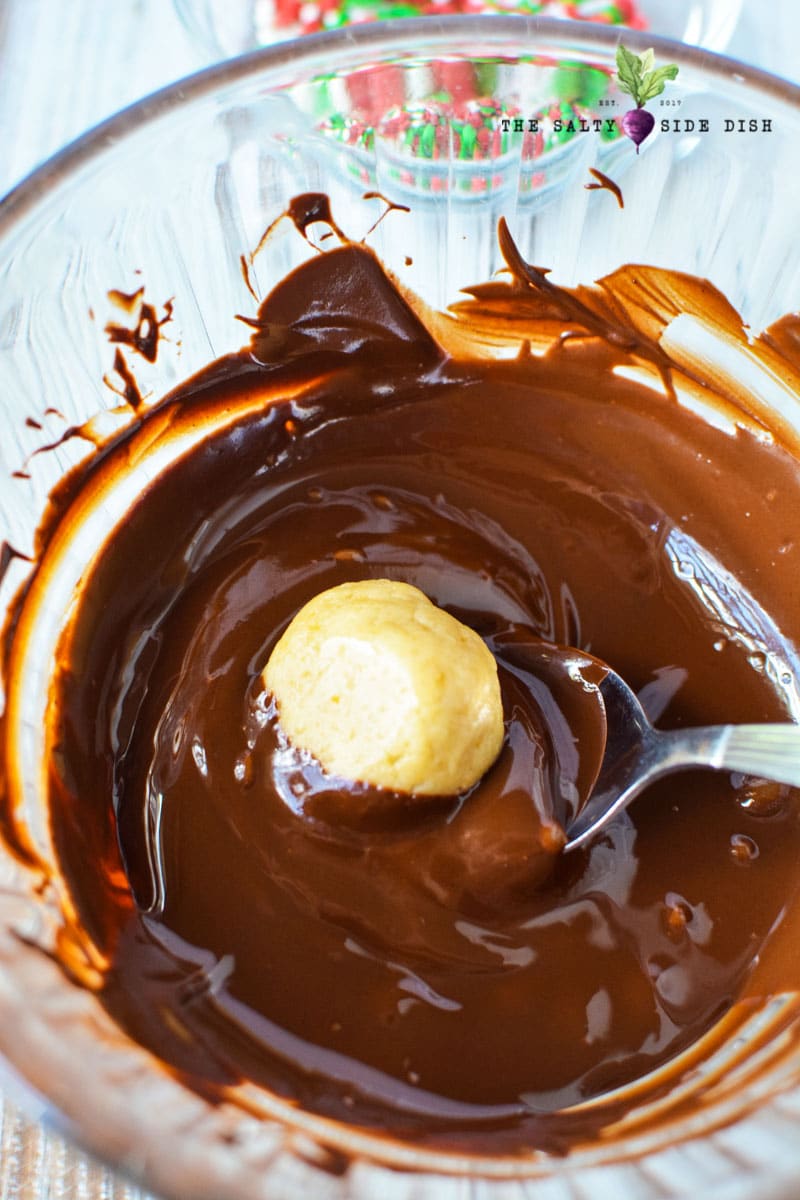
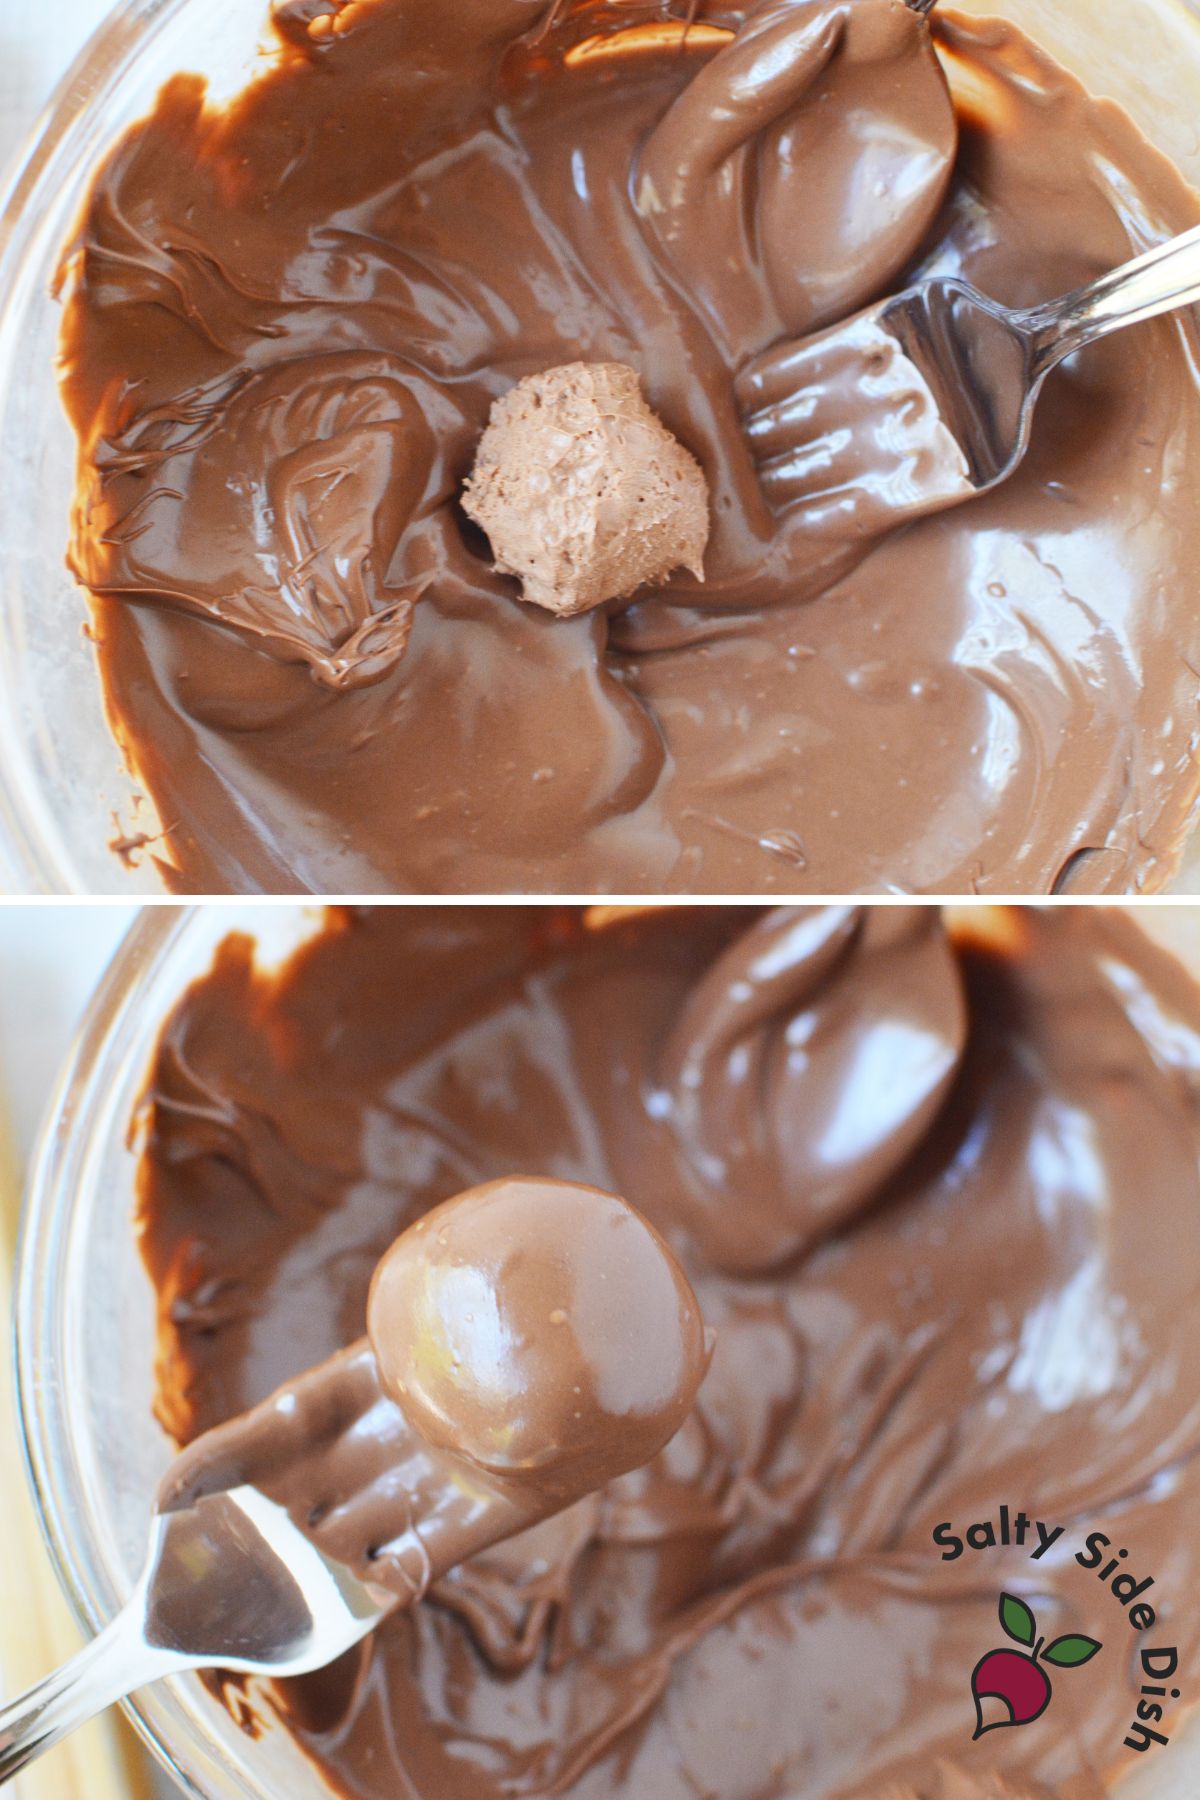
Drop one chilled truffle into the melted coating and gently turn it until completely covered.
Lift it out with a fork or candy-dipping tool.
Hold the fork over the bowl and gently tap it against the side so the extra coating can drip through the tines.
Slide the dipped truffle onto parchment or wax paper and add any toppings before the coating sets.
I use this same general method for treats like my Colorful Oreo Truffles and Red Velvet Cake Balls.
What to Do if Candy Coating Gets Too Thick
If your coating was smooth when you started but becomes thick halfway through dipping, it has probably just cooled down.
Warm it again for about 10 to 15 seconds and stir really well.
Do that before adding anything else.
If the coating is still too thick, check the directions for the particular candy coating you are using. Candy-melt thinning products or a very small amount of solid vegetable shortening can be used with many candy coatings.
Add only a little at a time.
I would not automatically pour liquid vegetable oil into candy melts. Different coatings behave differently, and adding too much liquid oil can affect how well the finished coating sets.
This is another reason I like almond bark for dipping. Most of the time, once it is melted properly, I do not need to thin it at all.
How to Color White Candy Coating
If you want to turn white almond bark or candy coating into another color, make sure the food coloring is intended for chocolate or candy.
I use oil-based candy coloring.
Avoid regular liquid or gel icing colors unless they are specifically labeled oil-based or safe for chocolate and candy coating.
Add just a little coloring at a time and stir before adding more.

Why Is My Cake Pop Falling Off the Stick?
If a cake pop slides off during dipping, there are a few things to check.
- The cake pop may be too soft, the stick may not be inserted far enough, or the coating may be too thick.
- Thick coating puts a lot more pressure on the cake pop when you pull it back out of the cup.
This is why I prefer to dip straight down and lift straight back out rather than twisting the pop around in the coating.
For traditional cake balls, dipping the tip of the stick into melted coating before inserting it can also help secure it.

Why Is My Cake Pop Coating Cracking?
A big temperature difference between the cake pop and the candy coating can contribute to cracks.
If your cake pops are extremely cold or frozen solid, follow the instructions for your specific recipe before dipping. With recipes that don’t require the centers to stay frozen, letting very cold cake balls sit for a few minutes before dipping can help reduce that sudden temperature change.
The coating should still be warm and fluid enough to dip easily, while the center needs to remain firm enough to stay together.
Why Is There a Puddle of Coating Under My Cake Pops?
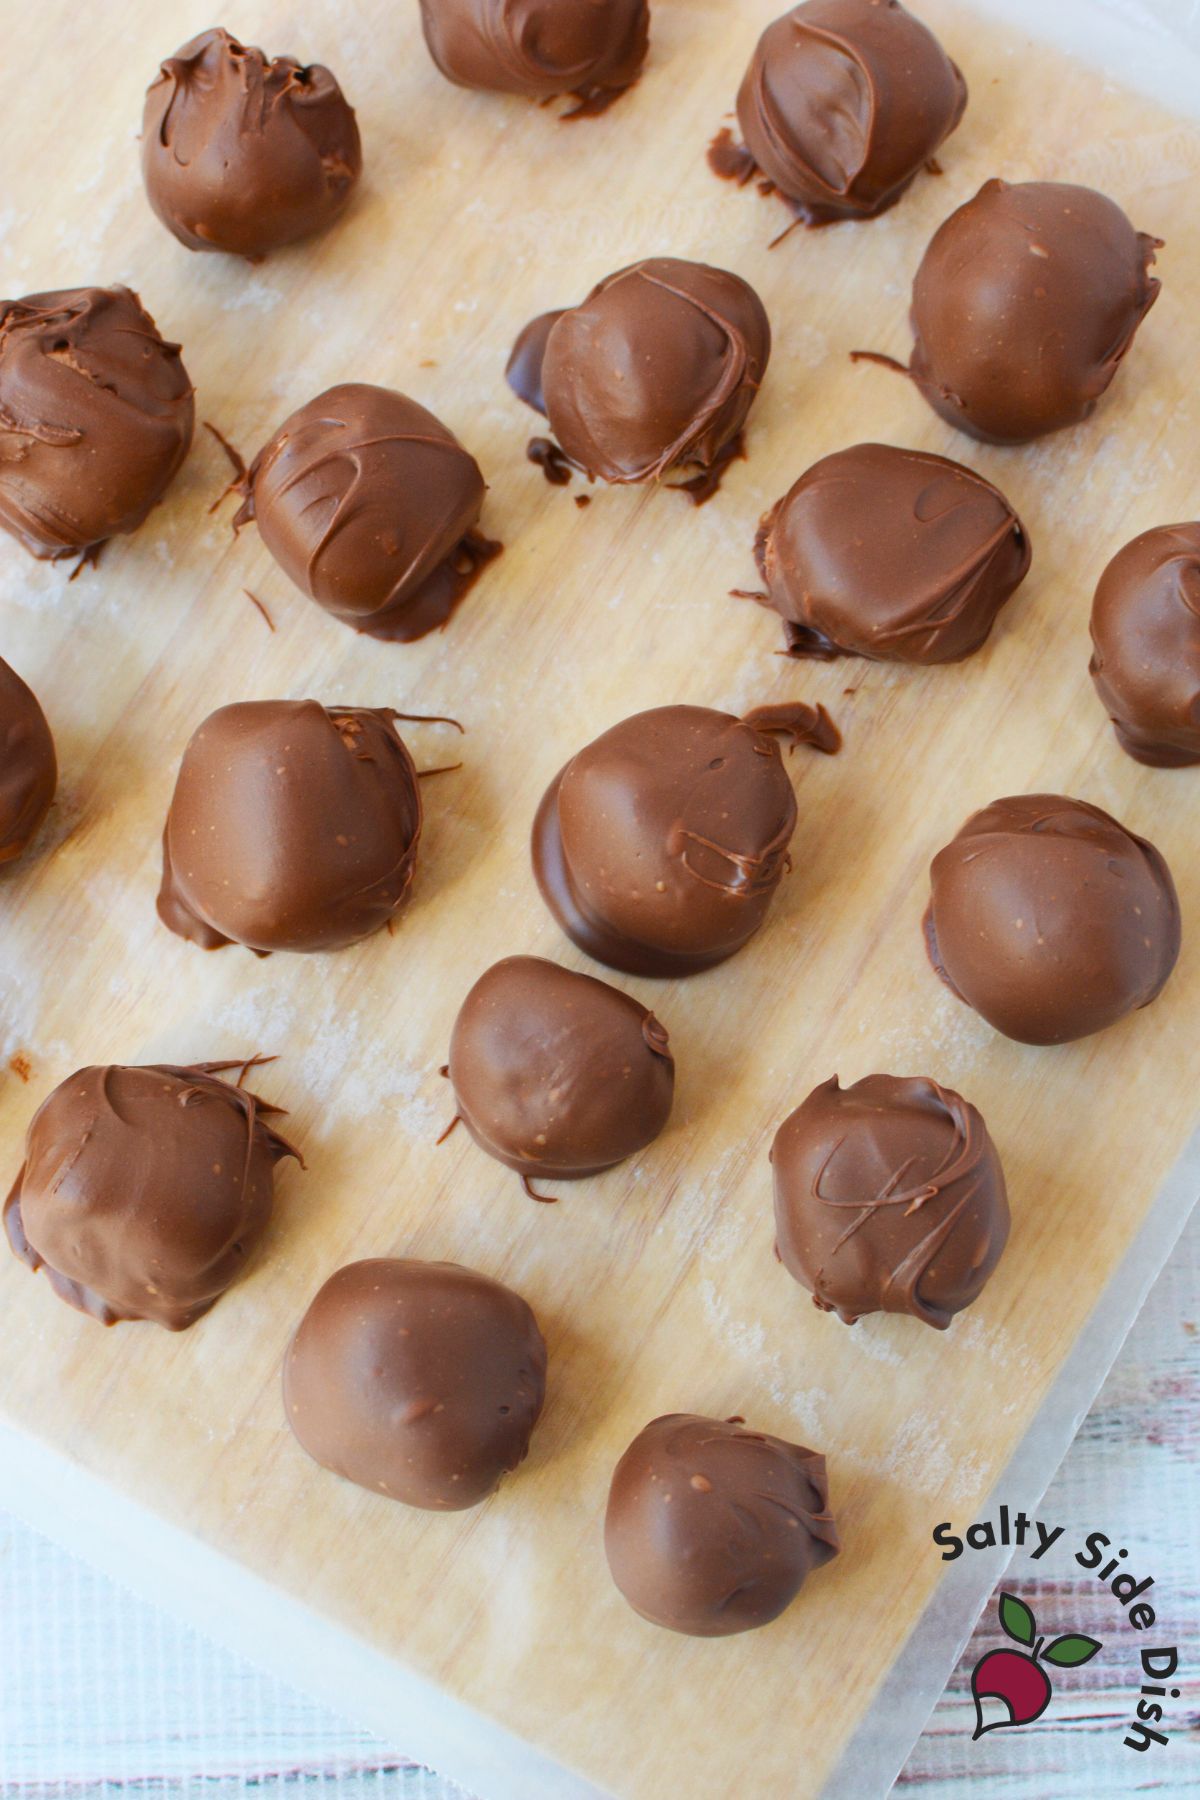
That little ring or “foot” around the bottom usually means there was still a bit too much coating on the pop when you set it down.
After dipping, give the cake pop a few extra seconds over the cup.
Gently tap away the excess and let it finish dripping before placing it on parchment or into your cake pop stand.
A tiny bit around the bottom is completely normal. I don’t spend time trying to make every cake pop identical.
Get Everything Ready Before Melting the Coating
Candy coating can begin setting faster than you expect, especially when you start adding decorations.
Before I melt anything, I make sure my cake pops or truffles are ready, the parchment is out, sprinkles are open, and my dipping cup or fork is nearby.
Once dipping starts, I want to keep moving instead of digging through the pantry looking for decorations while the coating is getting thicker on the counter.
Cake Pop Dipping Gets Easier With Practice
Cake pops look like they should be complicated, but dipping becomes much easier once you learn what properly melted coating should look and feel like.
If one comes out a little crooked or gets an extra drip down the side, I don’t start over. Add the sprinkles and move on to the next one.
Most of the time, everyone is far more interested in eating the cake pops than inspecting whether every coating is perfectly smooth.