
Pinecone Brownies
This post may contain affiliate links. Please read the Privacy Policy & Cookie Policy.
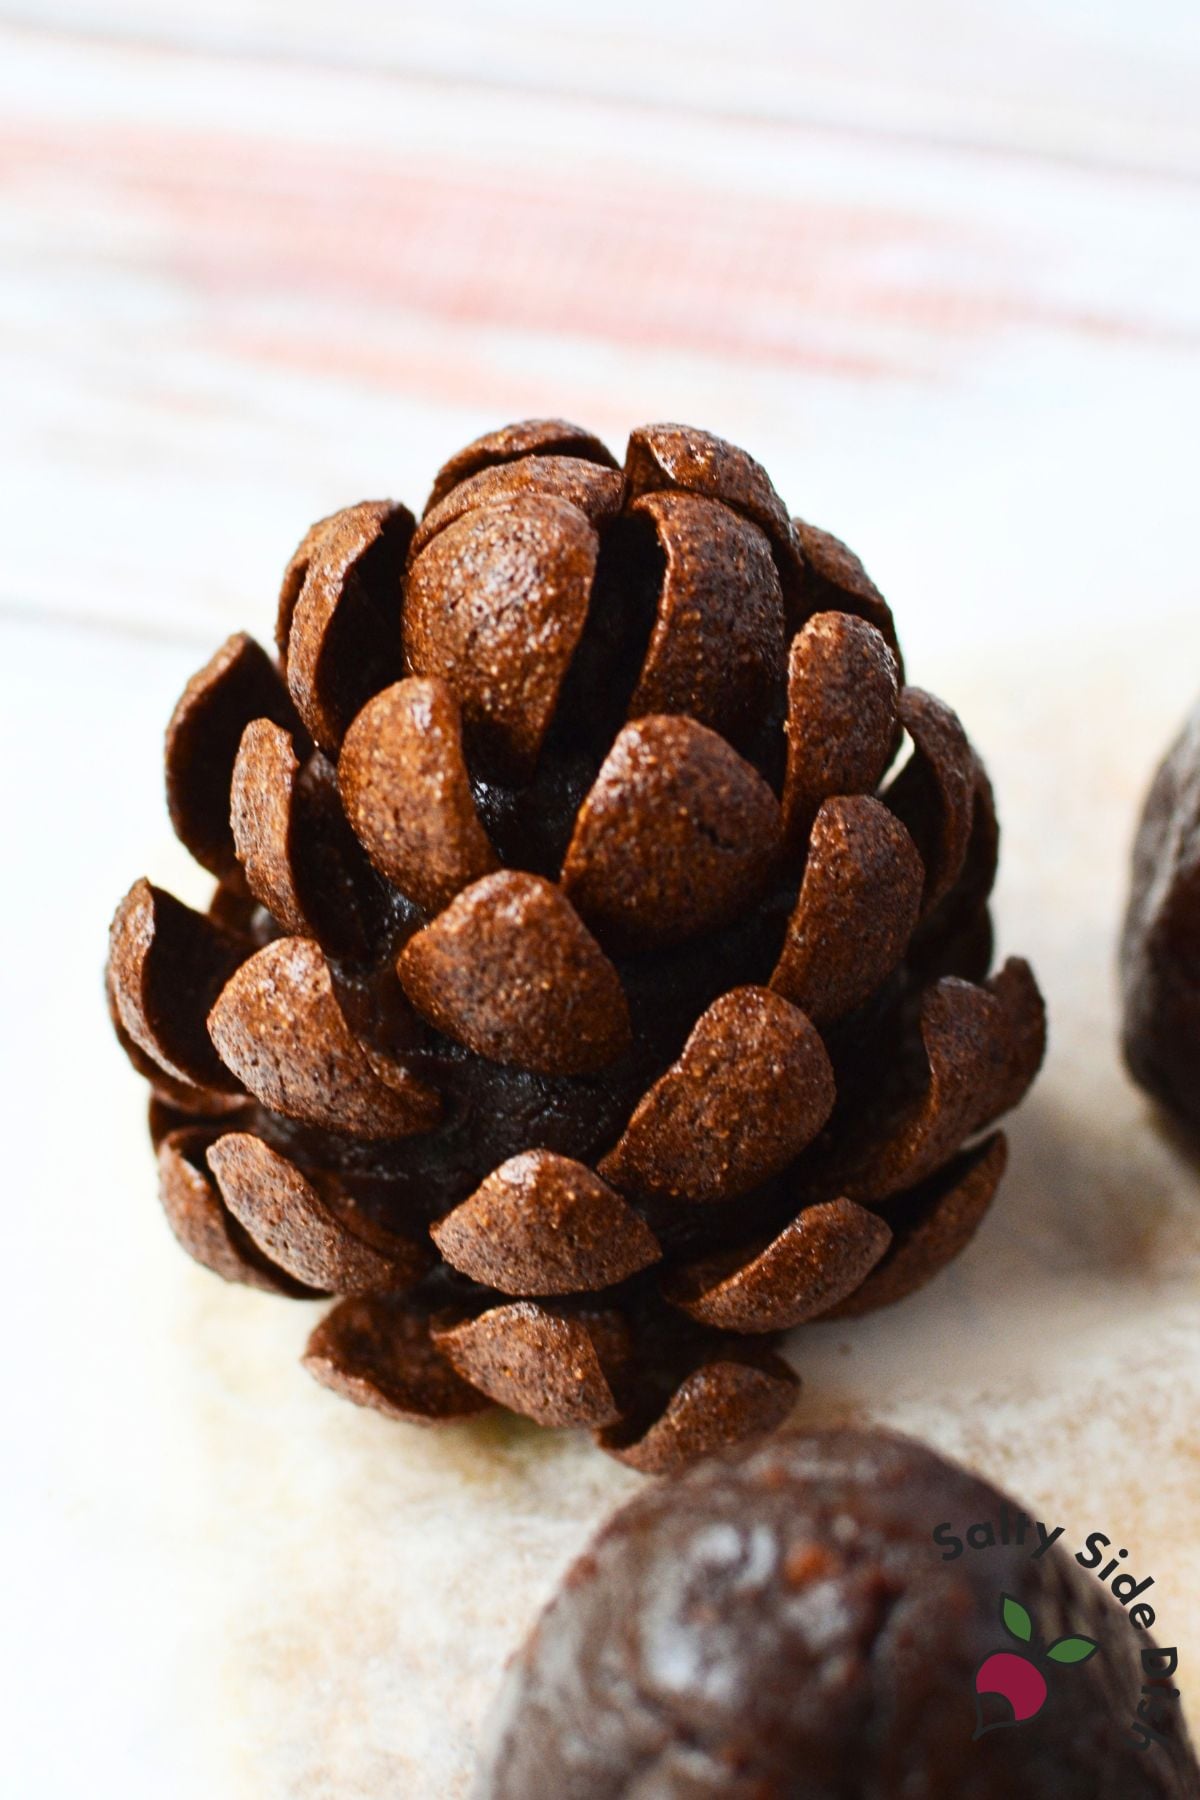
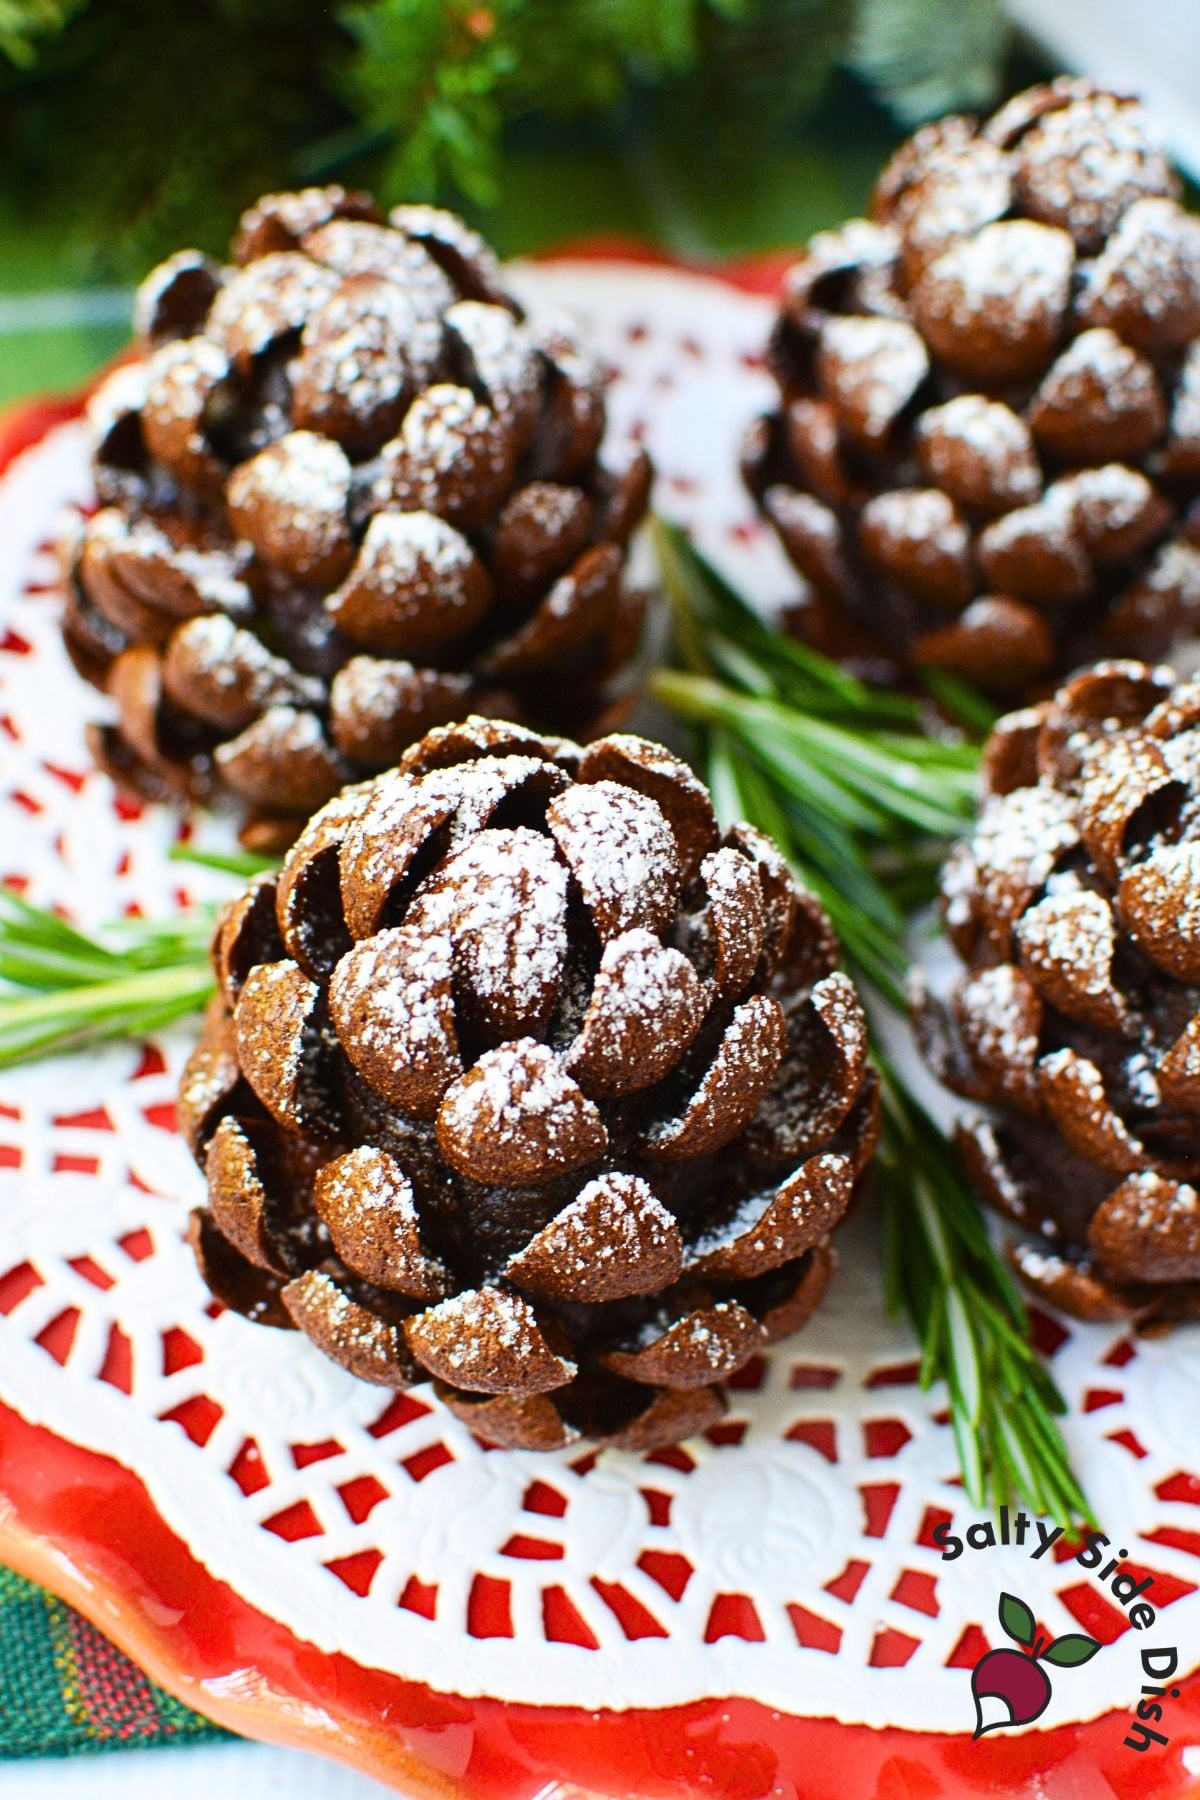
These pinecone brownies may be one of my favorite Christmas desserts I have made because they really do look like pinecones. They are life-size, covered with curved chocolate cereal, and finished with a little powdered sugar to look like snow.
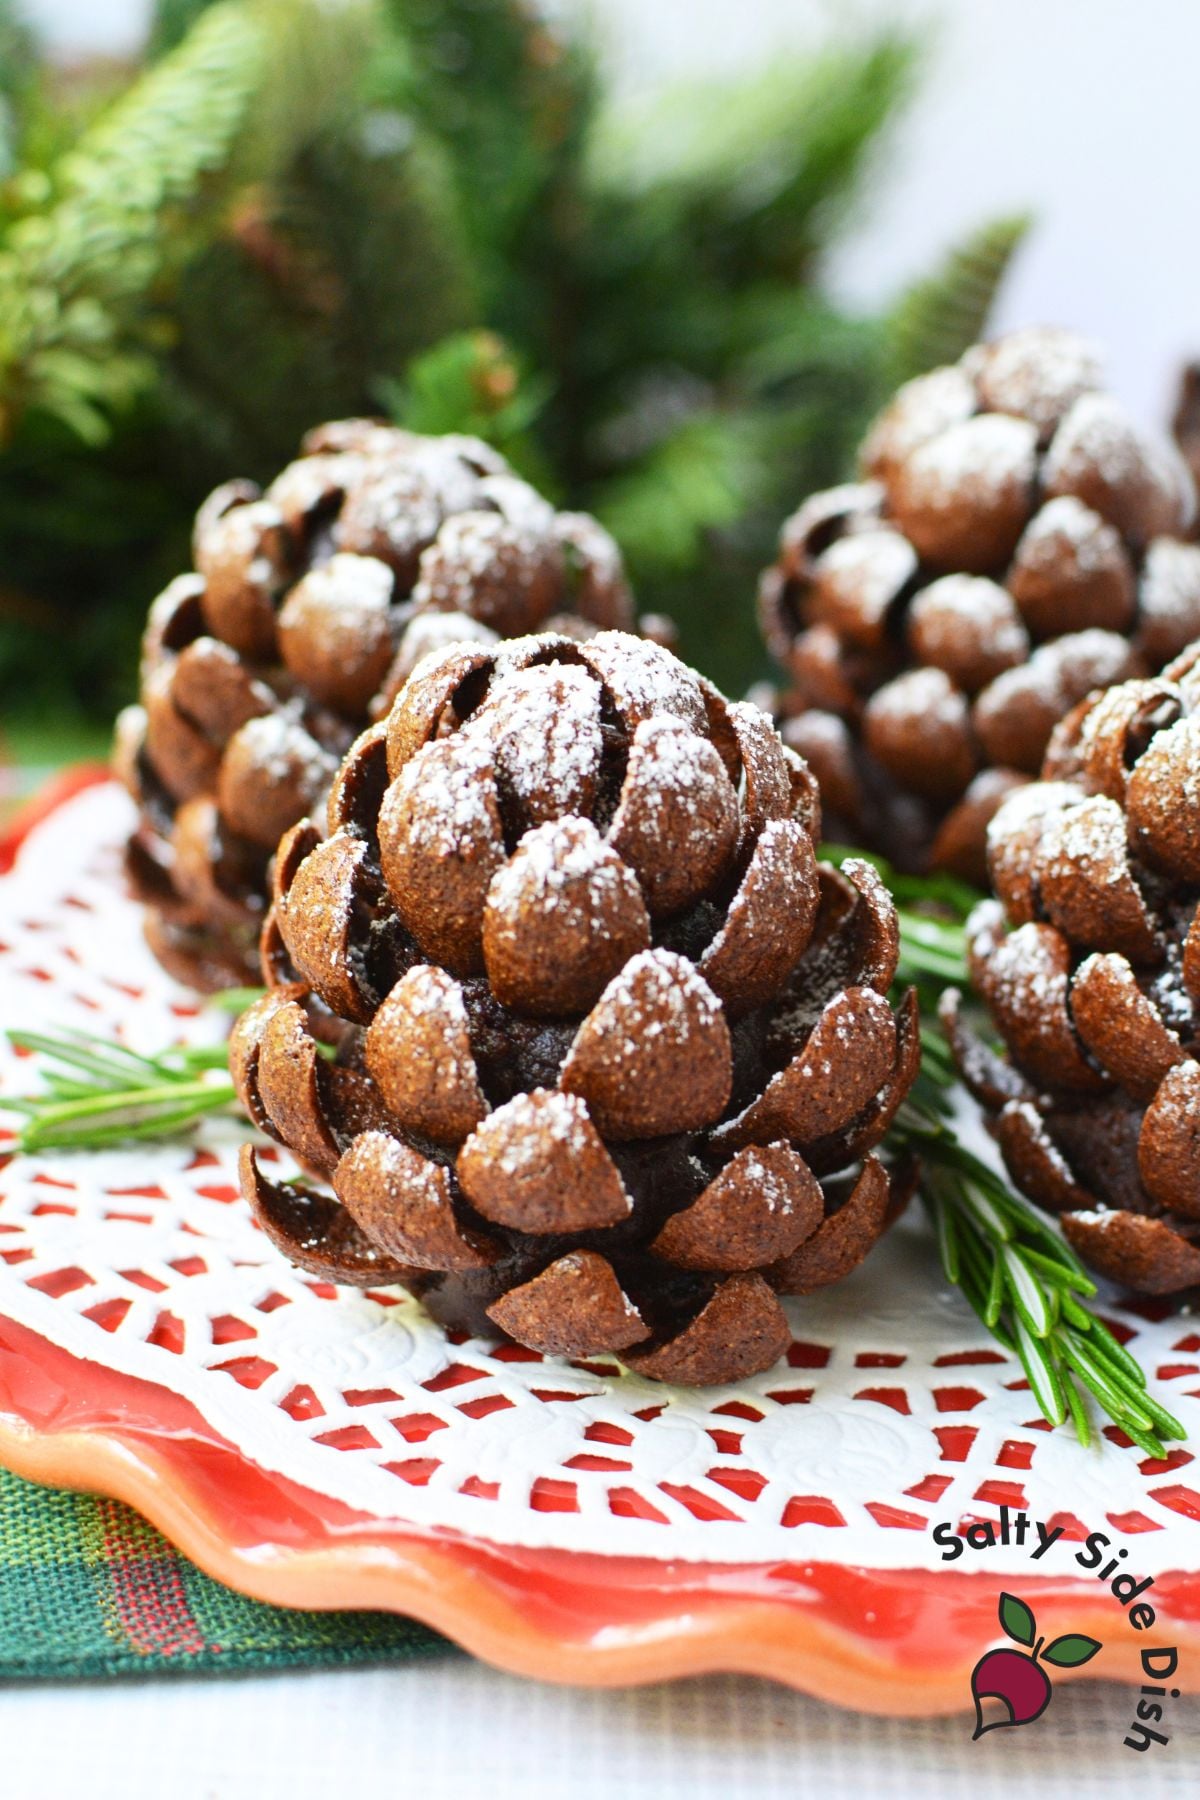
I made the brownies from scratch, crumbled them with a small amount of sweetened condensed milk, and shaped each one by hand. I also weighed the brownie mixture so all 12 pinecones would be close to the same size. Mine were about 2 3/8 to 2 1/2 ounces each, which made them roughly the size of an egg before adding the cereal.
The cereal is what makes the whole thing work. I used Chocapic chocolate cereal because the curved pieces overlap really well and give the outside that realistic pinecone look.
If you like making brownies into something a little unexpected, my Deviled Brownies are another fun shaped brownie recipe.
Ingredients
- 7 ounces semi-sweet chocolate chunks
- 2/3 cup butter
- 1 cup granulated sugar
- 3 eggs
- 1 teaspoon vanilla extract
- 3/4 cup all-purpose flour
- 1/3 cup unsweetened baking cocoa
- 1/4 cup sweetened condensed milk
- 1 box Chocapic chocolate breakfast cereal *you won’t use full box*
- Powdered sugar
- Fresh rosemary, optional for garnish
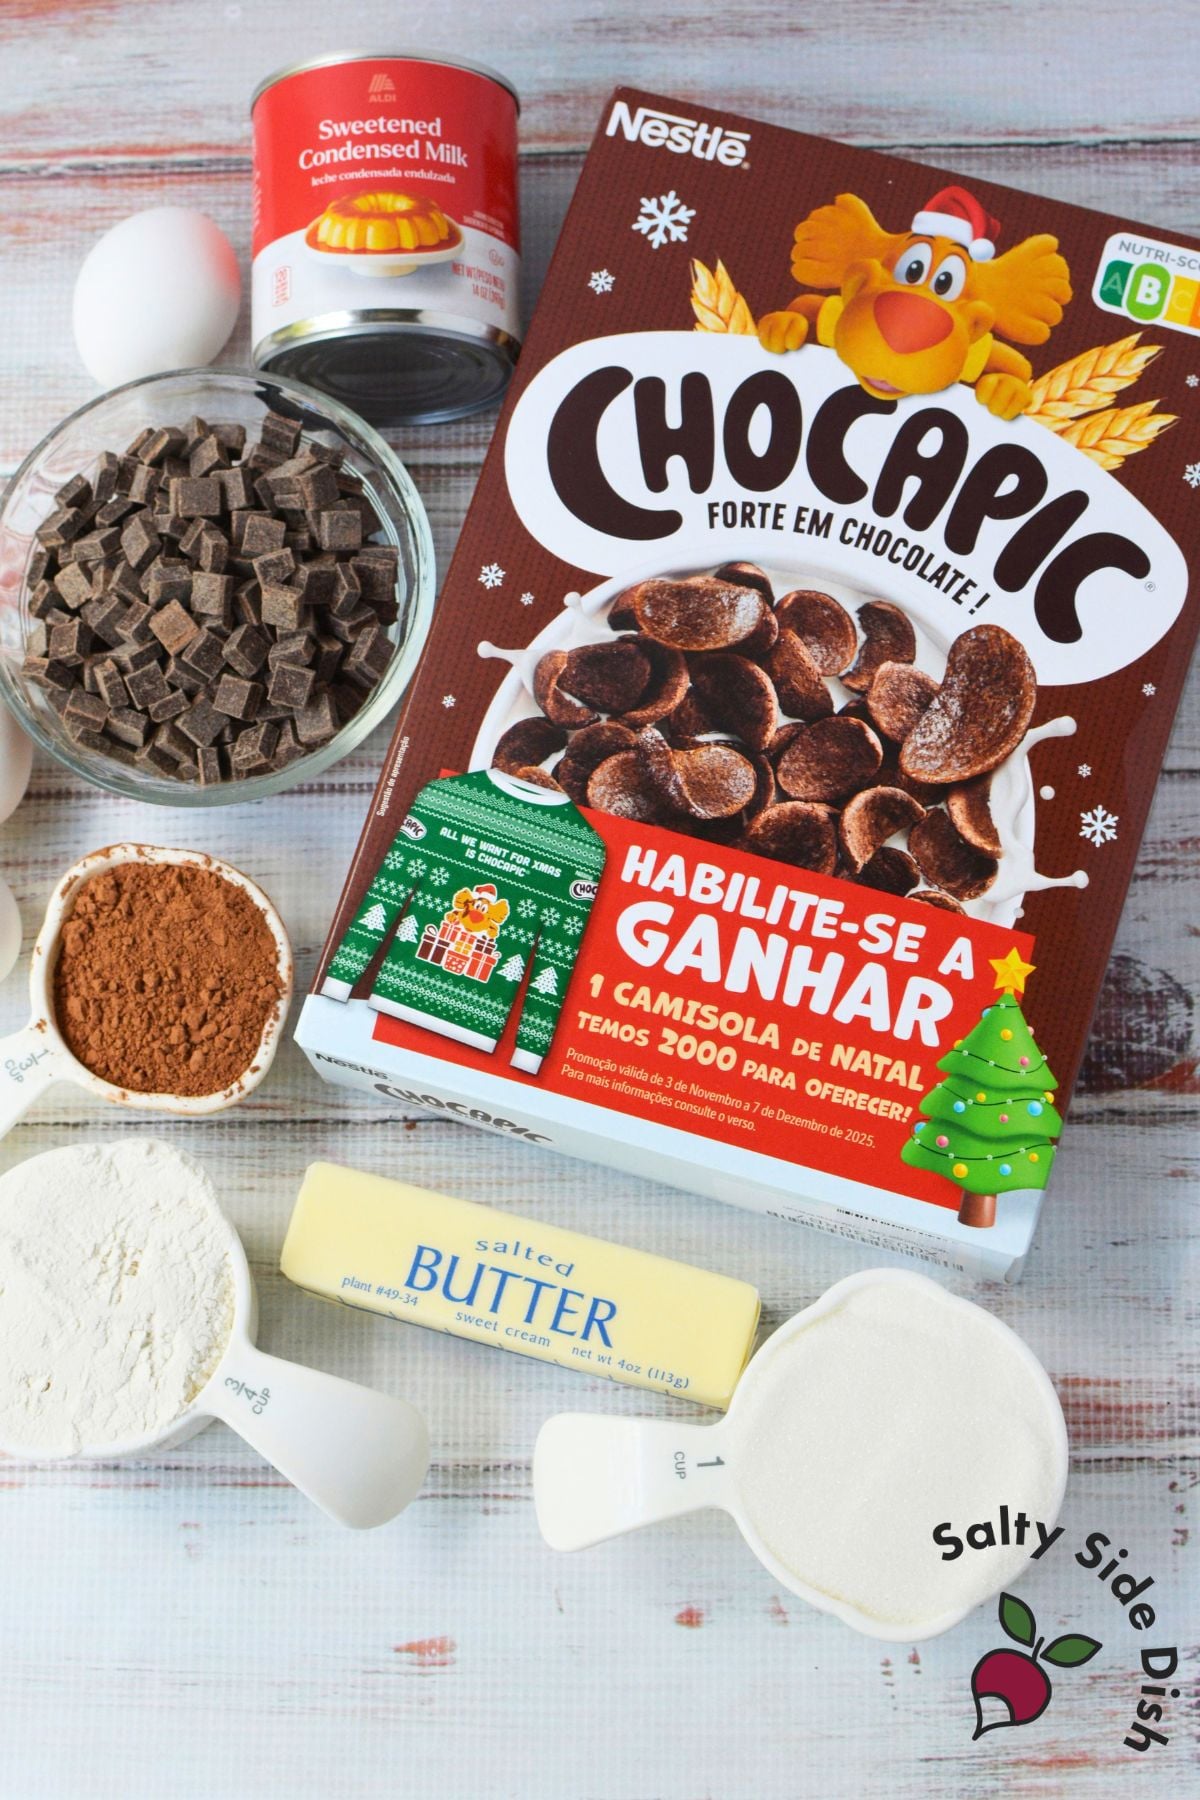
The Best Cereal for Pinecone Brownies
I used Chocapic chocolate breakfast cereal, which I bought on Amazon.
For this recipe, the shape of the cereal matters. You want pieces that curve outward slightly because they are going to become the individual scales of the pinecone. If you cannot find Chocapic, look for another chocolate cereal with a similar curved shape.
How to Make Pinecone Brownies
Preheat the oven to 350°F and grease a 9 x 9-inch baking pan with nonstick cooking spray.
- I used a dark baking pan, so I lowered my oven temperature to 325°F. If your pan is dark as well, I recommend doing the same.
Add the chocolate chunks and butter to a microwave-safe bowl.
Microwave for 1 minute and 30 seconds, then stir until the chocolate and butter are completely melted and smooth.
Add the granulated sugar and mix well. Add the eggs and vanilla and mix until combined.
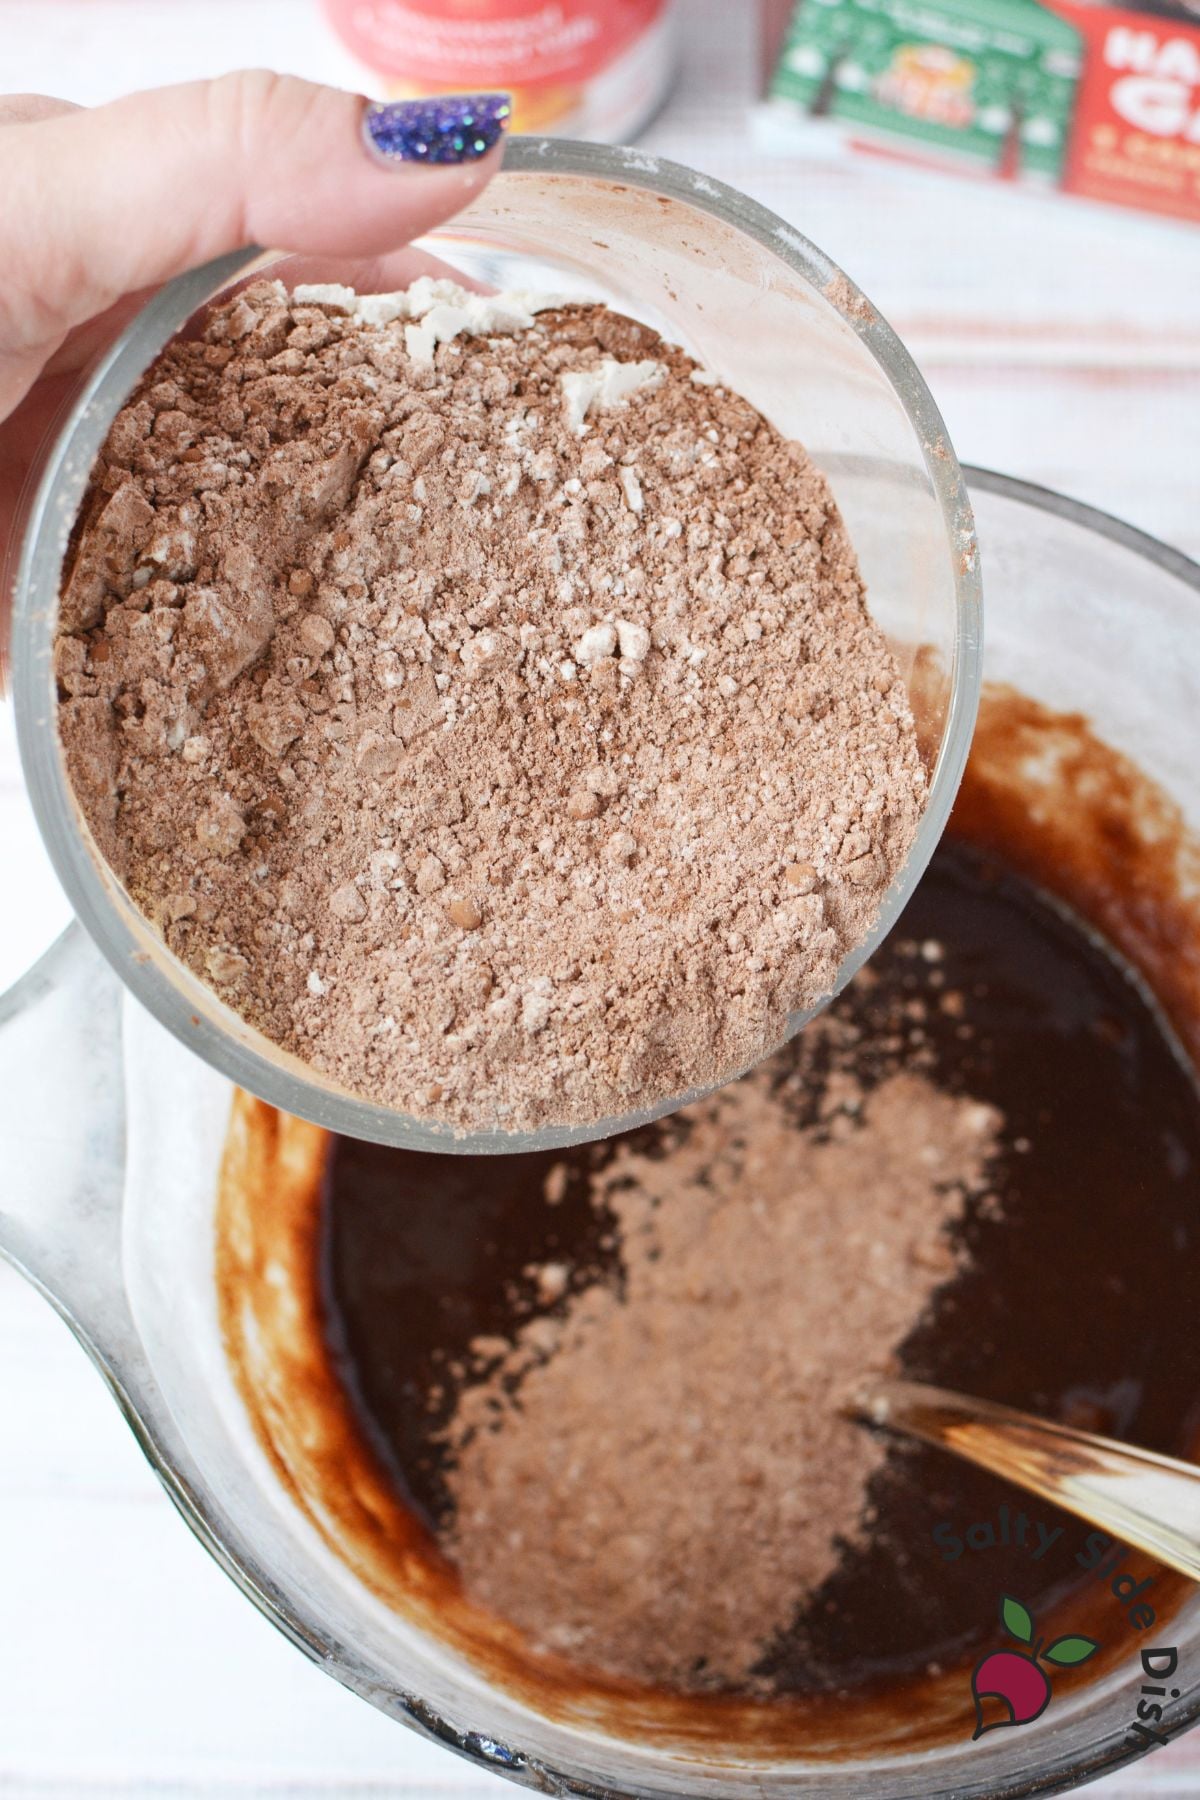
In a separate bowl, stir together the flour and unsweetened cocoa powder. Add the dry ingredients to the chocolate mixture and mix just until combined.
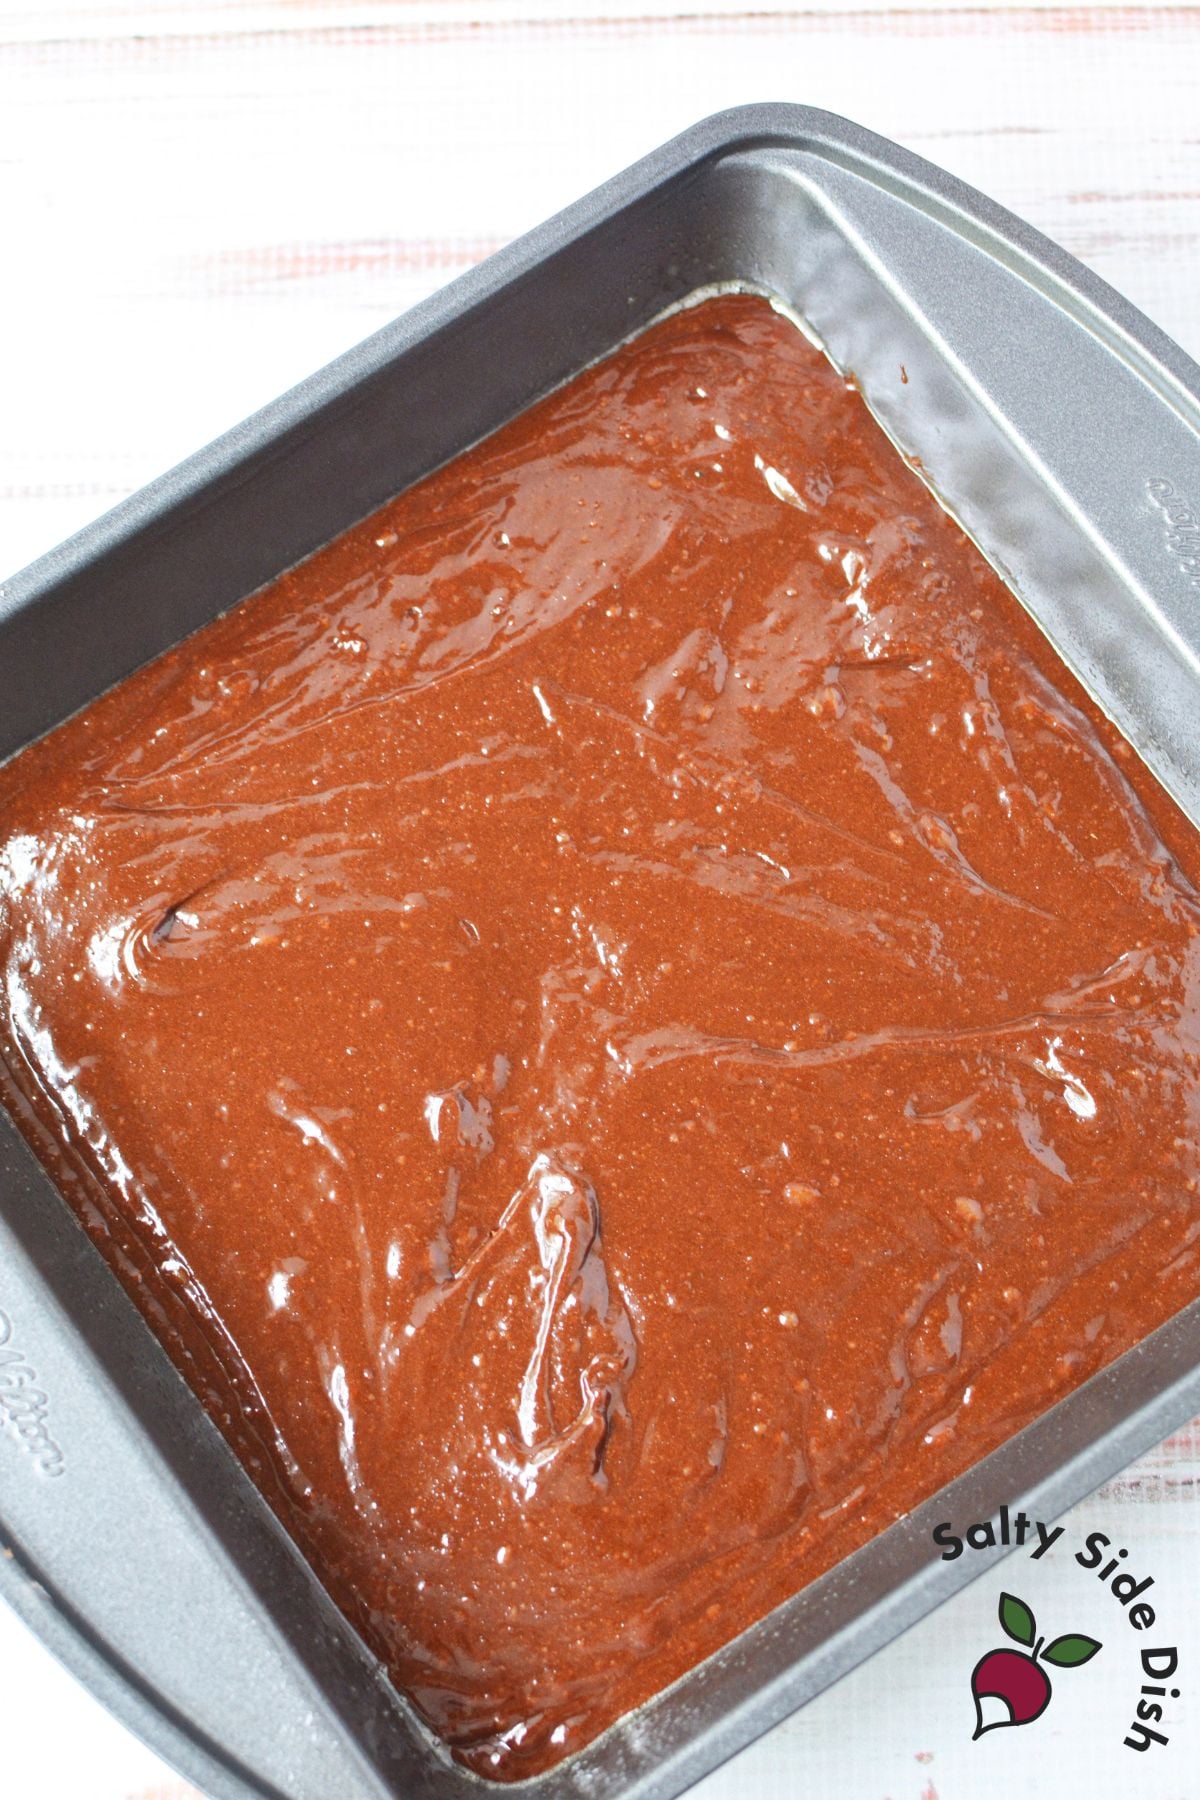
Pour the brownie batter into the prepared pan. Bake for 30-35 minutes, or until a toothpick inserted into the center comes out with a few moist crumbs.
Remove the brownies from the oven and let them cool.
Turn the Brownies into Pinecones
Once the brownies are cool, or just slightly warm, break them apart into a large mixing bowl.
My brownie edges baked up pretty hard. I broke apart what I could and worked it into the softer brownie, but you can discard any pieces that are too hard to incorporate.
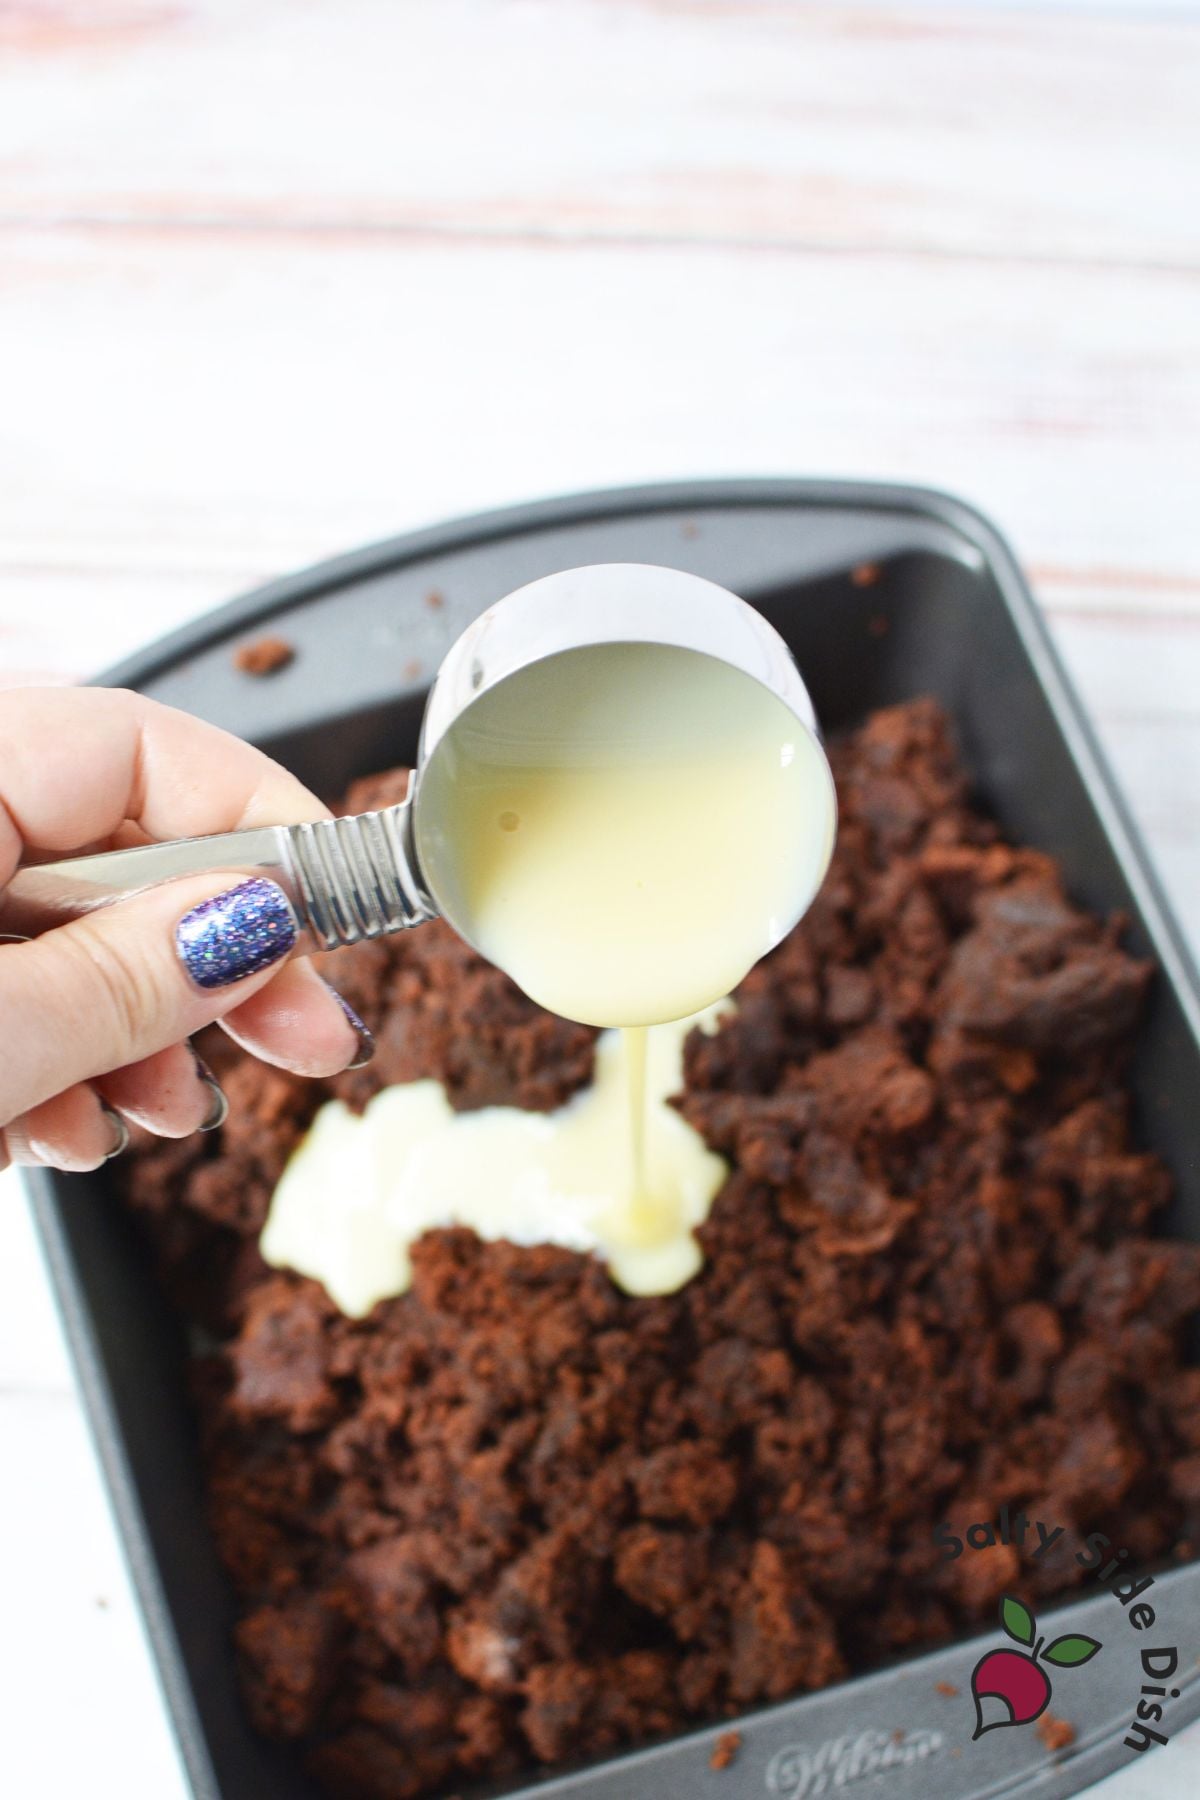
Add 1/4 cup sweetened condensed milk.
Use clean hands to mix everything together until the brownie mixture holds together when pressed. You want it moist enough to shape but still firm. It should not be overly wet or sticky.
Line a baking sheet or cutting board with wax paper or parchment paper.
Divide the brownie mixture into 12 portions.
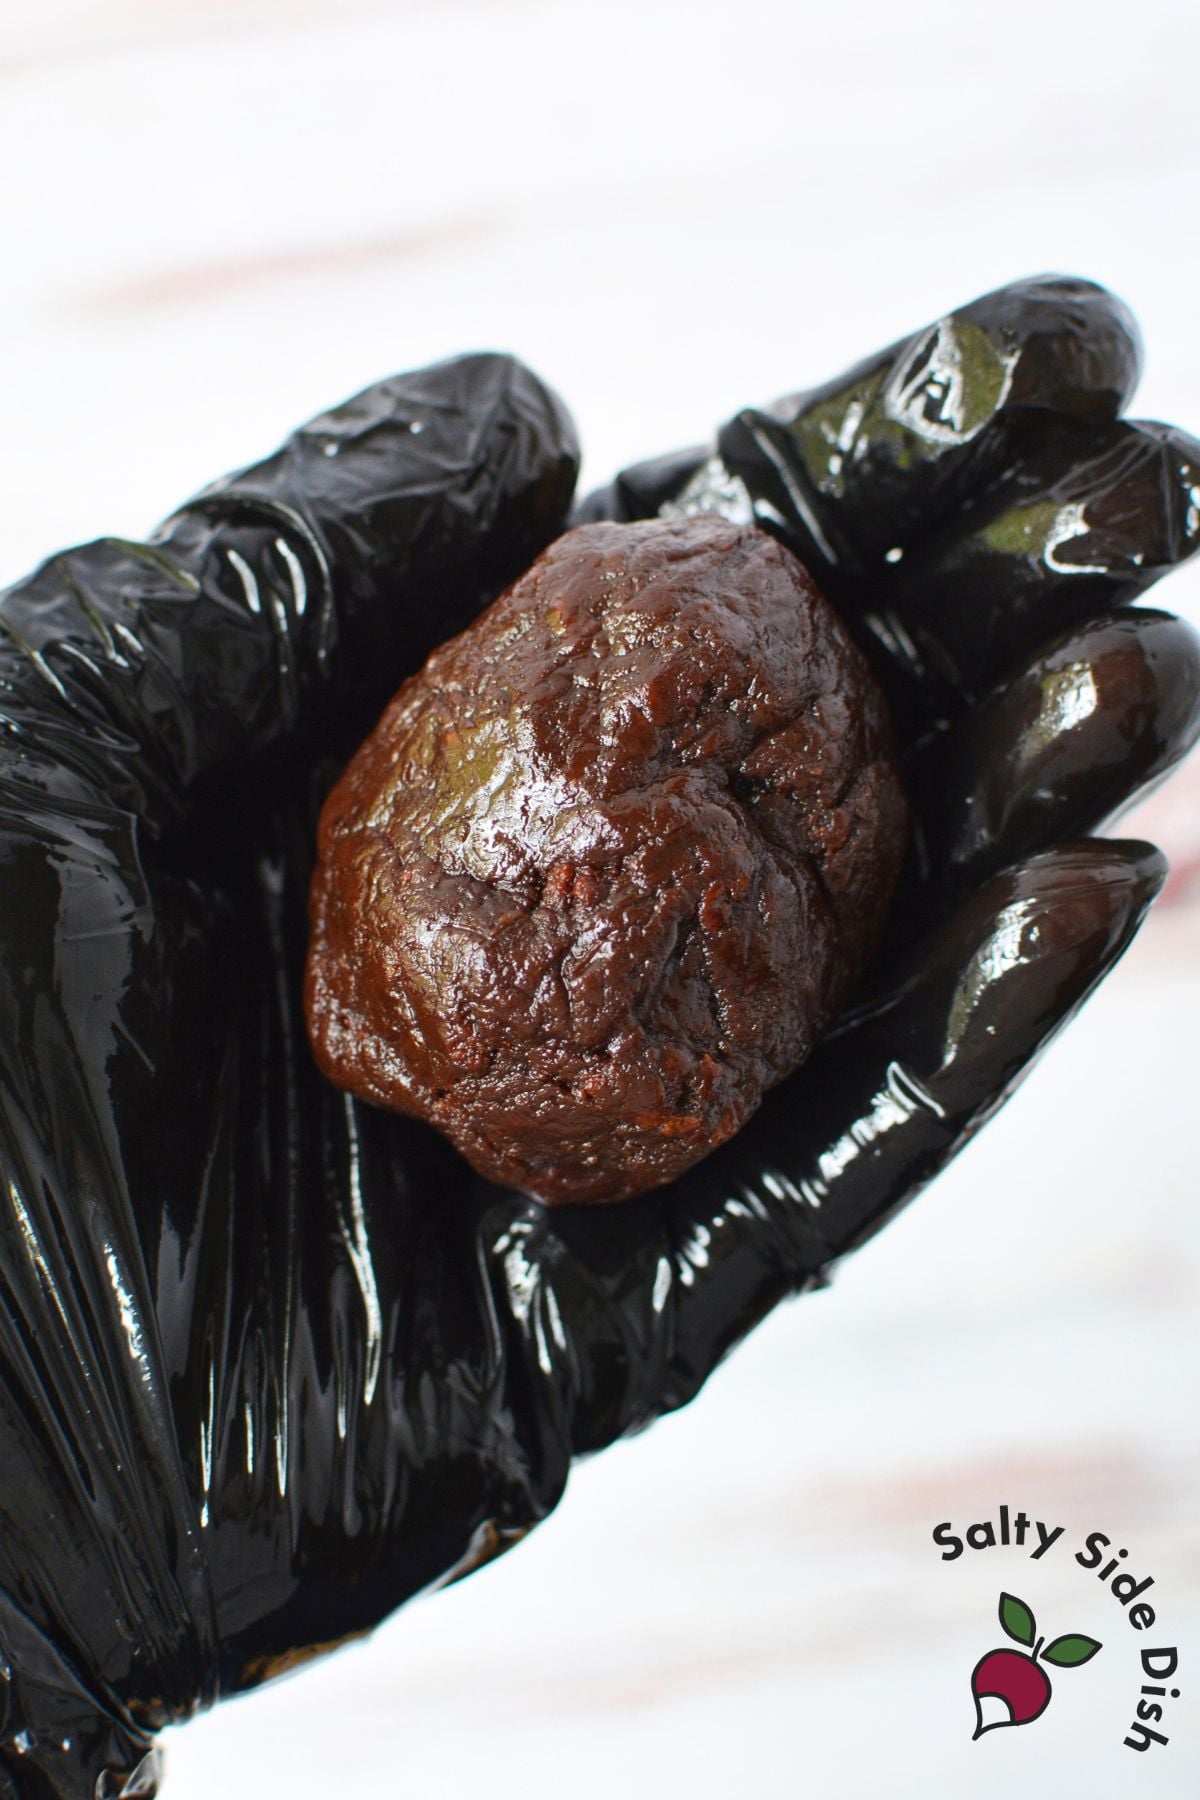
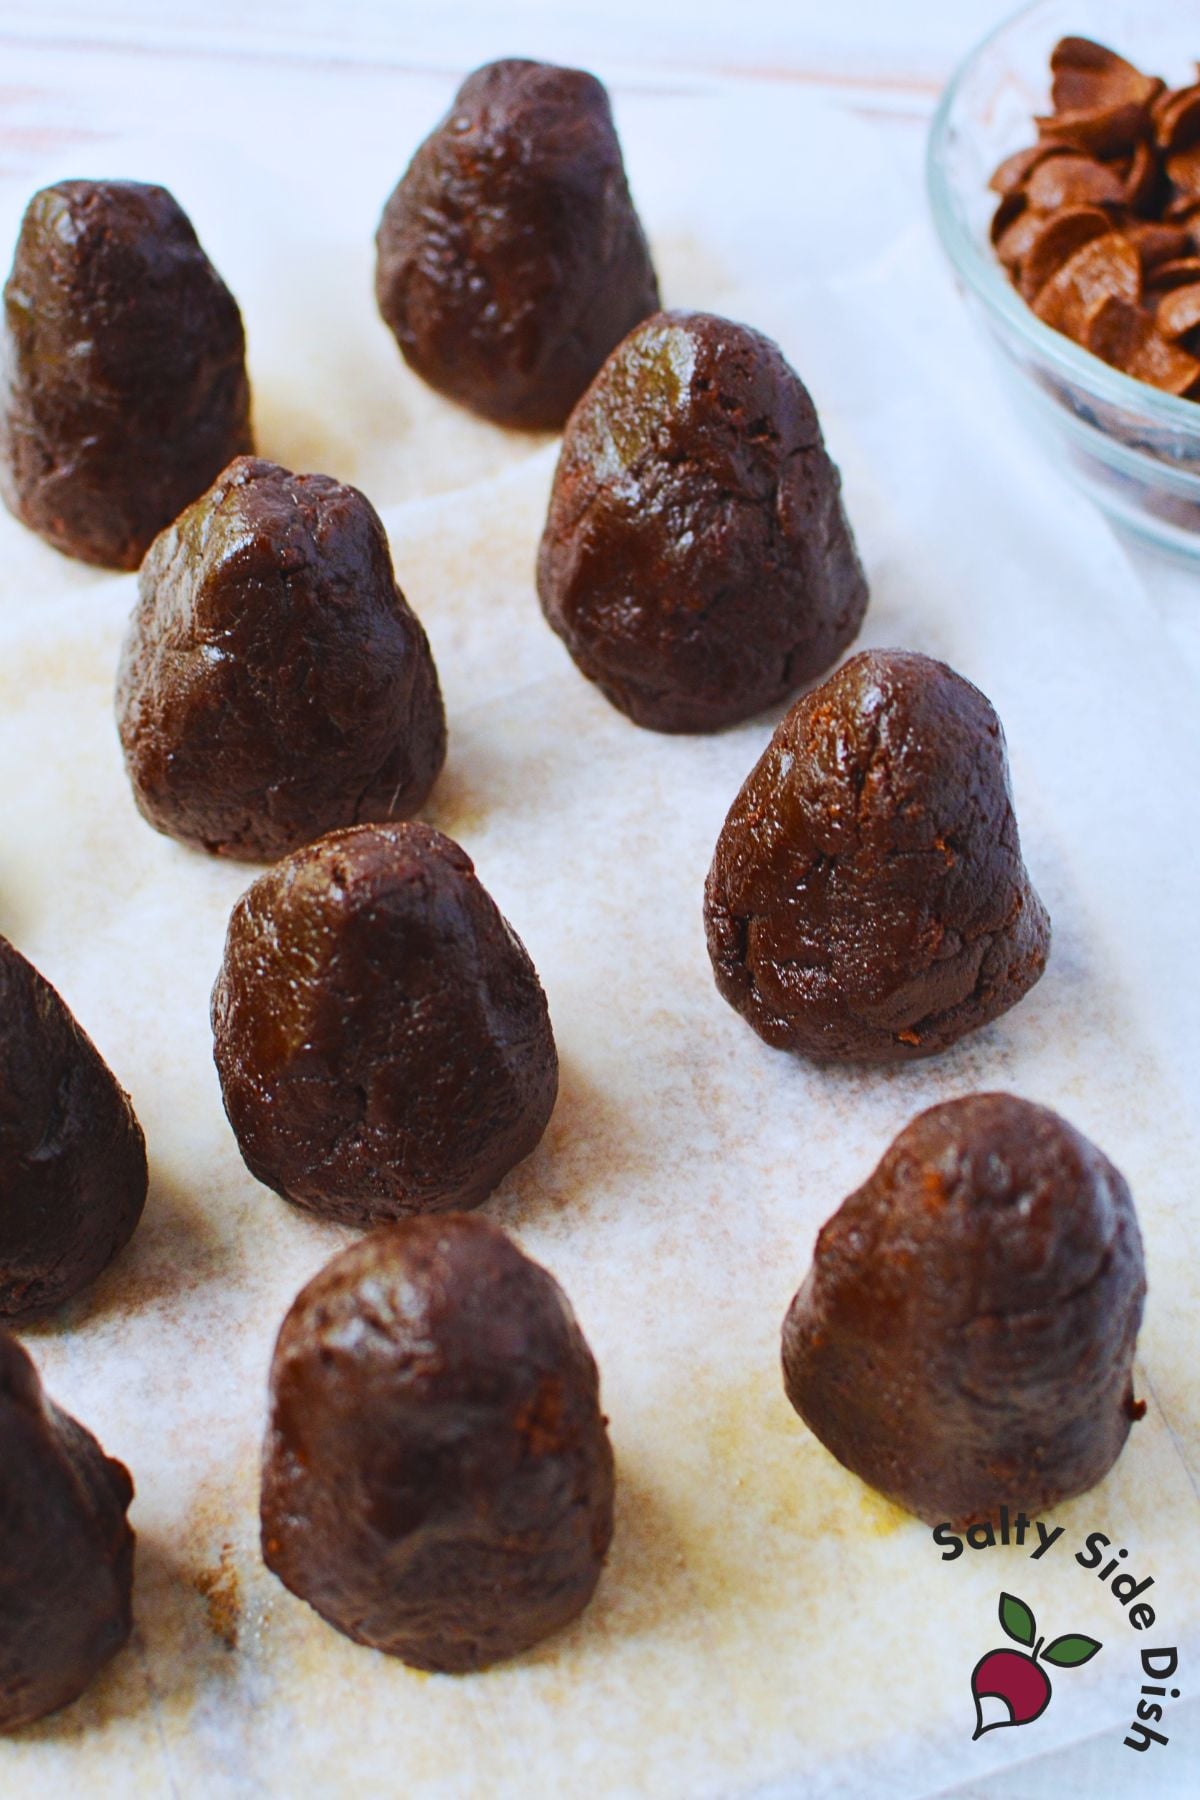
I used a kitchen scale because I wanted all of mine to be similar in size. Each portion weighed between 2 3/8 and 2 1/2 ounces. Shape each portion into an egg shape.
Set it onto the wax paper and press the bottom gently against the surface. This gives each pinecone a small flat base so it can stand upright.
Add the Pinecone Cereal
Starting at the very top of the brownie, gently press a piece of chocolate cereal into the surface.
Continue adding cereal around the top and work your way downward. Slightly overlap and stagger the pieces instead of lining them up in perfectly straight rows.
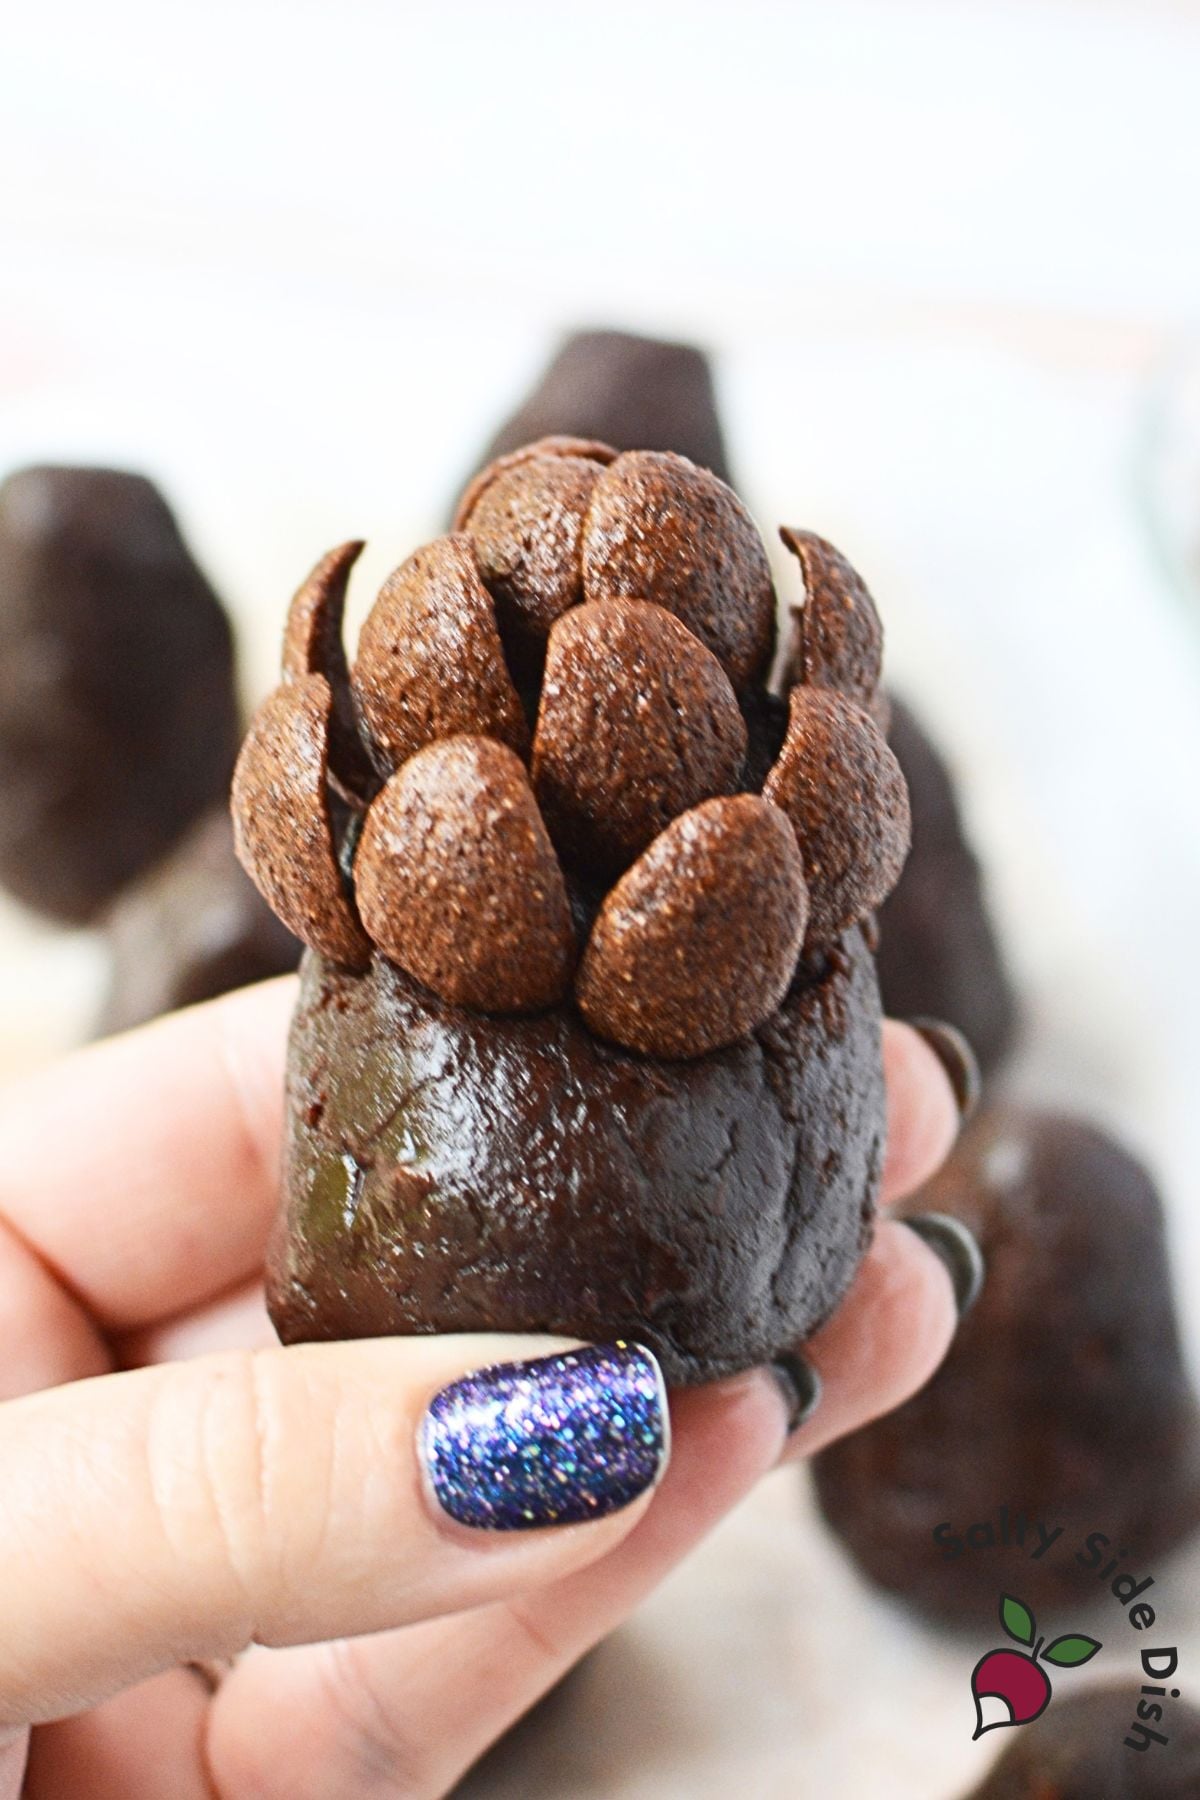
Press each piece in firmly enough that it stays in place, but not so far that it disappears into the brownie. Continue until the entire brownie is covered.
Repeat with the remaining brownies.
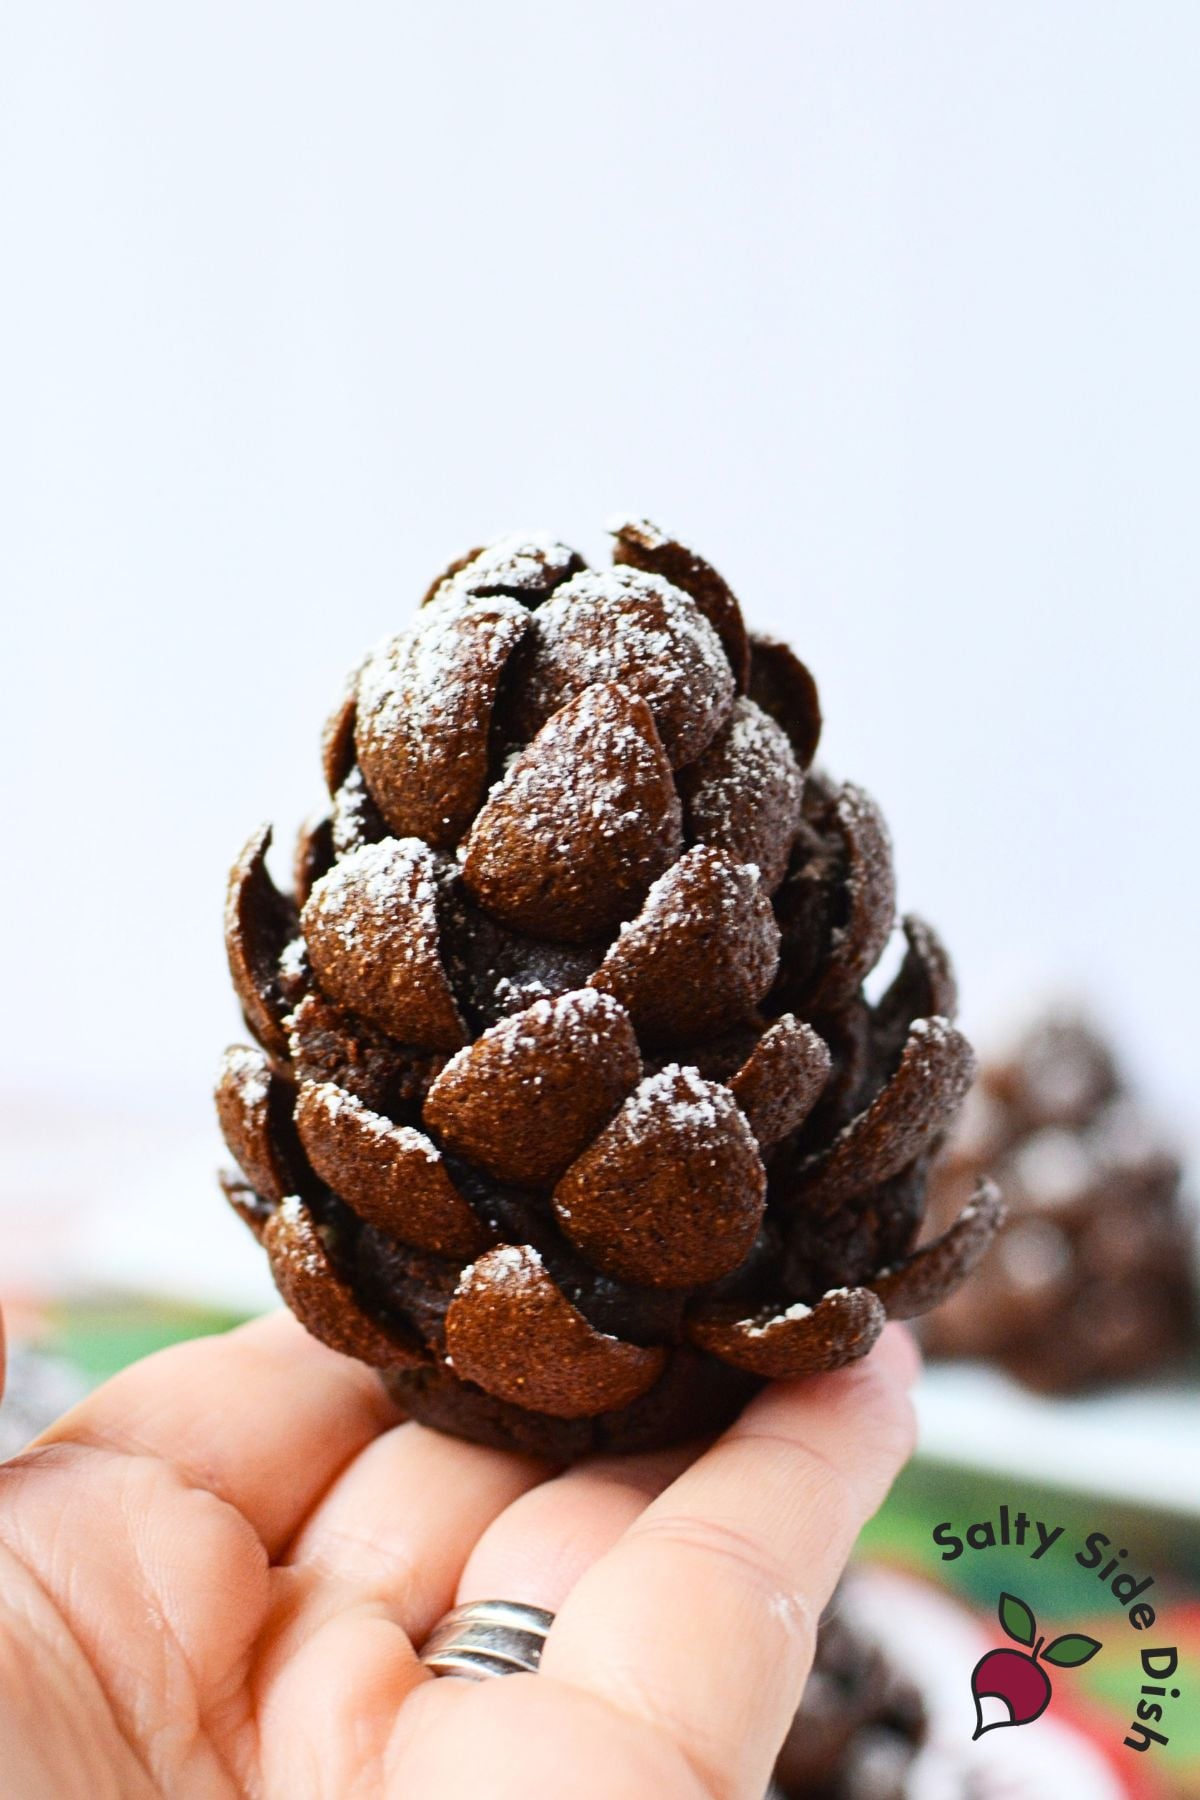
Once all 12 pinecones are finished, lightly dust them with powdered sugar.
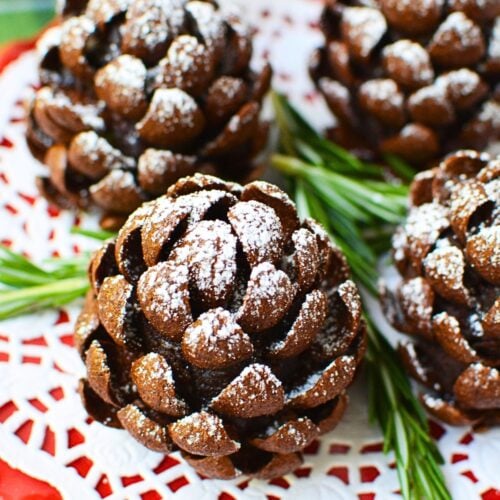
For serving, I tucked fresh rosemary around the brownies. It looks like evergreen branches and makes a simple Christmas presentation.
Can Pinecone Brownies Be Made Ahead?
Yes. I would assemble the pinecone brownies ahead of time and wait to add the powdered sugar until closer to serving.
That keeps the powdered sugar from absorbing moisture and gives you a fresher snowy finish.
How to Store Them
Store pinecone brownies in an airtight container.
Because the cereal is pressed directly into the soft brownie mixture, I prefer these within the first day or two while the cereal still has some crunch.
For more holiday sweets, you can browse my dessert recipes.
Pinecone Brownies
Equipment
- parchment or wax paper
Ingredients
- 7 ounces semi-sweet chocolate chunks
- 2/3 cup butter
- 1 cup granulated sugar
- 3 eggs
- 1 teaspoon vanilla extract
- 3/4 cup all-purpose flour
- 1/3 cup unsweetened baking cocoa
- 1/4 cup sweetened condensed milk
- 1 box Chocapic chocolate breakfast cereal 375 grams – or another curved chocolate cereal that can be pressed into the brownie like pinecone scales
- Powdered sugar for dusting
- Fresh rosemary optional for garnish
Instructions
- Preheat oven to 350°F and grease a 9 x 9-inch baking pan with nonstick cooking spray. If using a dark baking pan, reduce the oven temperature to 325°F. Add chocolate chunks and butter to a microwave-safe bowl and microwave for 1 minute 30 seconds. Stir until smooth. Mix in sugar, followed by eggs and vanilla.
- Stir flour and cocoa powder together in a separate bowl. Add to the chocolate mixture and mix just until combined. Spread batter evenly into the prepared pan and bake for 30-35 minutes, or until a toothpick inserted into the center comes out clean. Cool for about 45 minutes, or until cool enough to handle.
- Break the brownies into a large bowl. If the edges are especially hard, break them into very small pieces or discard those portions. Add 1/4 cup sweetened condensed milk and mix well with clean hands until the brownie mixture holds together when pressed. It should be firm enough to shape and not overly wet.
- Line a baking sheet or cutting board with wax paper or parchment paper. Divide the brownie mixture into 12 portions. For pinecones similar in size, weigh each portion to about 2 3/8 to 2 1/2 ounces. Shape each portion into an egg shape and gently flatten the bottom so it can stand upright.
- Starting at the top, gently press curved chocolate cereal pieces into the brownie. Continue working around the pinecone and downward, slightly overlapping and staggering the cereal pieces as you go. Repeat until the entire brownie is covered.
- Repeat with the remaining brownies. Lightly dust the finished pinecone brownies with powdered sugar just before serving.
- Arrange on a serving platter with fresh rosemary, if desired, for a Christmas presentation.
Notes
Nutrition
Nutritional Disclaimer: The nutritional data provided here is auto-calculated and intended for your convenience only. As it’s generated via automation, its accuracy may be compromised. For precise nutritional insight, please compute the values utilizing the actual ingredients in your recipe through your chosen nutrition calculator or application.
Did You Make This Recipe?
Make sure to follow Salty Side Dish on Pinterest and rate the recipe here and make sure to leave a comment below!


