
Deviled Brownies
This post may contain affiliate links. Please read the Privacy Policy & Cookie Policy.
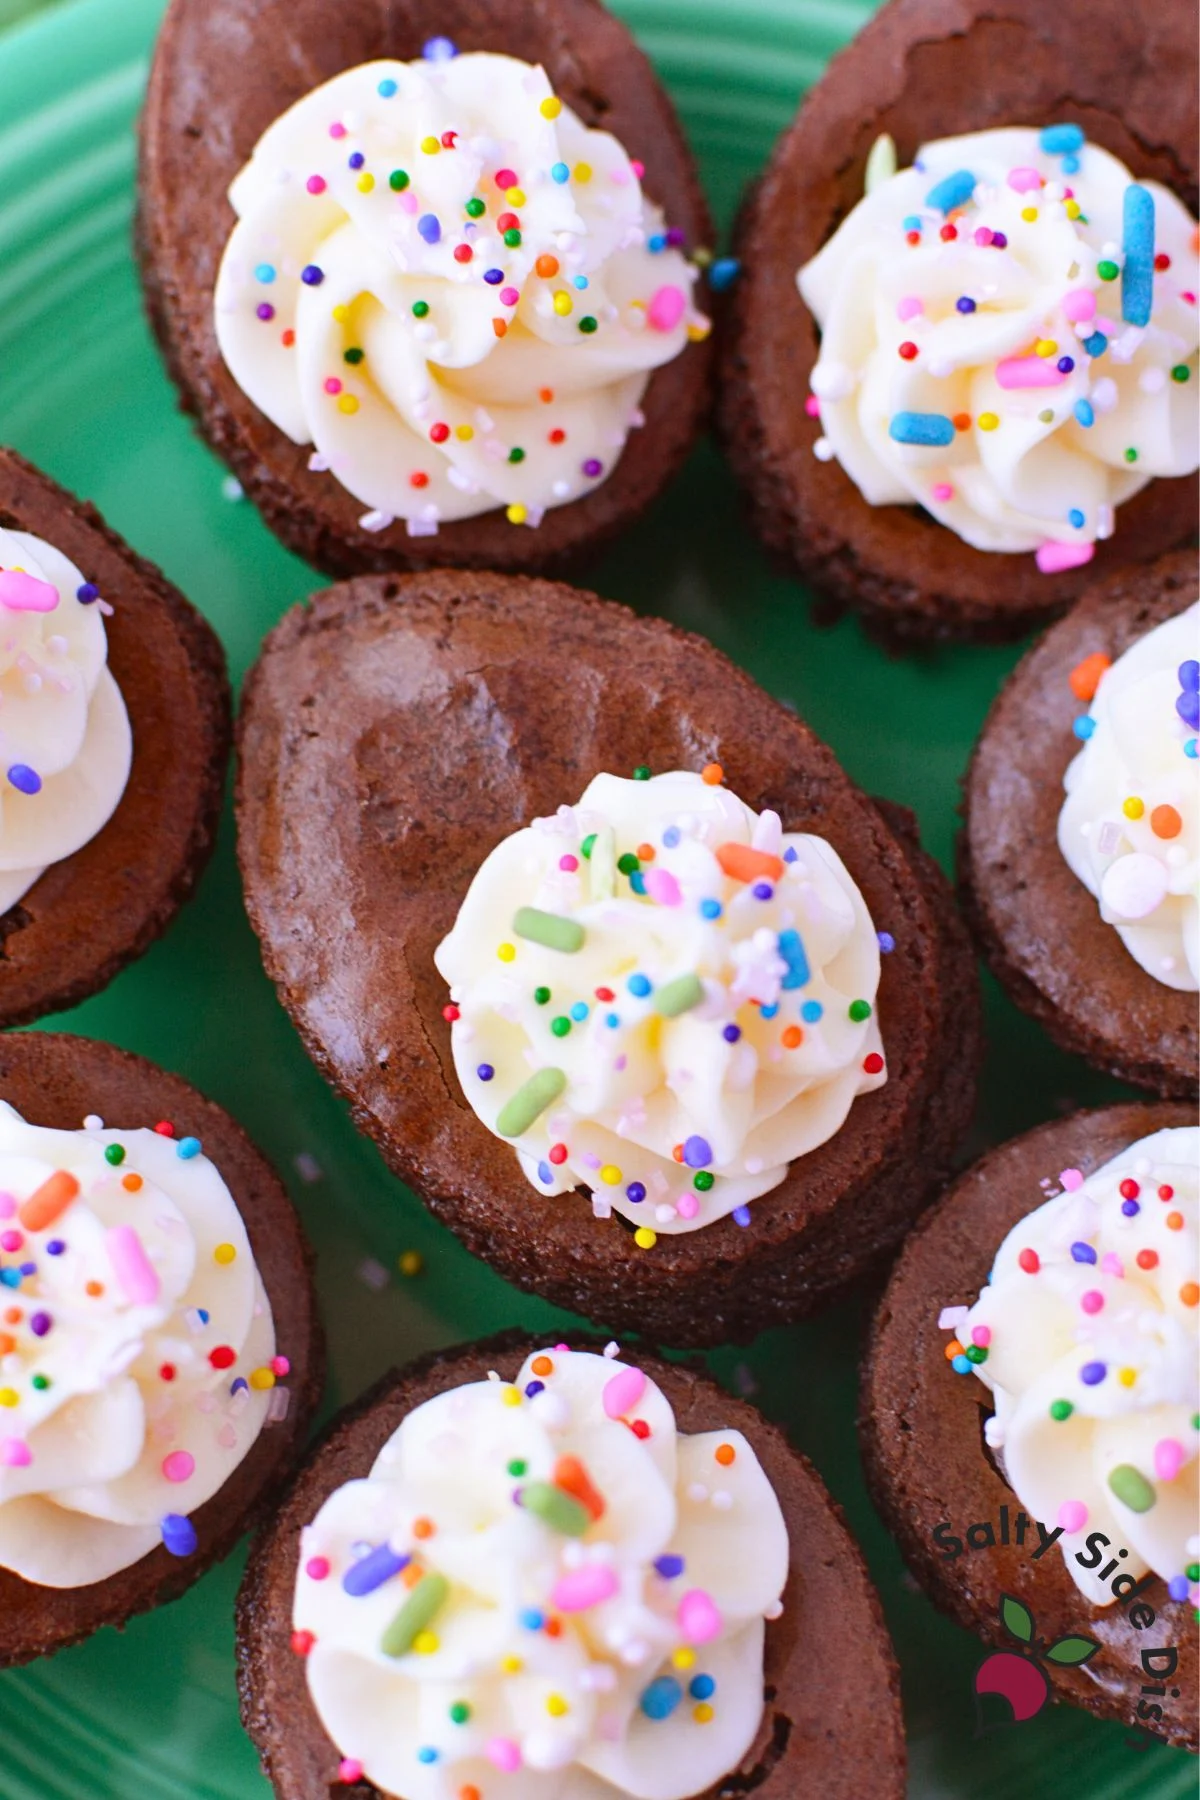
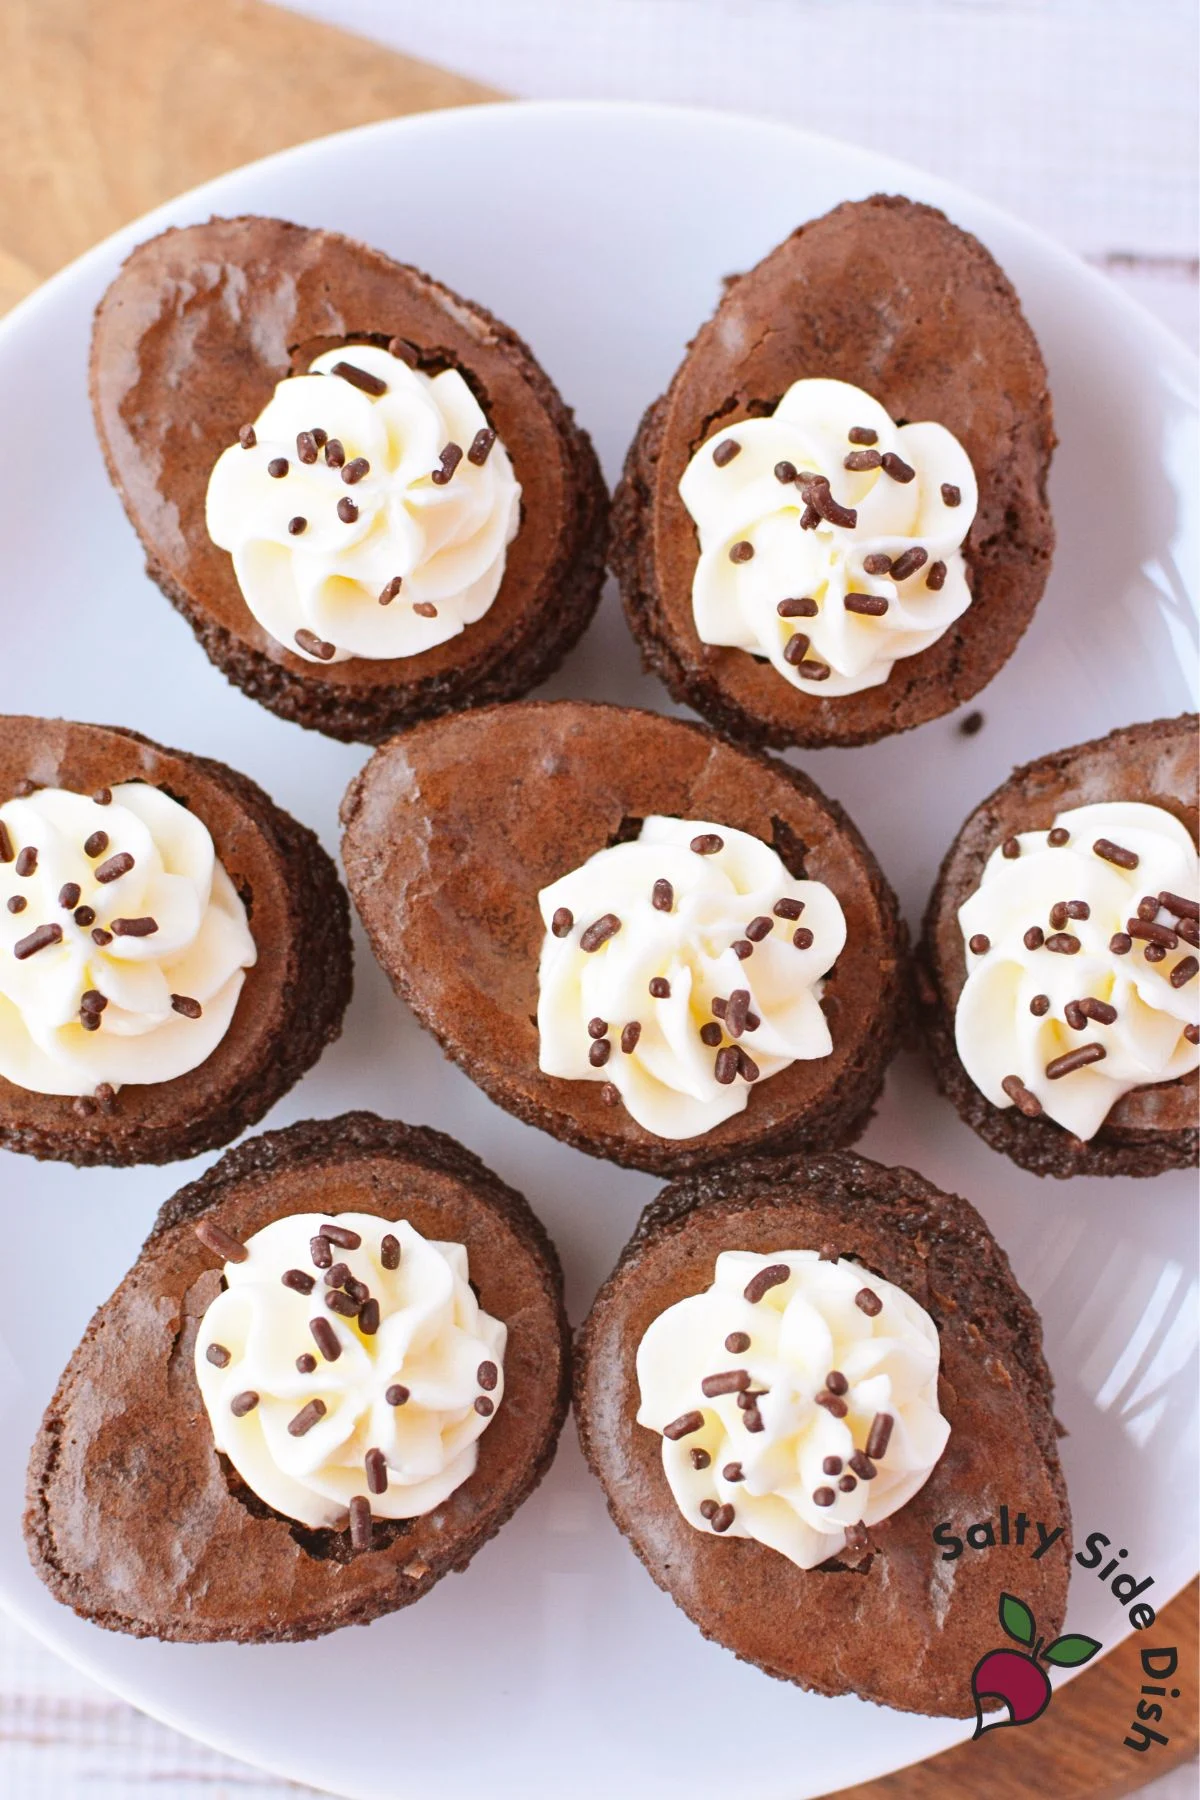
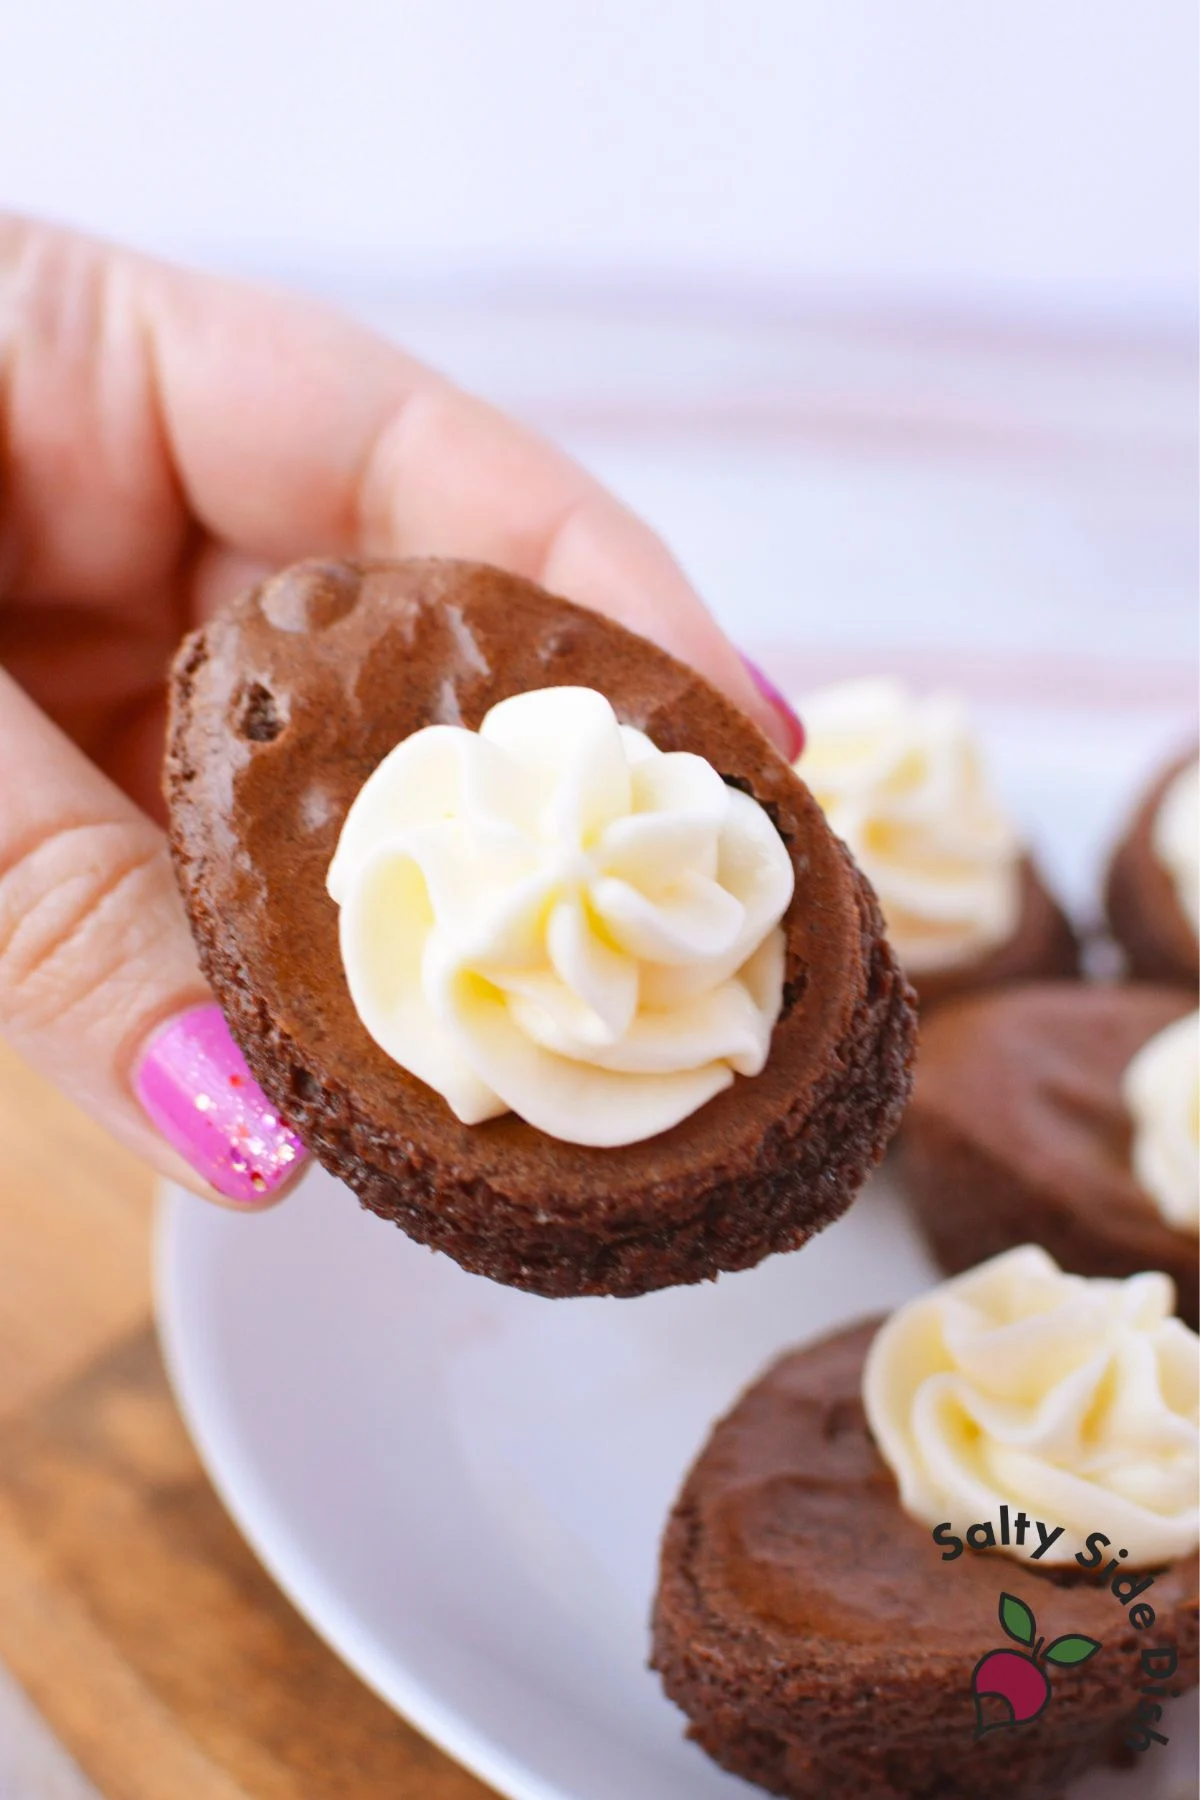
These deviled brownies are the perfect Easter egg shaped brownies for your spring celebration. Made with a simple box brownie mix and topped with a cream cheese marshmallow filling, these Easter treats are easy to make and always a crowd favorite.
If you’re looking for cute Easter desserts that go beyond traditional decorated eggs, these brownie eggs deliver on both presentation and flavor. The egg-shaped molds create adorable individual servings, while the tangy cream cheese filling balances the rich chocolate perfectly.
What Are Deviled Brownies?
I made these deviled brownies last Easter, and they disappeared fast. The cream cheese and marshmallow filling keeps them from being too sweet, which is why I went with that instead of regular frosting.
Ingredients for Easter Egg Brownies
For the Brownie Base:
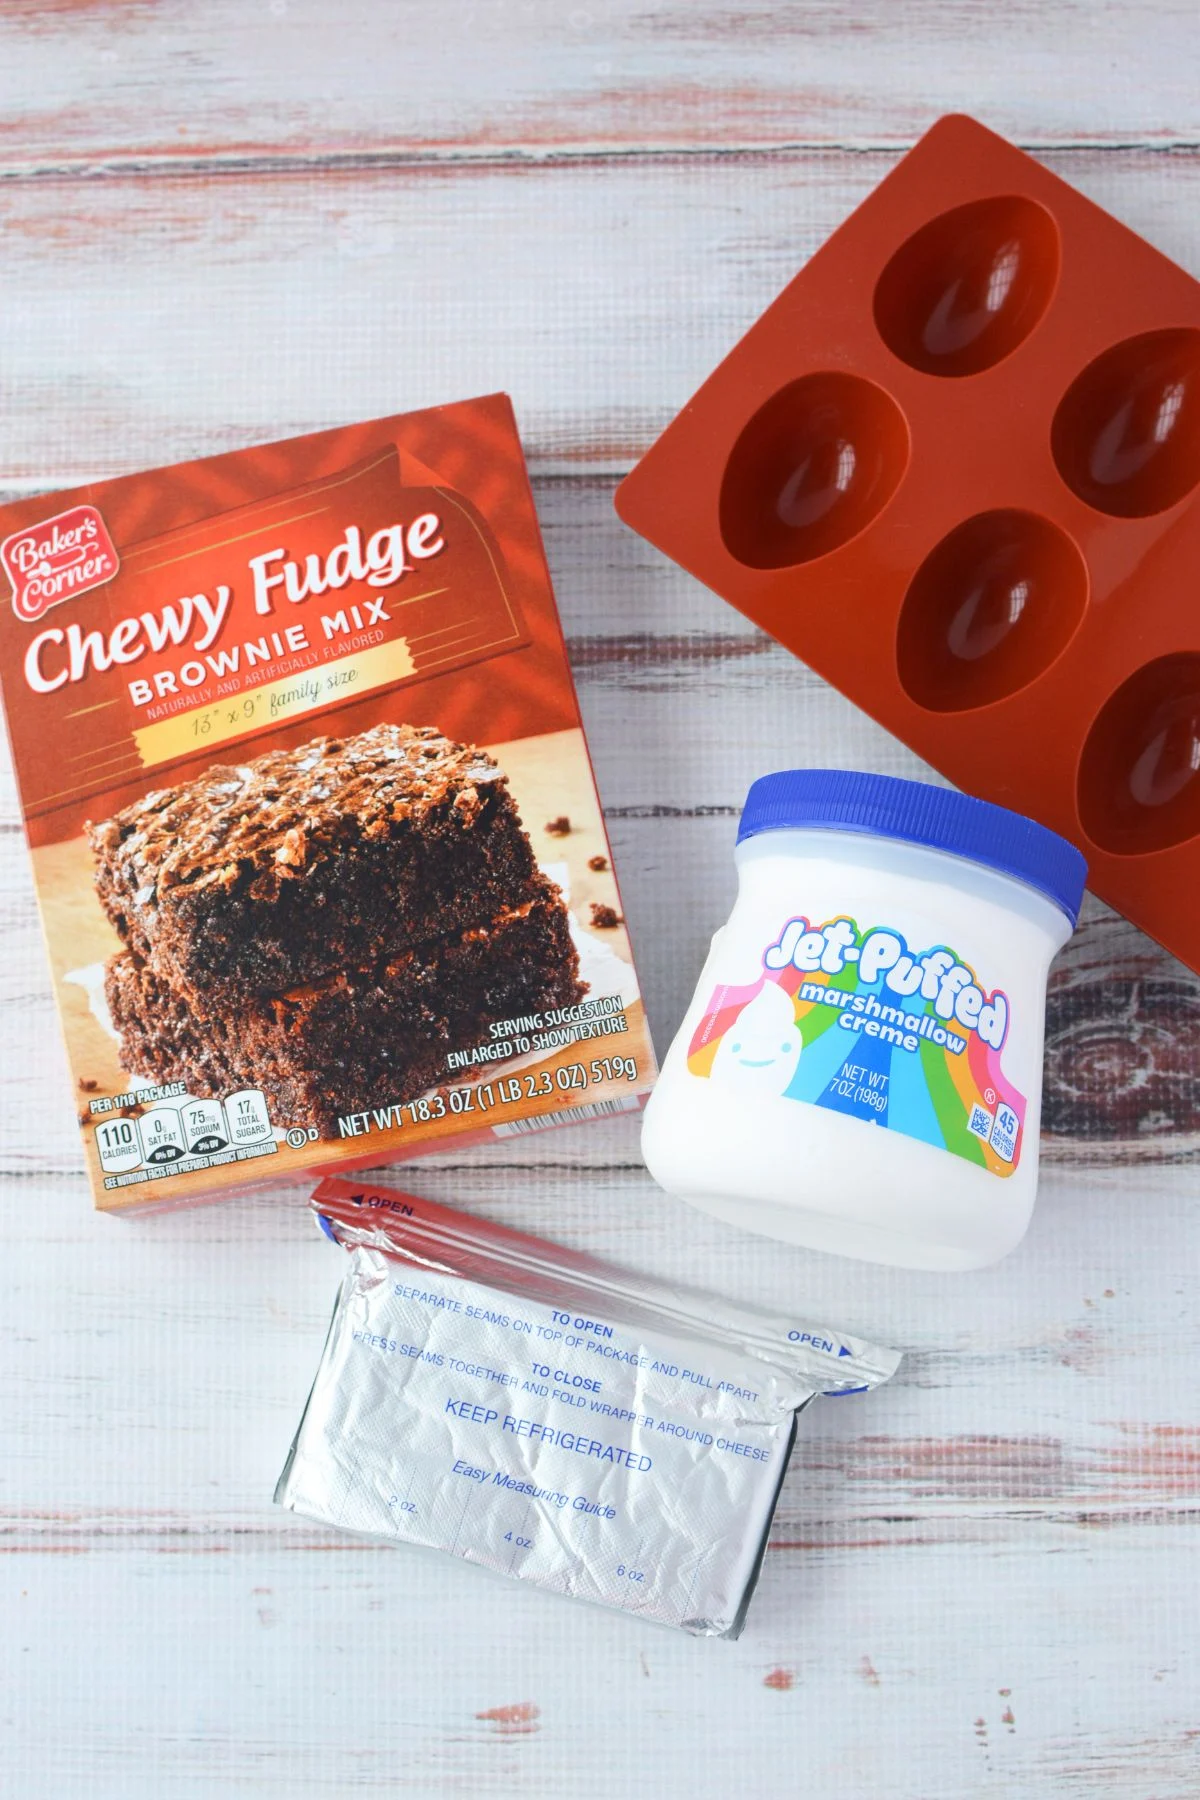
- 1 box (18.3 oz) brownie mix, plus ingredients listed on package (typically water, oil, and eggs)
- Nonstick cooking spray
For the Deviled Filling:
- 1 block (8 oz) cream cheese, softened to room temperature
- 1 tub (7 oz) marshmallow cream
- Colorful sprinkles (optional, but highly recommended for Easter!)
Special Equipment Needed
- Egg-shaped silicone molds (available on Amazon) – Note: You’ll need 2 molds to use all the brownie batter from one box, or use a smaller brownie mix box
- 2-tablespoon portion scoop for even brownie sizes
- 18-inch pastry bag fitted with 1M piping tip
How to Make Deviled Brownies
Step 1: Prepare the Brownie Eggs
- Preheat your oven to 350°F.
- Prepare the brownie batter according to package directions.
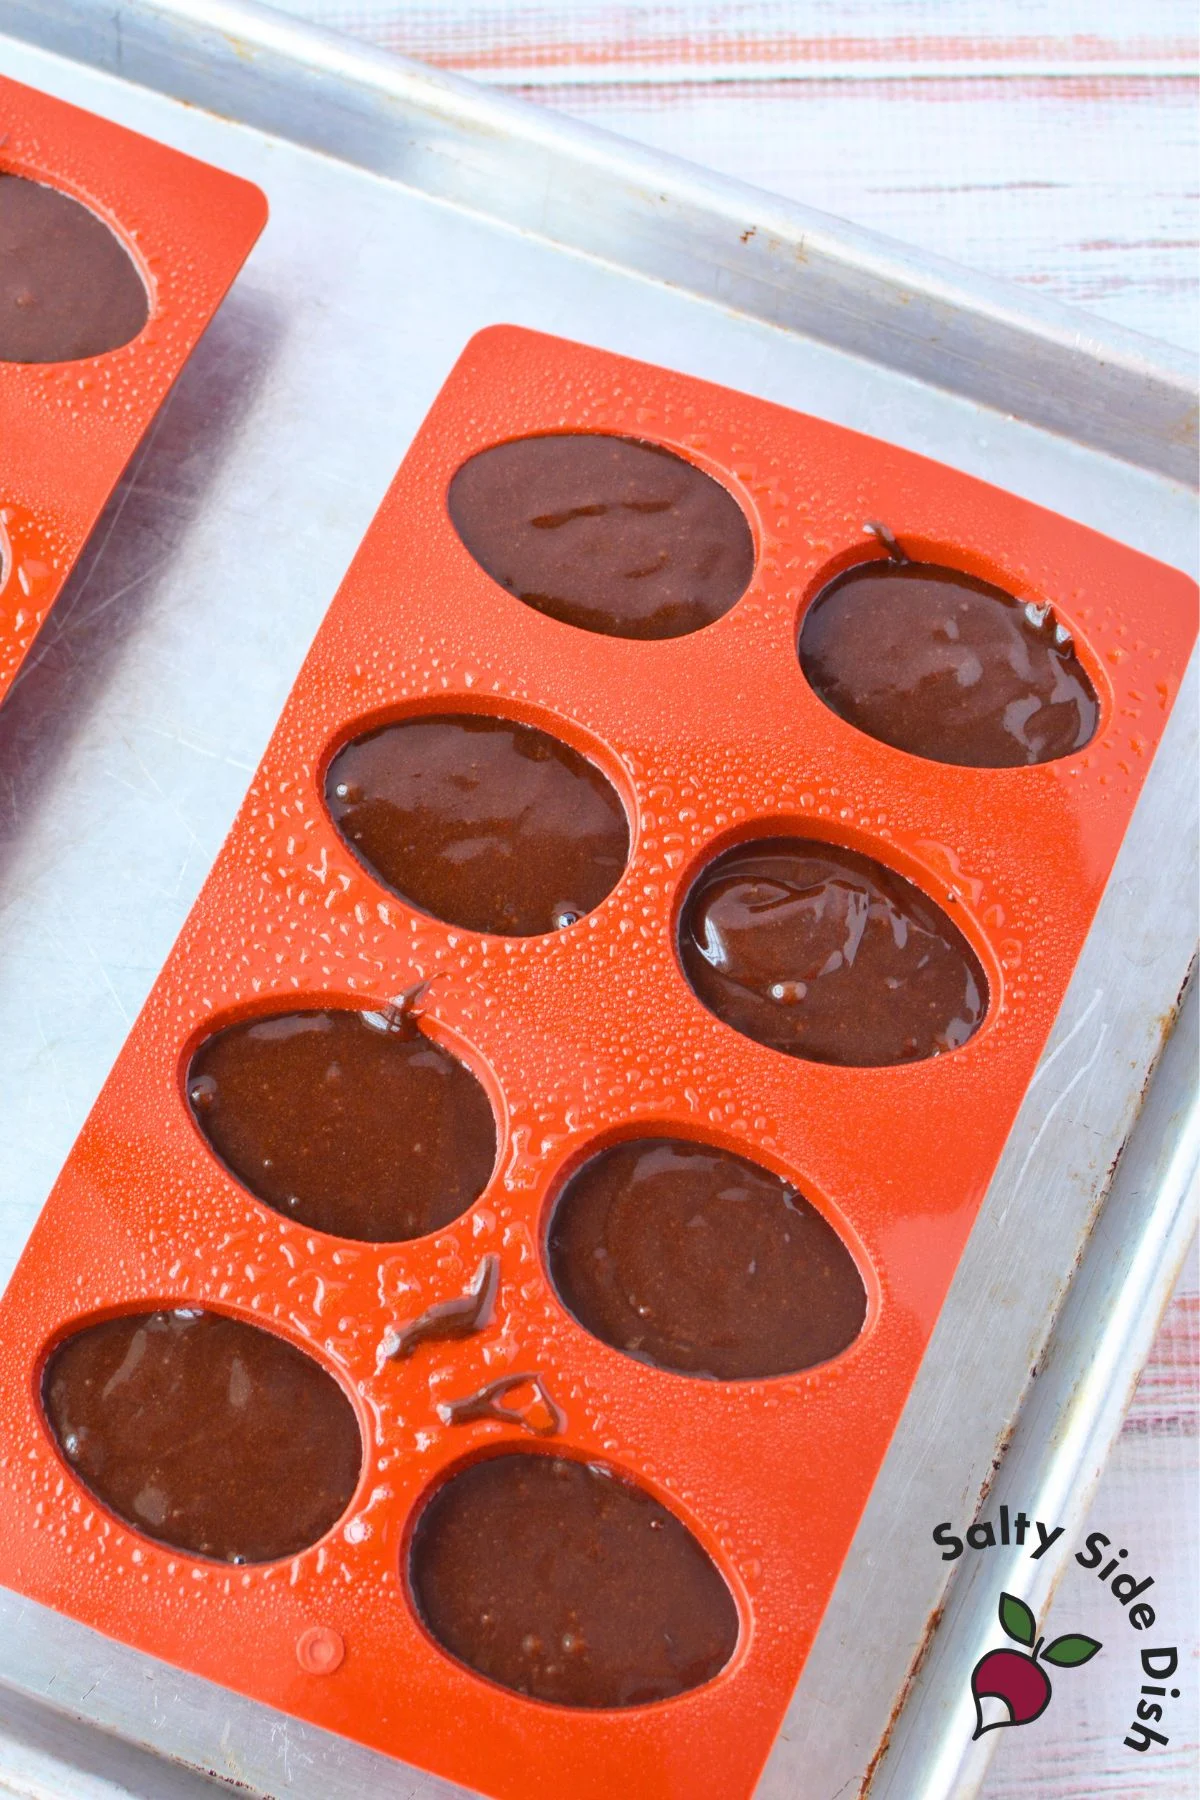
- Generously spray egg molds with nonstick cooking spray.
- Using a 2-tablespoon portion scoop, fill each egg cavity with brownie batter.
Step 2: Bake
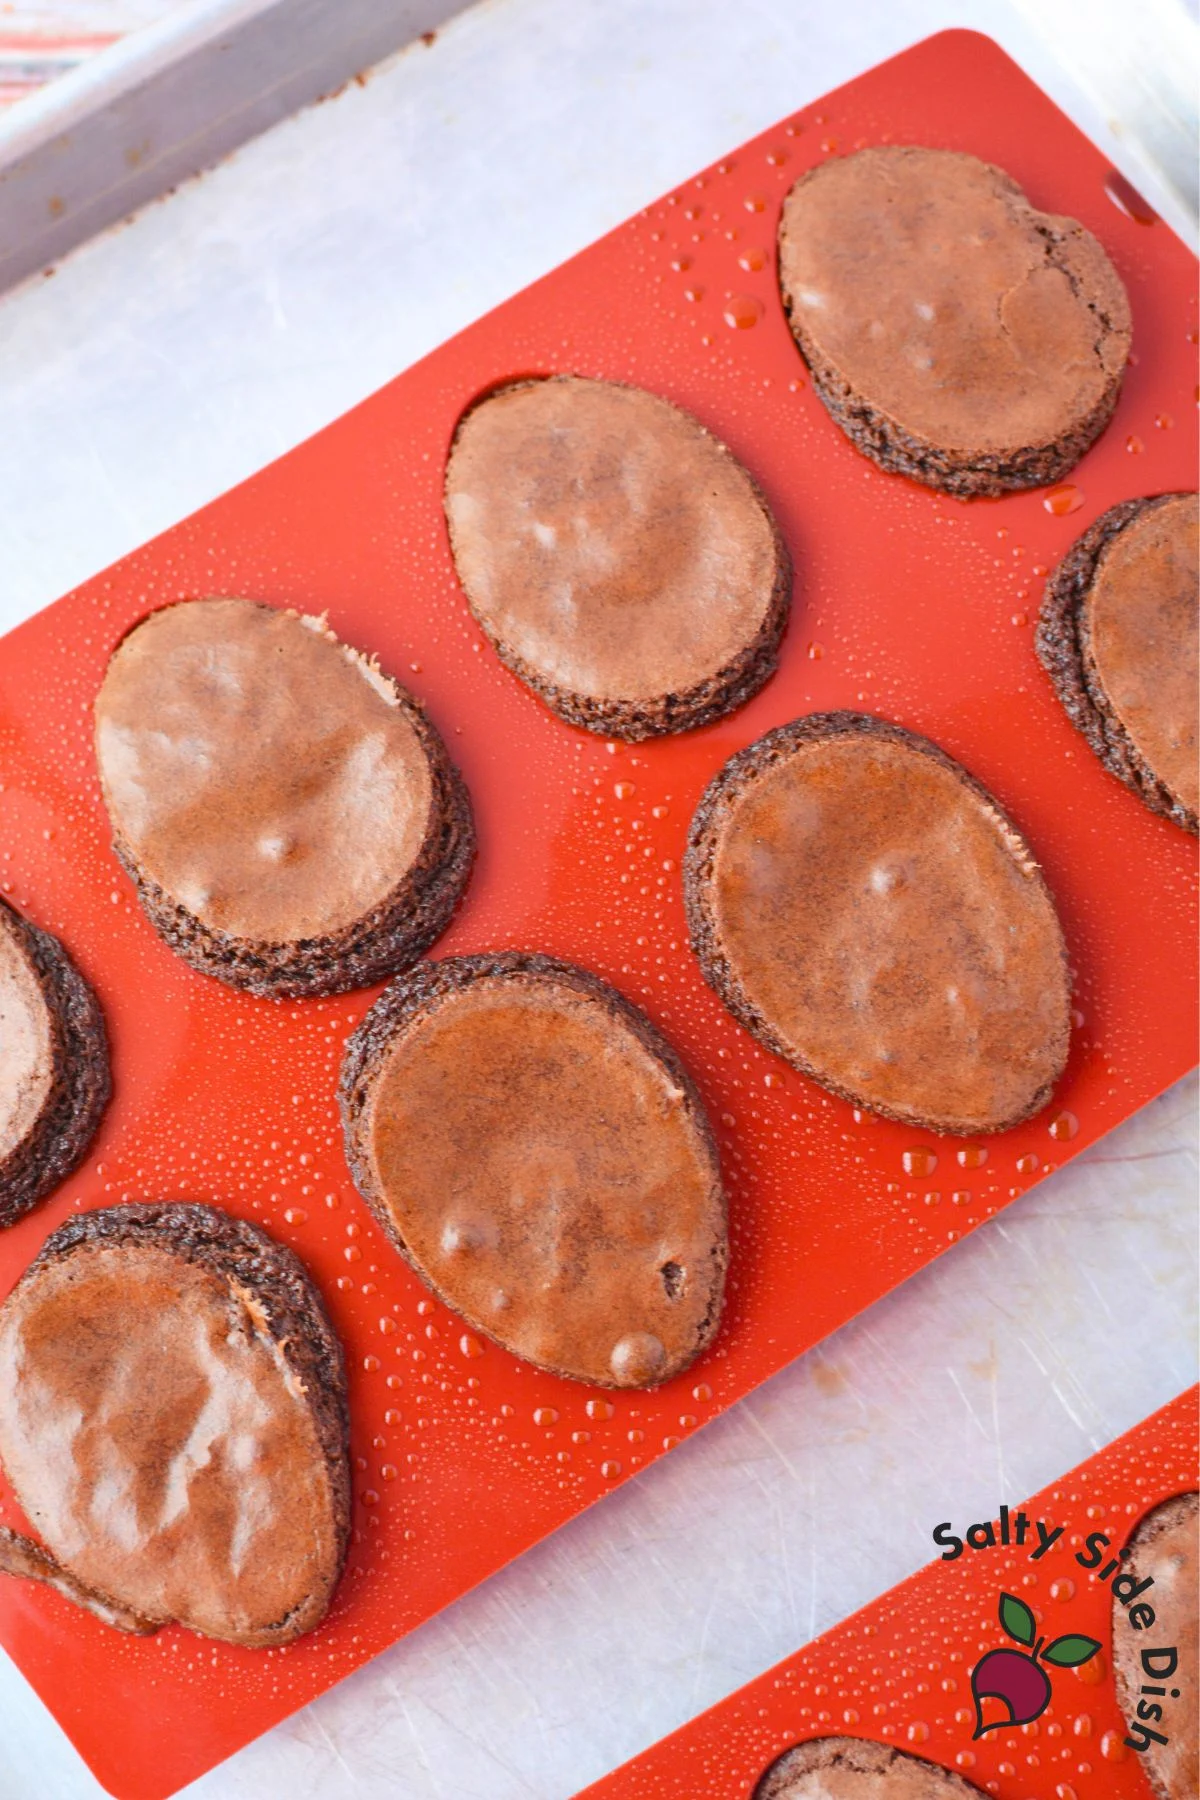
- Bake for 24-26 minutes, or until a toothpick inserted into the center comes out clean.
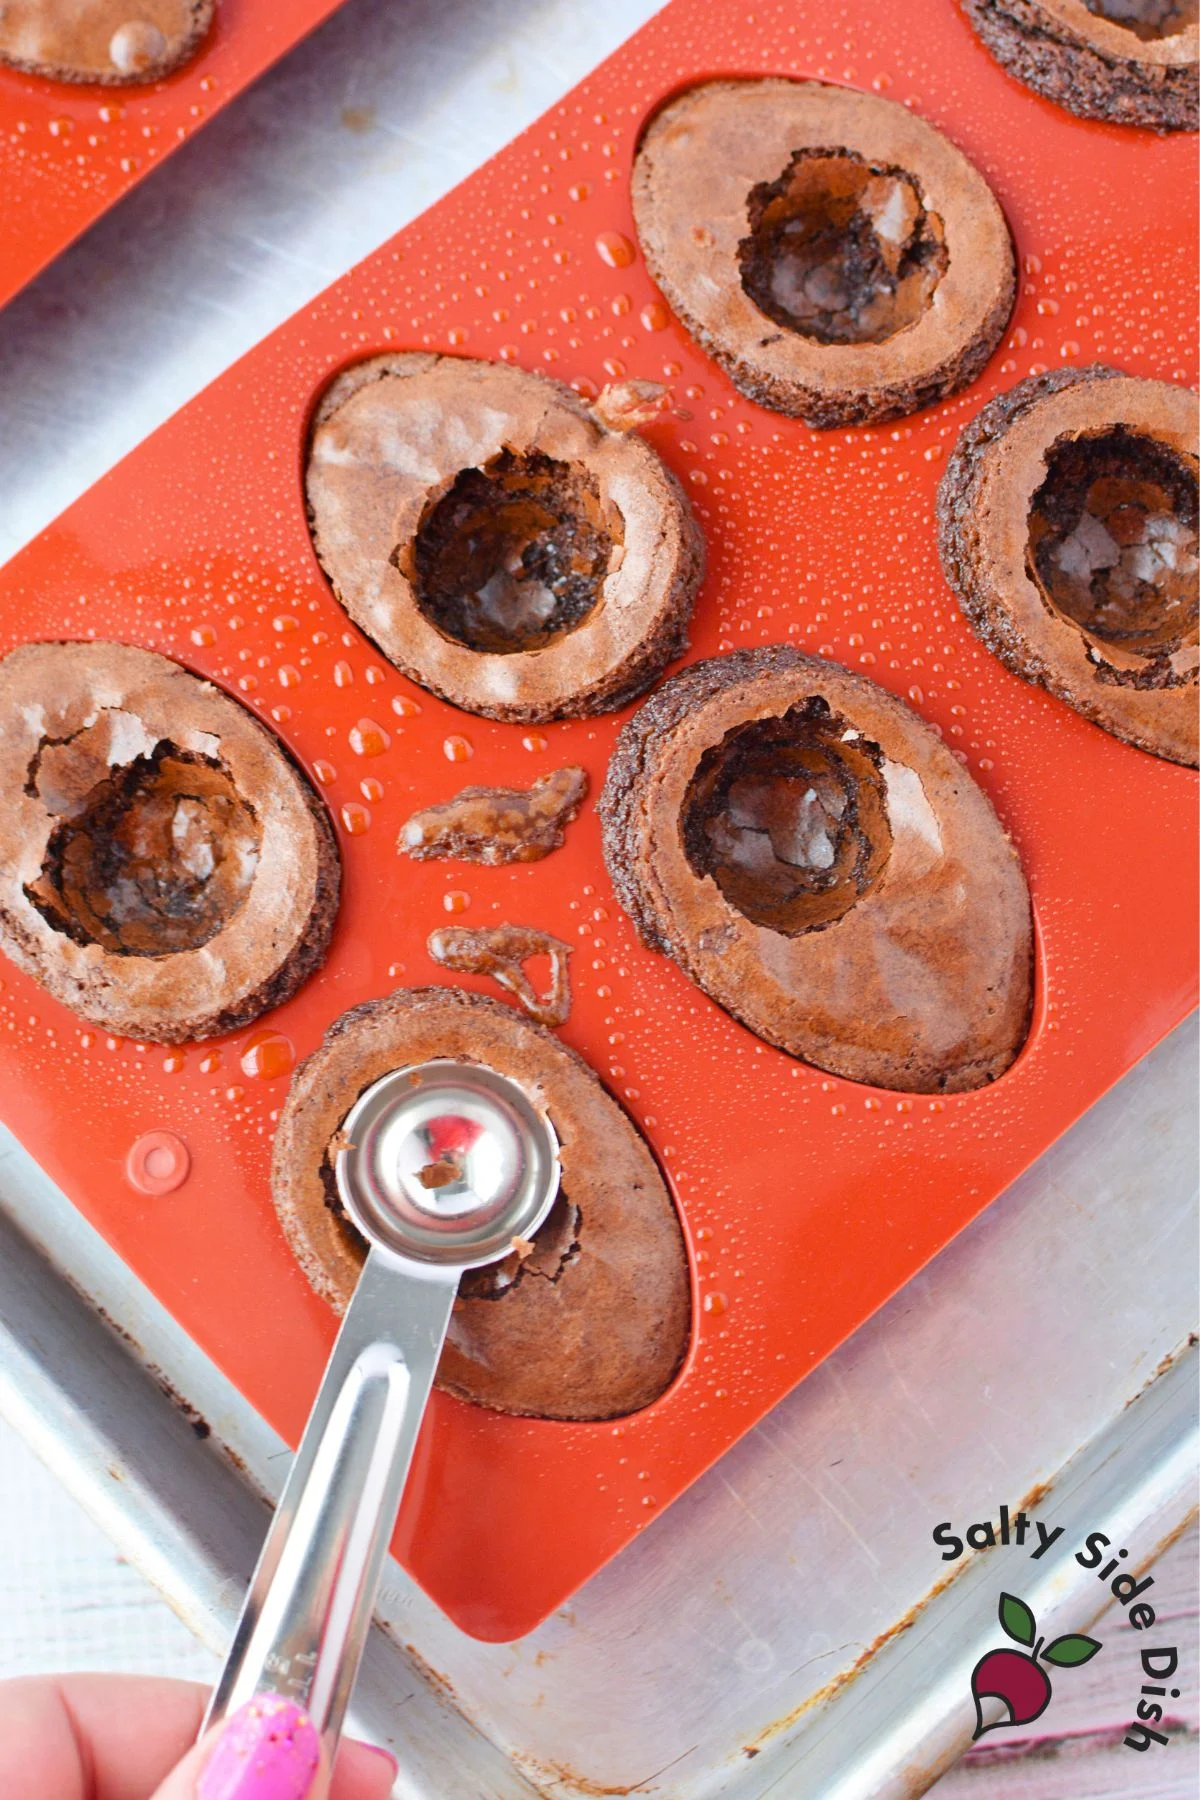
- Remove the brownies from the oven and while still HOT use a 1/2 teaspoon to push it into the brownie to make a divot in the center.
- Let brownie eggs cool COMPLETELY before removing from pan. This is crucial – don’t rush this step! This will likely take an hour or so.
Step 3: Remove and Shape
- Once they are cool, remove brownies by pulling back the silicone mold and inverting so the eggs pop out. Be slow and careful so as not to smush the egg shape.
- If needed, gently press the bottom of each brownie egg on a flat surface to flatten slightly, as they tend to be rounded after baking. Arrange eggs on a serving platter.
Step 4: Make the Deviled Filling
- Beat together softened cream cheese and marshmallow cream until smooth, scraping down the sides at least once during mixing.
- Transfer the filling mixture to an 18-inch pastry bag fitted with a 1M piping tip.
- Piping cream cheese marshmallow filling onto deviled brownies with 1M piping tip
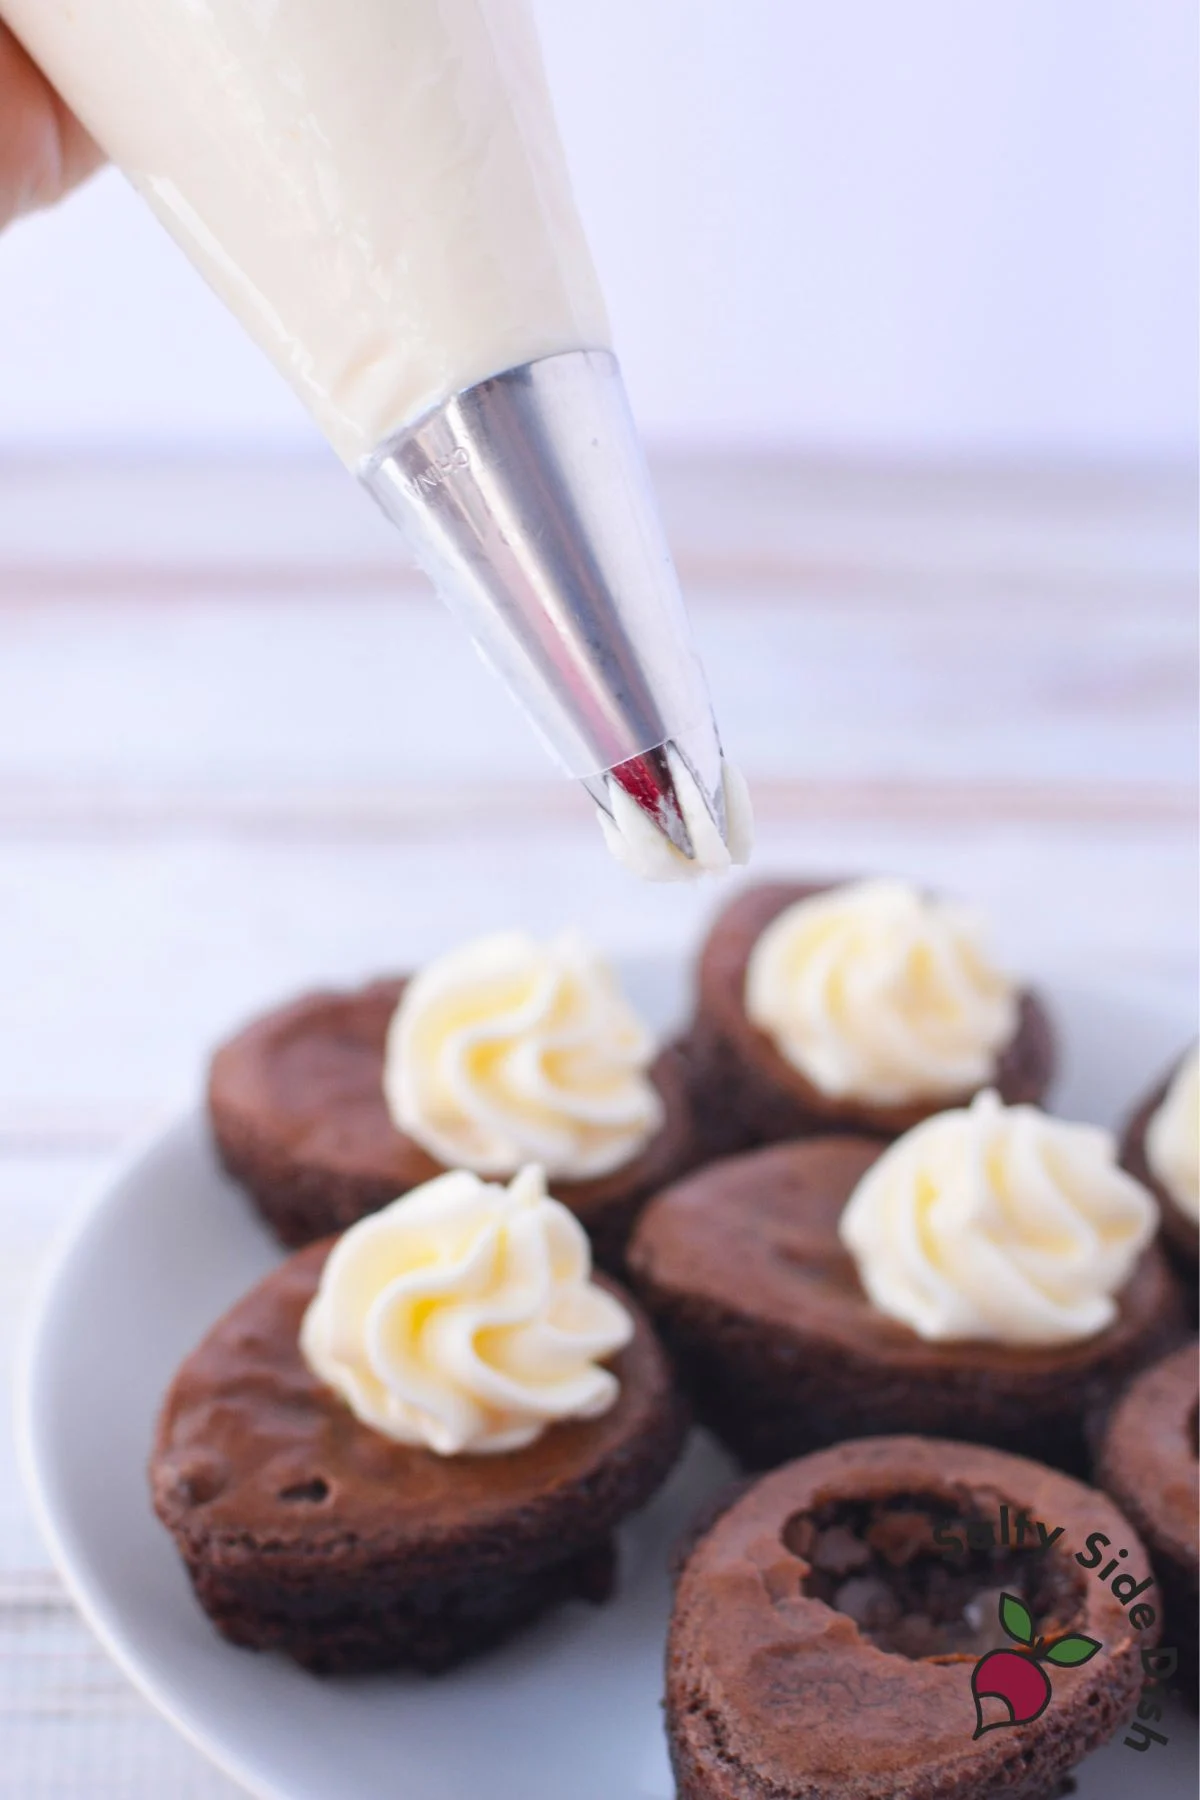
Step 5: Pipe and Decorate
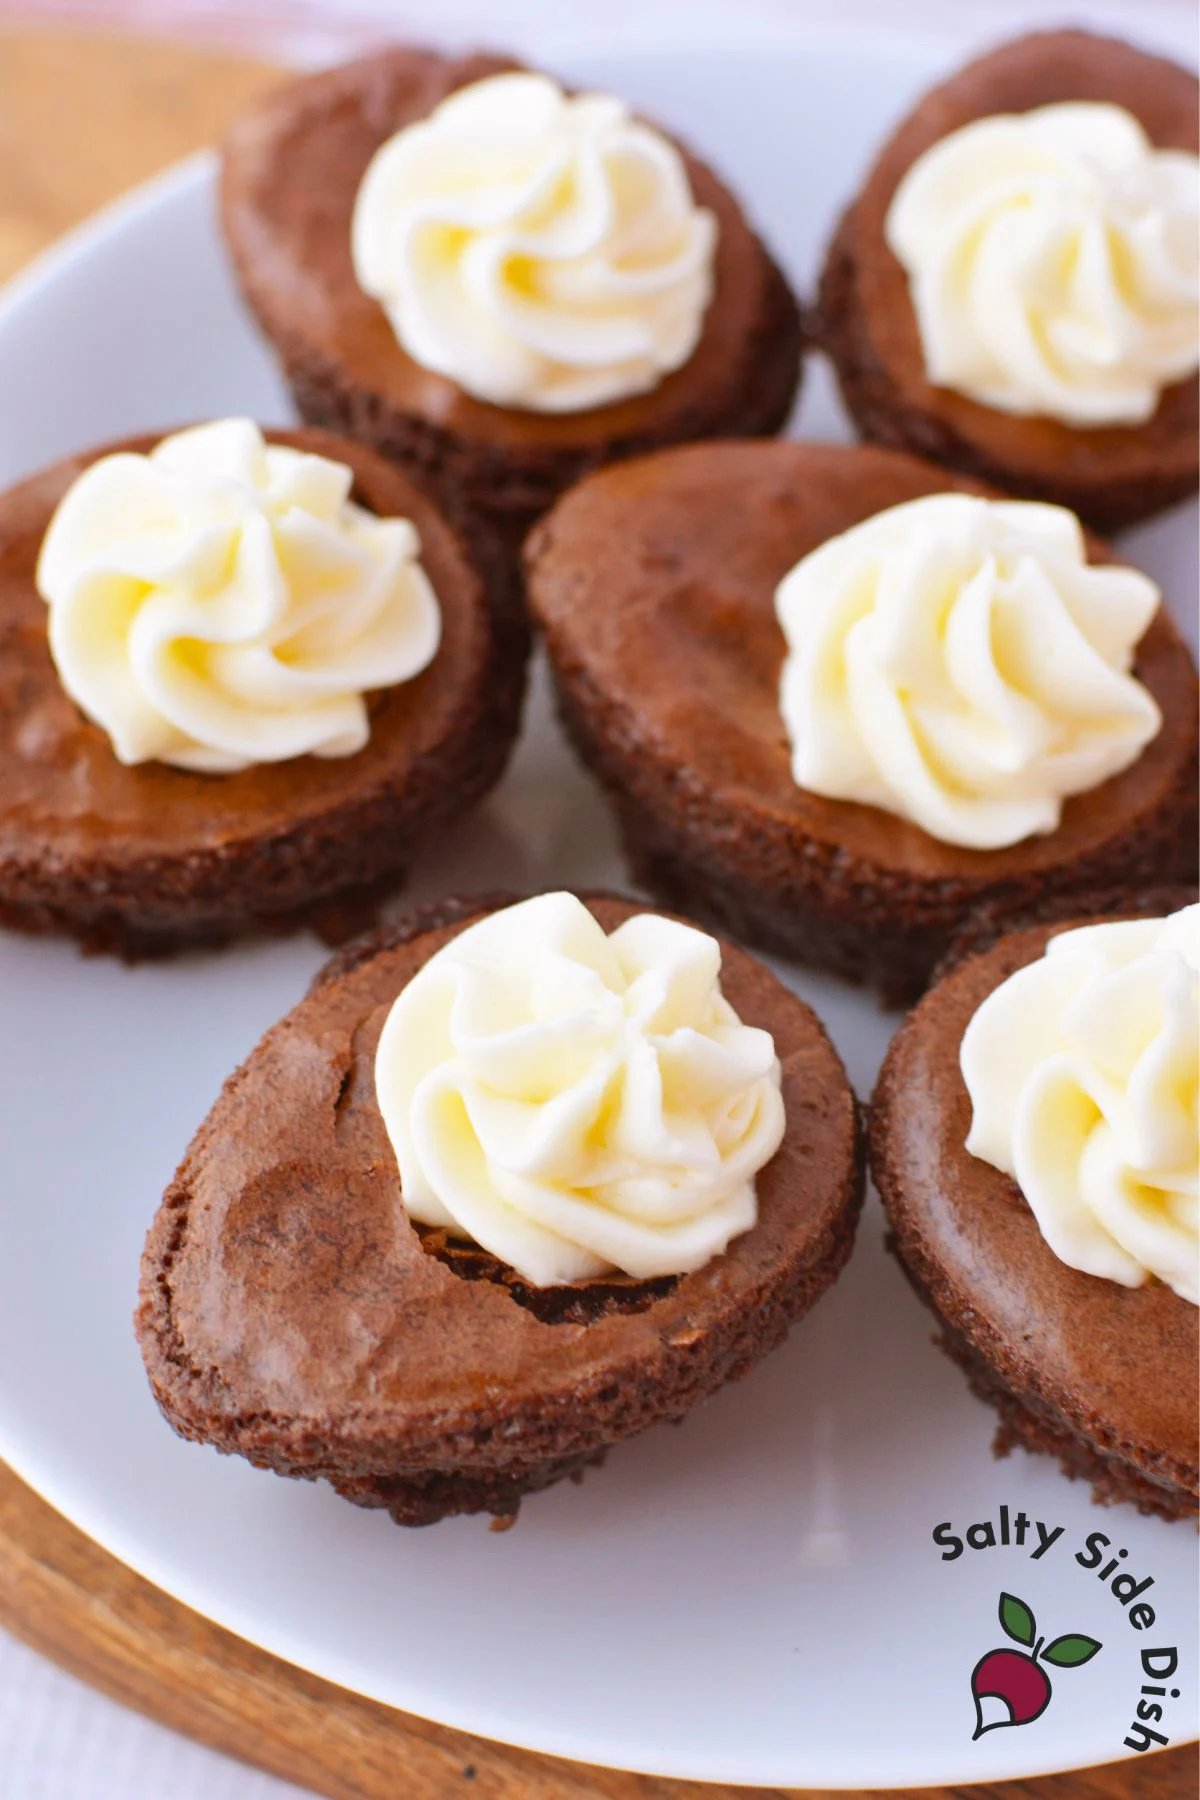
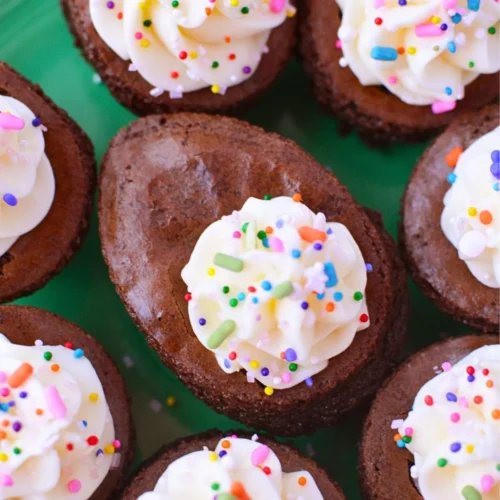
- Pipe a generous swirl of cream cheese filling onto each brownie egg.
- Top with colorful Easter sprinkles if desired (only if serving immediately otherwise wait right before serving so they do not bleed).
Step 6: Chill and Serve
Store the deviled brownies covered in the refrigerator until ready to serve. The cream cheese filling needs to stay chilled!
Storing Easter Brownies
Keep these Easter brownies in the fridge in a covered container for 3-4 days. The cream cheese filling needs to stay cold.
Tips for Perfect Easter Egg Brownies
- Let them cool completely before removing from molds – this is the most important step. Nearly-cooled brownies will break and crumble. They really do need to set.
- One standard 18.3 oz brownie box makes about 24 eggs, which fills 2-3 molds depending on mold size. You might have a bit of extra batter.
- Make these a day ahead if needed. Just keep them refrigerated.
Filling Variations for Brownie Eggs
The cream cheese and marshmallow filling is my favorite, but you can switch it up. Try The cream cheese and marshmallow filling is my favorite, but you can switch it up. Try adding 2-3 tablespoons of peanut butter to the filling, or swap the marshmallow cream for cookie butter. Regular buttercream frosting works too if you prefer that (even out of a can if you are pressed for time).
You can also tint the filling with food coloring for pastel Easter colors or go to red/pink if you want to make these for Valentines day.
These deviled brownies make great Easter desserts for parties and spring bake sales. If you make them, I’d love to hear how they turned out! And don’t forget to save this recipe to Pinterest so you can find it again next Easter.
Deviled Brownies
Equipment
- Egg shaped silicone molds (2 to 3 molds recommended)
- 2 tablespoon portion scoop
- 18 inch pastry bag with 1M piping tip
- nonstick cooking spray
Ingredients
- 18.3 oz brownie mix and ingredients to make brownies usually water oil, and eggs
- 8 oz cream cheese softened
- 7 oz marshmallow cream
- Sprinkles optional
Instructions
- Preheat oven to 350°F. Prepare brownie batter according to package directions.
- Grease egg shaped silicone molds well with nonstick cooking spray. Use a 2 tablespoon portion scoop to fill each cavity.
- Bake for 24 to 26 minutes, or until a toothpick inserted in the center comes out clean.
- Remove brownies from the oven. While they are still hot, use a 1/2 teaspoon to gently press into the center of each brownie to create a divot.
- Let brownies cool completely in the mold. Do not rush this step.
- Once fully cooled, carefully pull back the silicone mold and invert to release the brownie eggs.
- Lightly press the bottom of each brownie egg on a flat surface to flatten slightly, as they may be rounded.
- Beat cream cheese and marshmallow cream together until smooth, scraping down the sides as needed.
- Transfer filling to an 18 inch pastry bag fitted with a 1M piping tip. Pipe filling into each brownie and top with sprinkles if using.
- Refrigerate until ready to serve.
Notes
- One 18.3 oz box of brownie mix makes about 24 egg shaped brownies, depending on mold size.
- Do not add sprinkles until close to serving time, as they can bleed into the frosting.
- Regular frosting can be substituted for the cream cheese marshmallow filling.
- Additional filling variations are included in the article.
Nutritional Disclaimer: The nutritional data provided here is auto-calculated and intended for your convenience only. As it’s generated via automation, its accuracy may be compromised. For precise nutritional insight, please compute the values utilizing the actual ingredients in your recipe through your chosen nutrition calculator or application.
Did You Make This Recipe?
Make sure to follow Salty Side Dish on Pinterest and rate the recipe here and make sure to leave a comment below!


I made these on Sunday for a trial run to see how they would turn out … so cute and I did such a great job … I will make them for Easter this year … I made buttercream icing and used pastel sprinkles… so cute so festive!
Made these last night, the brownie was perfect. The frosting was way too runny and after alot of trying to save it, it went in the bin
It Definity shouldn’t have been runny. Did you let your cream cheese soften naturally or put it in the microwave? Bc if you put it in the microwave, it essentially melts it, which would have accounted for it being runny.