
Colorful Oreo Truffles
This post may contain affiliate links. Please read the Privacy Policy & Cookie Policy.
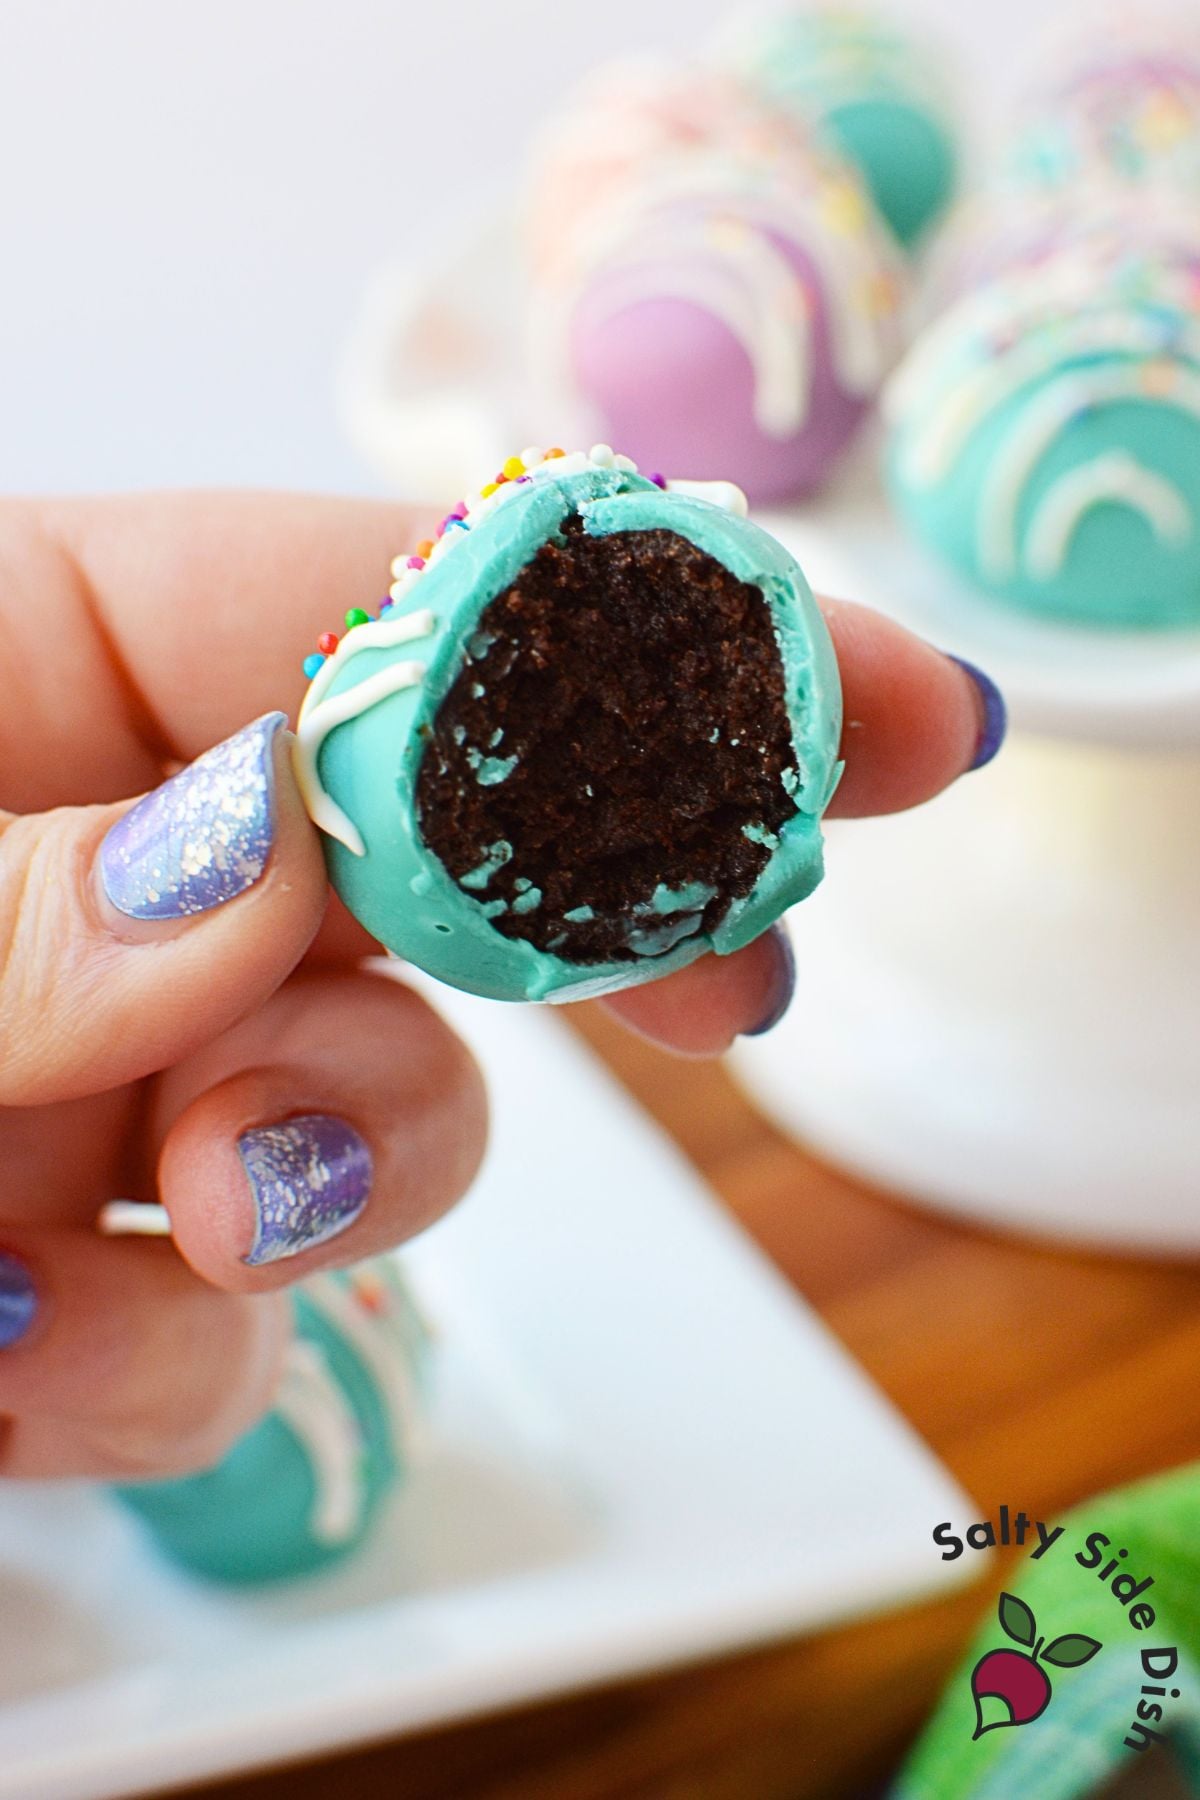
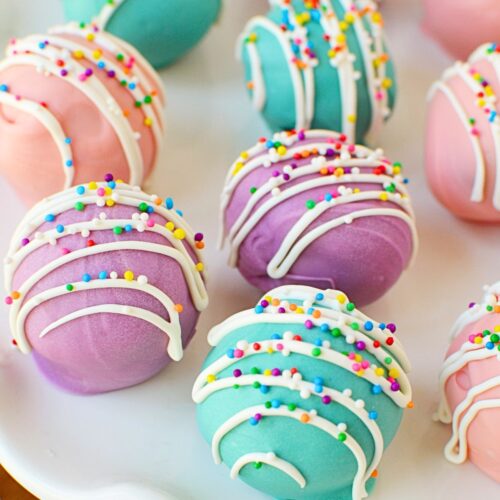
Super colorful Oreo Truffles are one of my favorite no-bake desserts for baby showers, bridal showers, spring parties, and any celebration that calls for a colorful sweet treat.
Made with crushed Oreo cookies, cream cheese, and pastel-colored candy melts, they’re simple to make but look and taste like they came straight from a bakery (without the baking!).
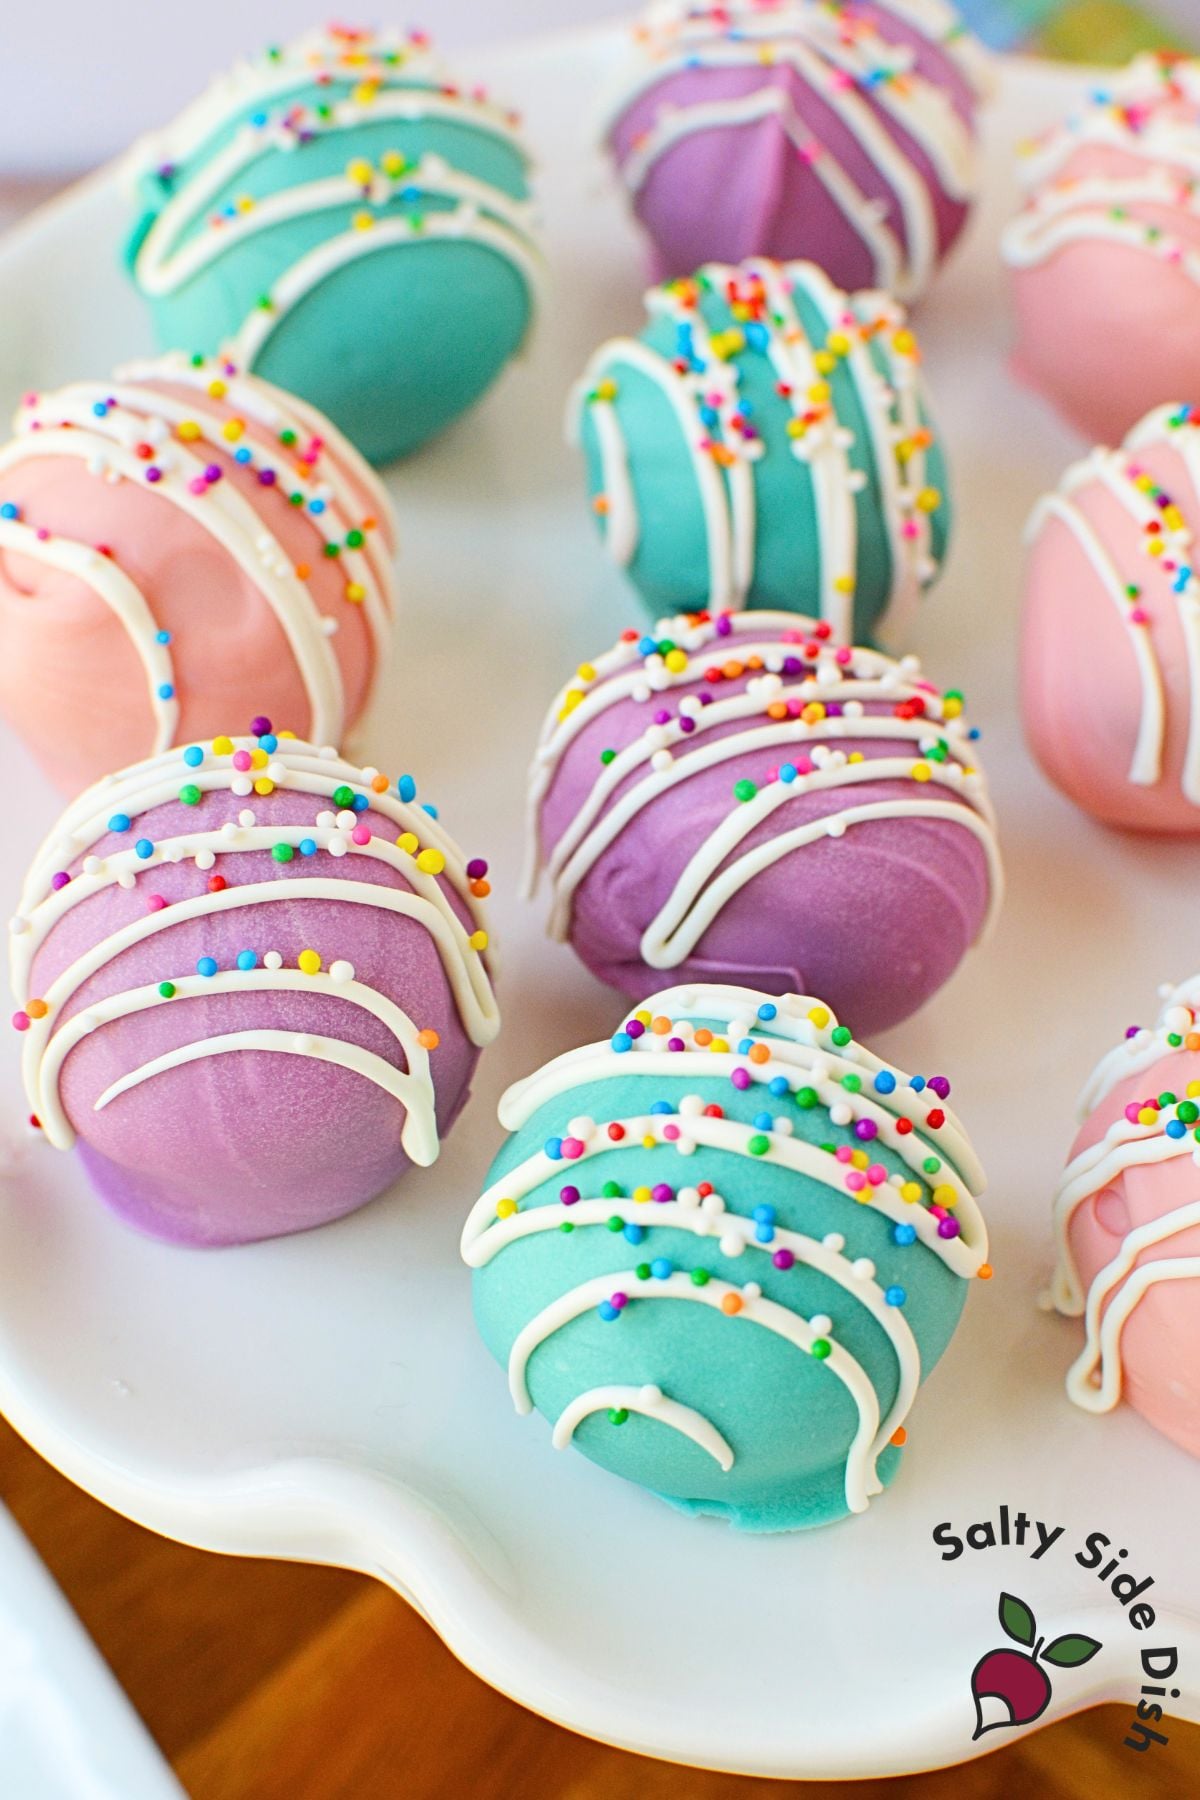
I’ve made plenty of Oreo truffles, sometimes called Oreo balls, over the years, and the biggest mistake I see is rushing the chilling step or trying to coat them before they’re fully chilled. Keeping them well chilled makes dipping much easier and gives you a smooth, even finish.
If you’ve never made Oreo truffles before, this is a great recipe to start with.
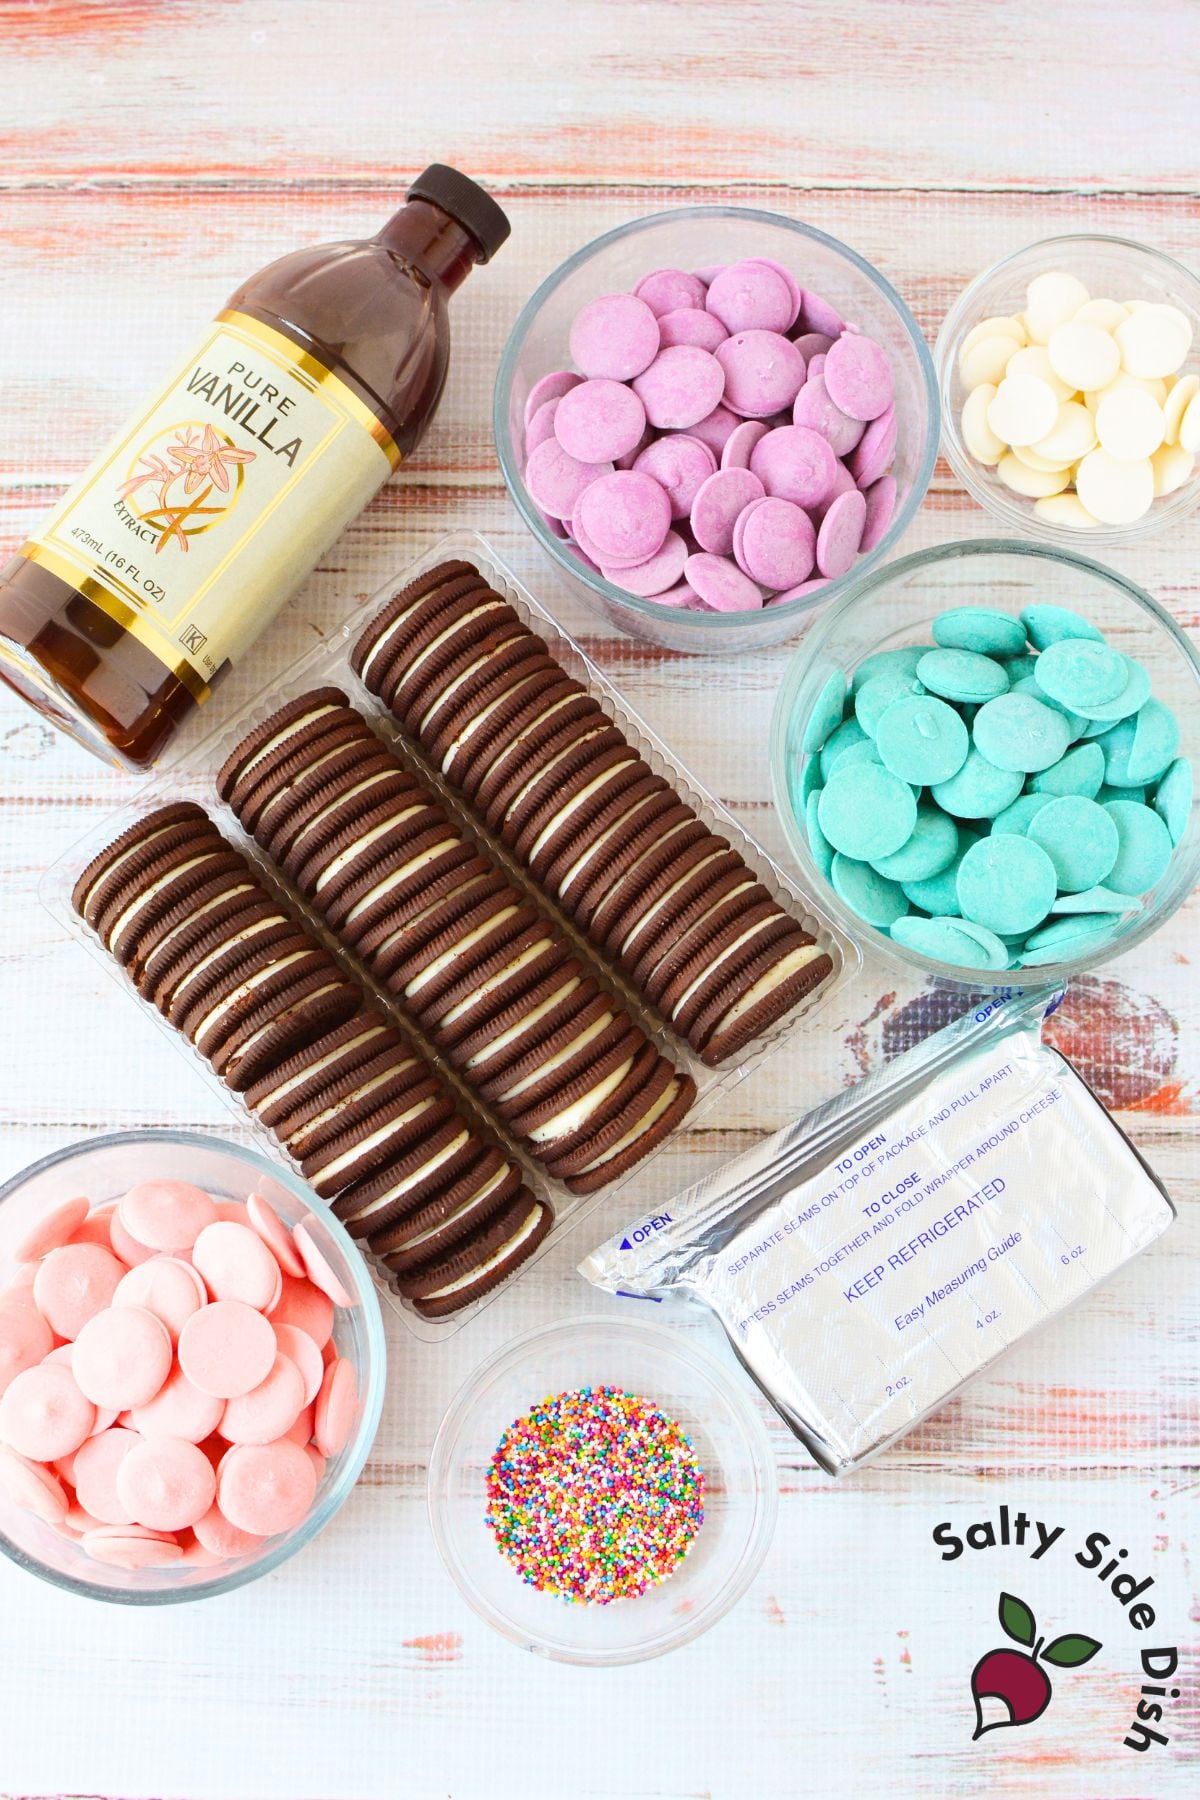
Ingredients You’ll Need
For the Truffles
- 1 package (14.3 ounces) regular Oreo cookies
- 1 block (8 ounces) cream cheese, softened
- 1 teaspoon vanilla extract
For the Coating
- 6 ounces lavender candy melts
- 6 ounces turquoise candy melts
- 6 ounces light pink candy melts
- 1/4 cup bright white candy melts, for drizzle
- Rainbow nonpareil sprinkles
How to Make Colorful Oreo Truffles
Make the Filling
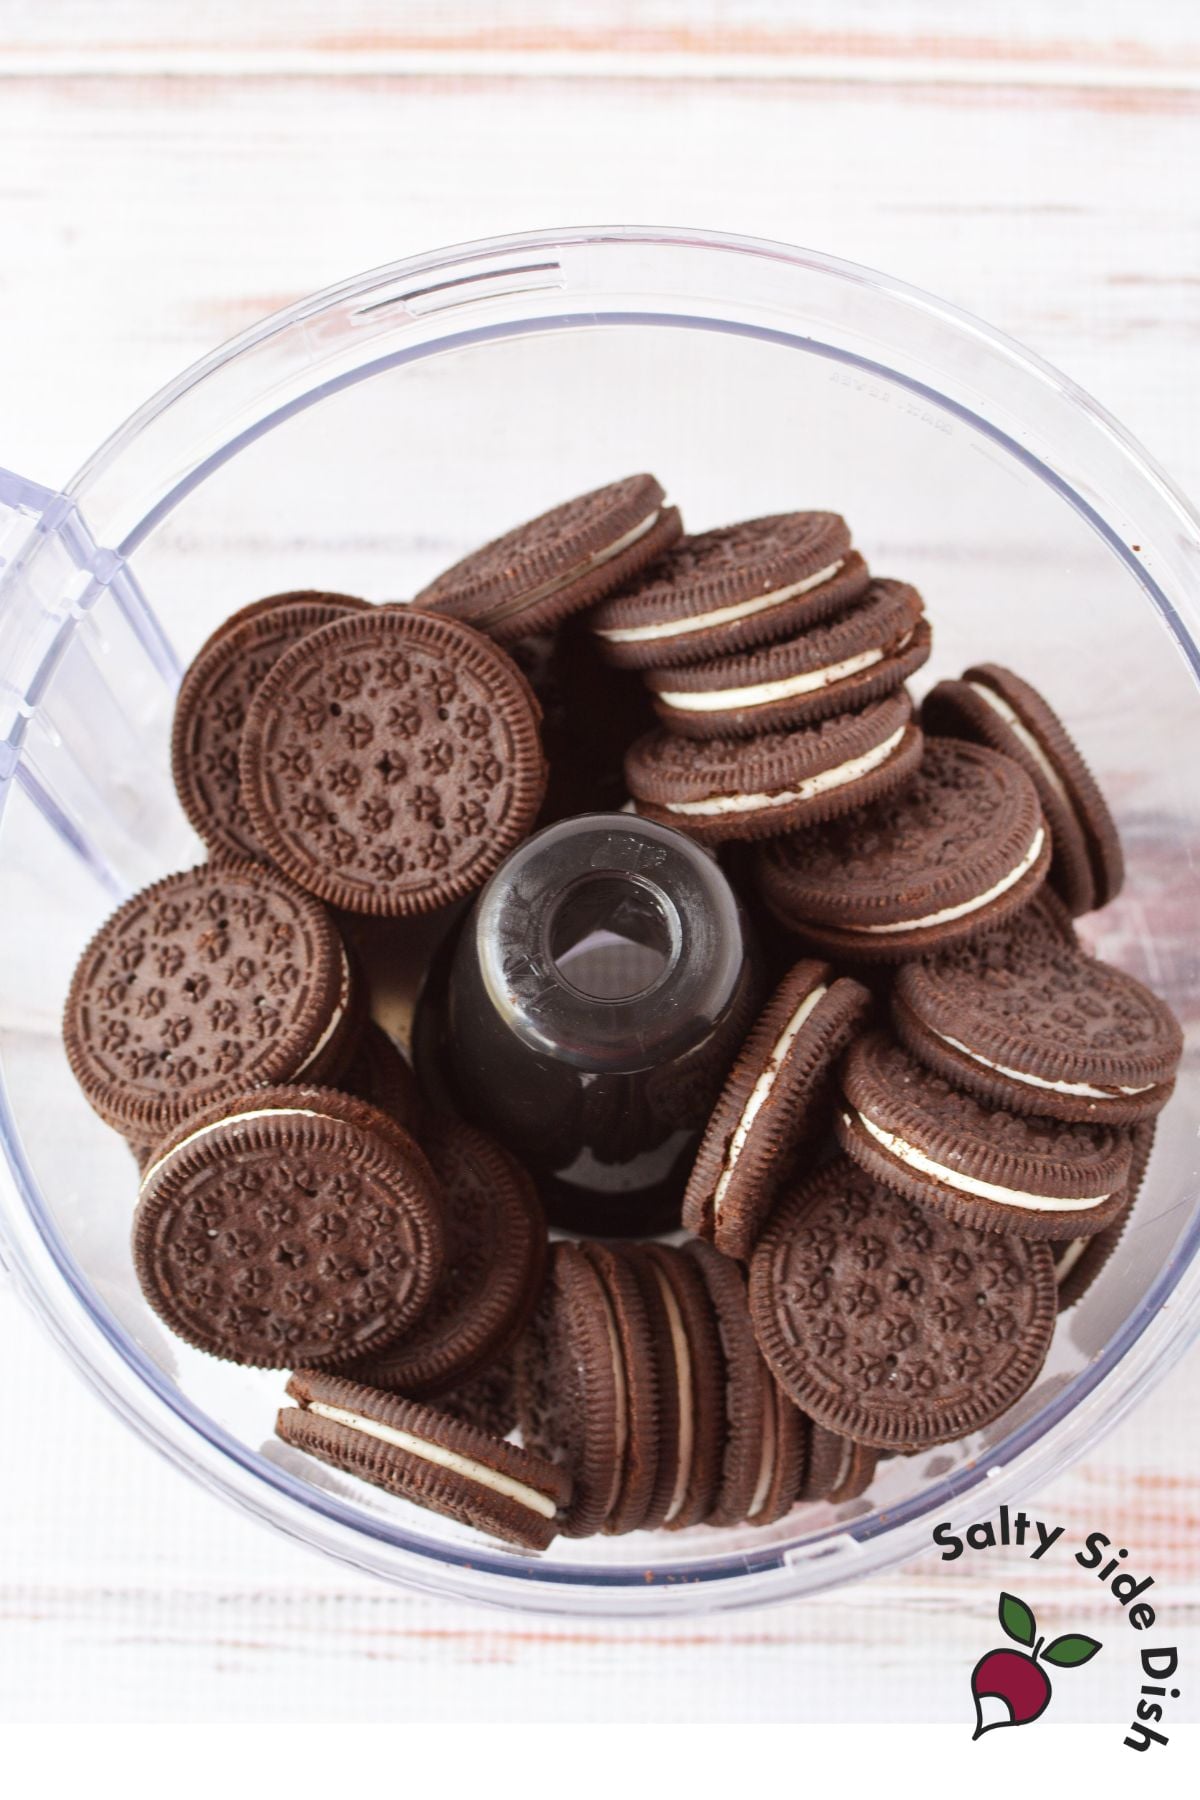
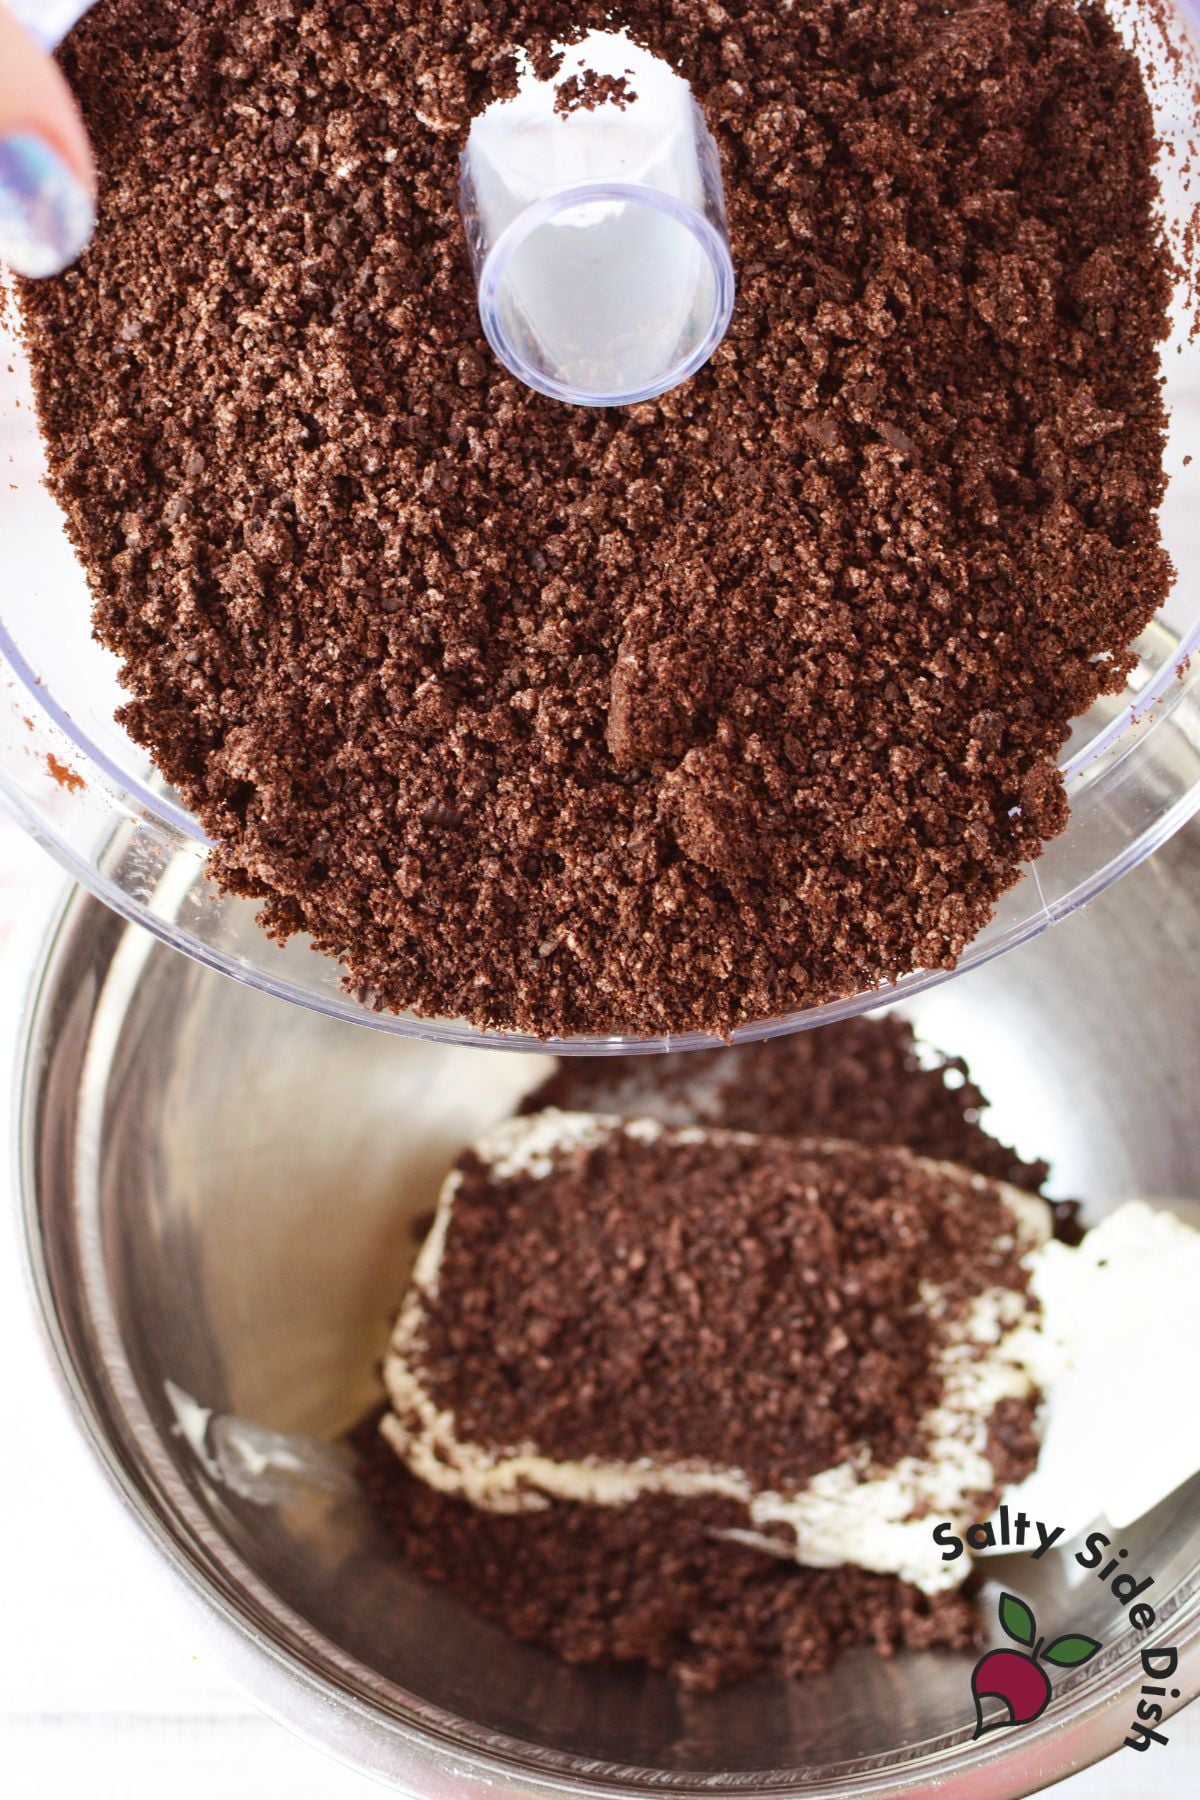
Add the Oreo cookies to a food processor and process until they become fine crumbs. Transfer the crumbs to a large bowl with the softened cream cheese and vanilla extract. Mix with a sturdy spatula or your hands until everything is fully combined into a soft dough.
Roll and Chill
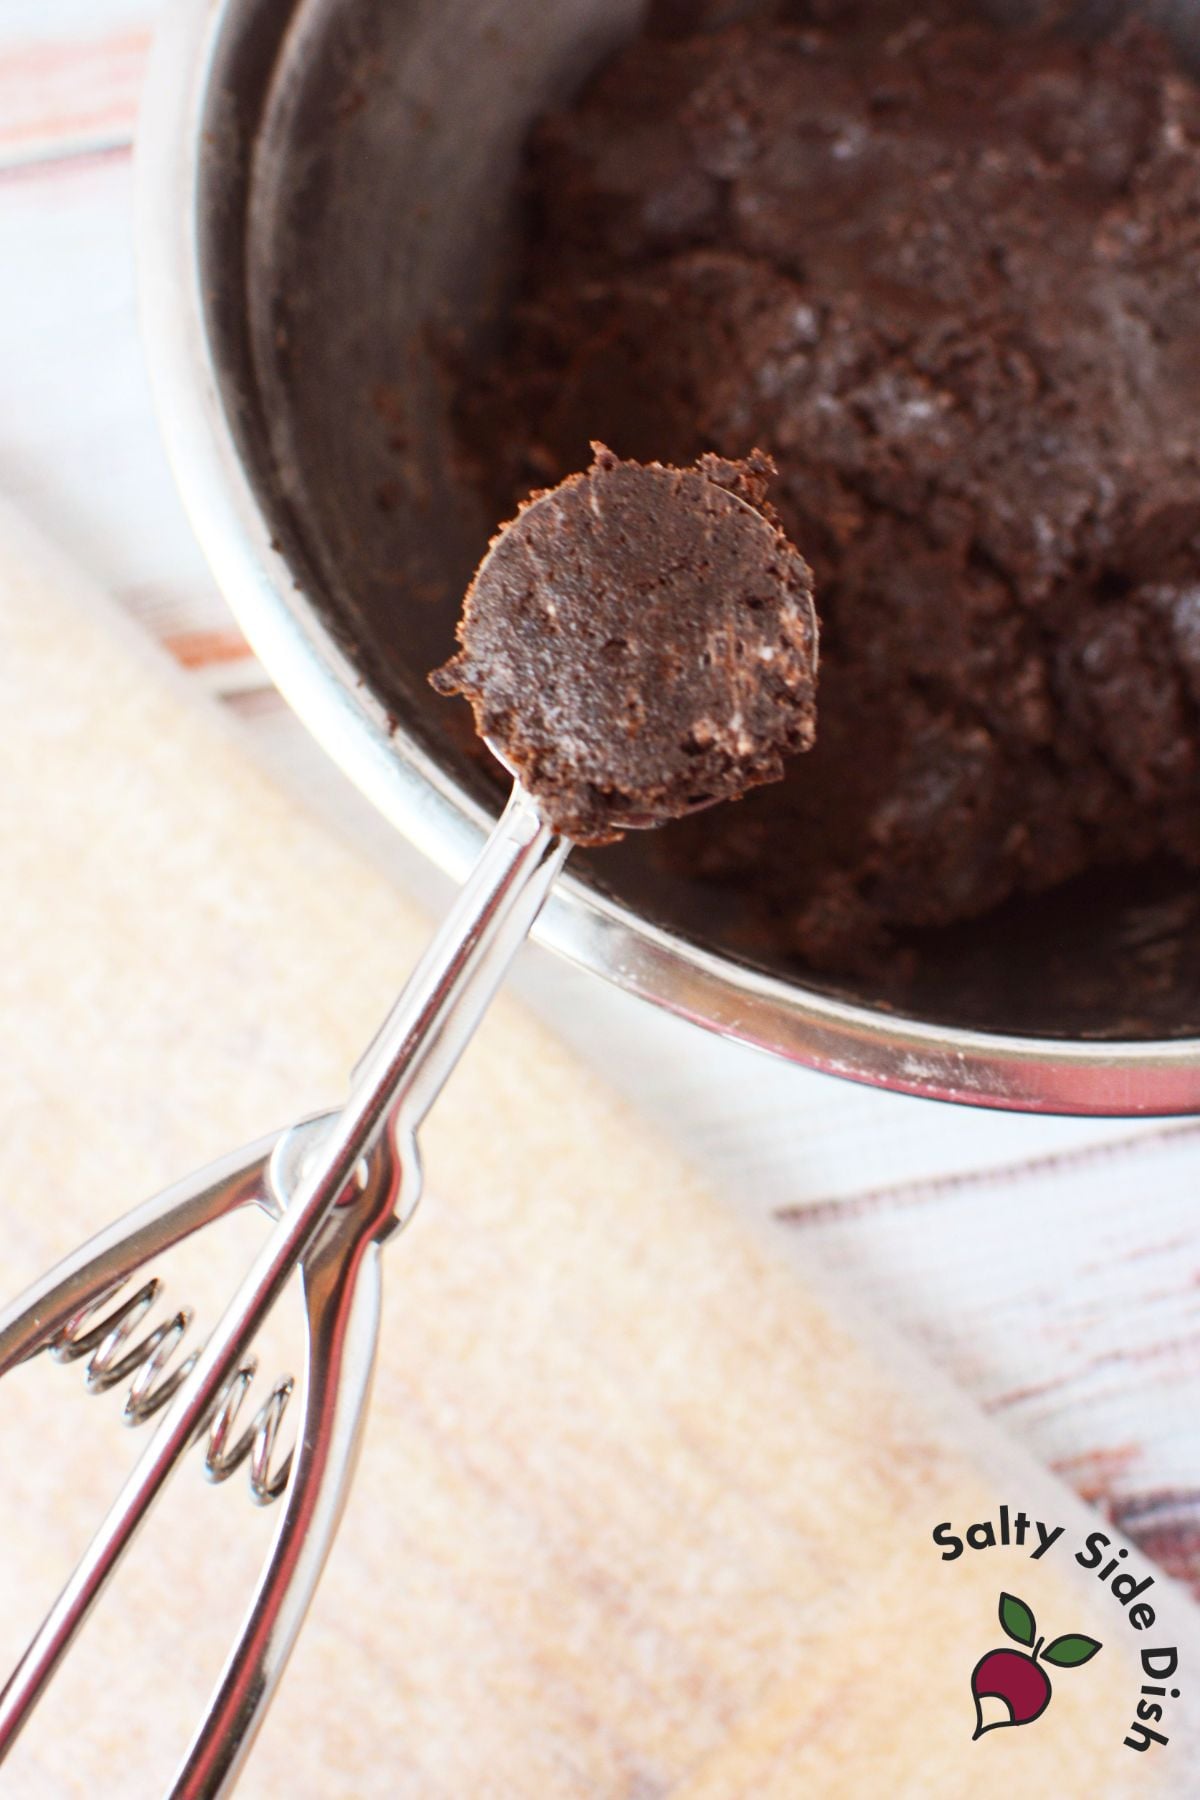
Use a 1-tablespoon cookie scoop to portion the mixture, then roll each portion into a smooth ball between your palms. Place the truffles on a baking sheet or cutting board lined with wax or parchment lined paper.
Once rolled, refrigerate the truffles for at least 1 hour. A fully chilled truffle holds its shape while dipping, while a soft one can begin to lose its shape in the warm candy coating.
Melt and Dip
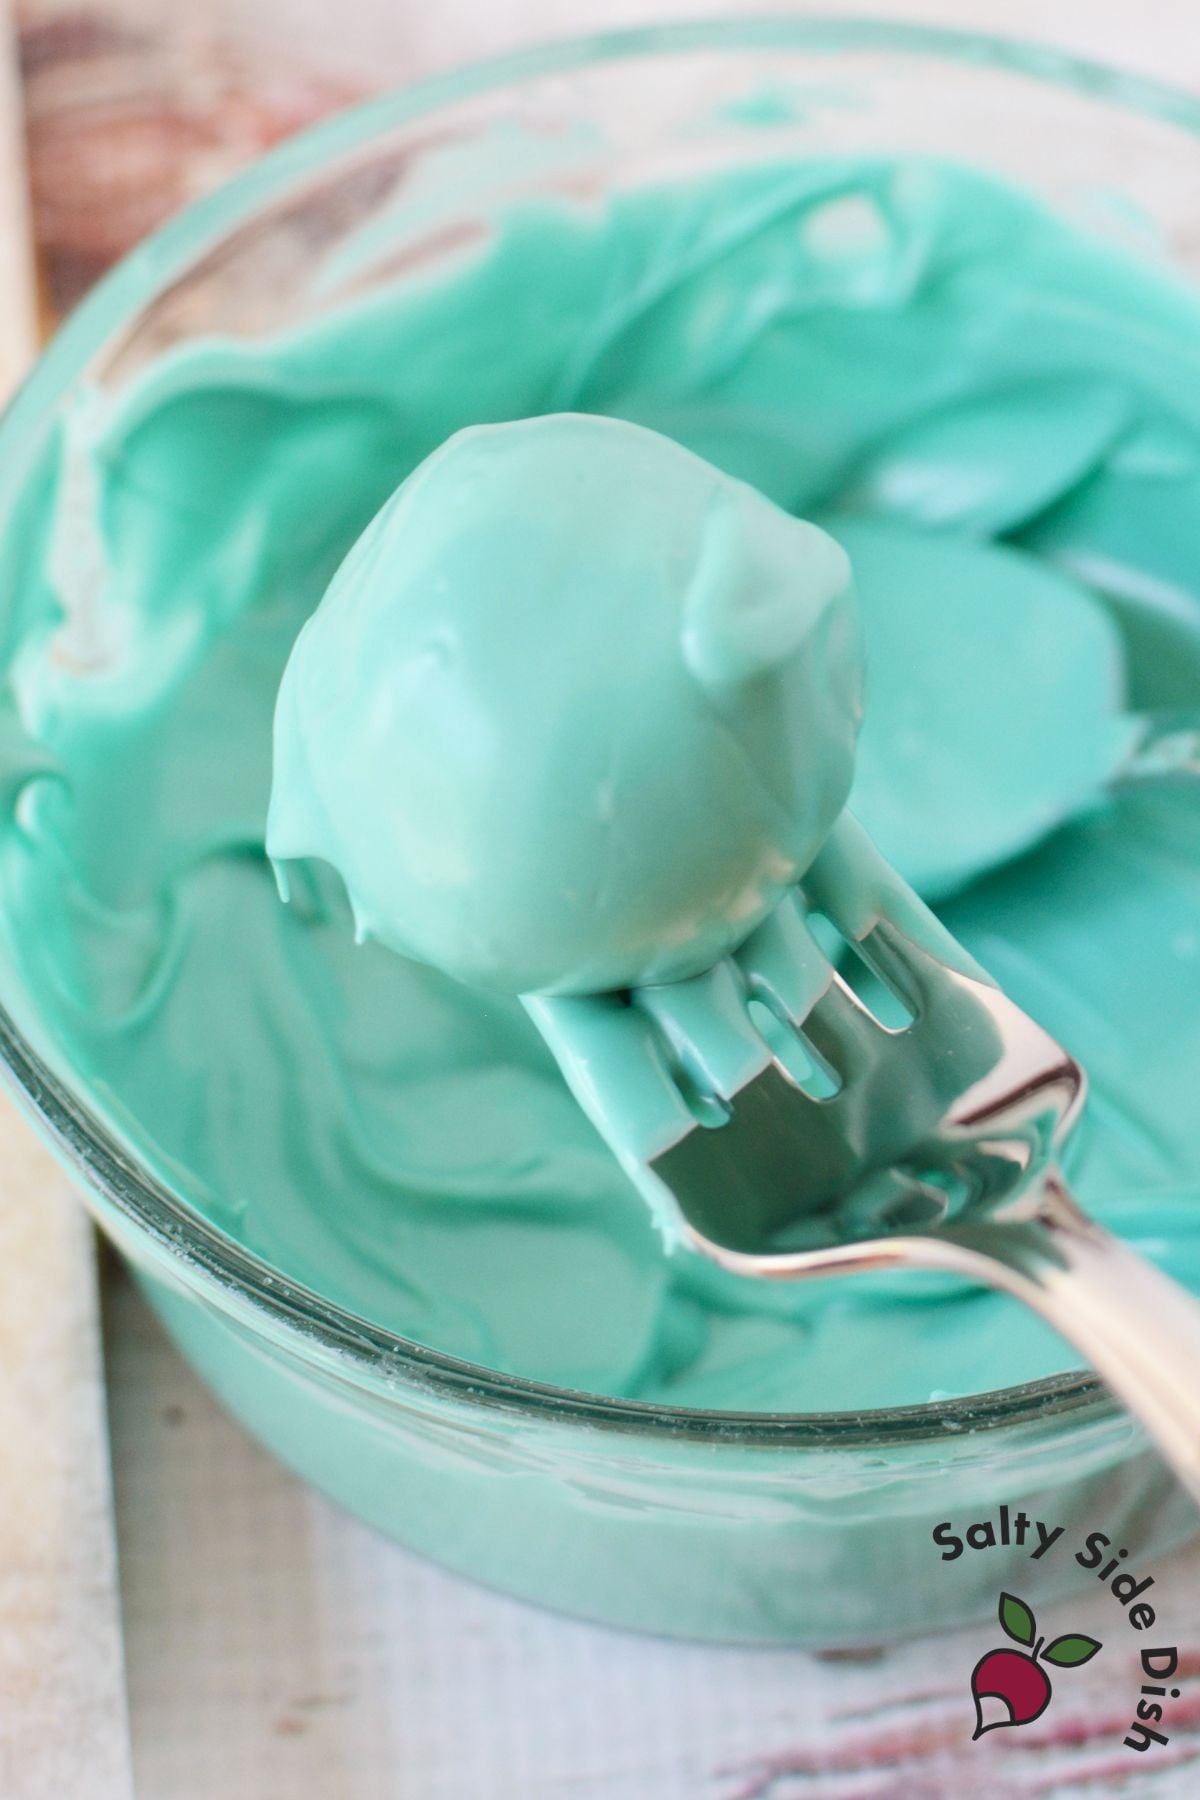
Working with one color at a time, melt about half of one color of candy melts (approximately 3 ounces) at 50% power in the microwave for 1 minute. Stir well, then continue microwaving in 20 to 30-second intervals, stirring after each, until completely smooth.
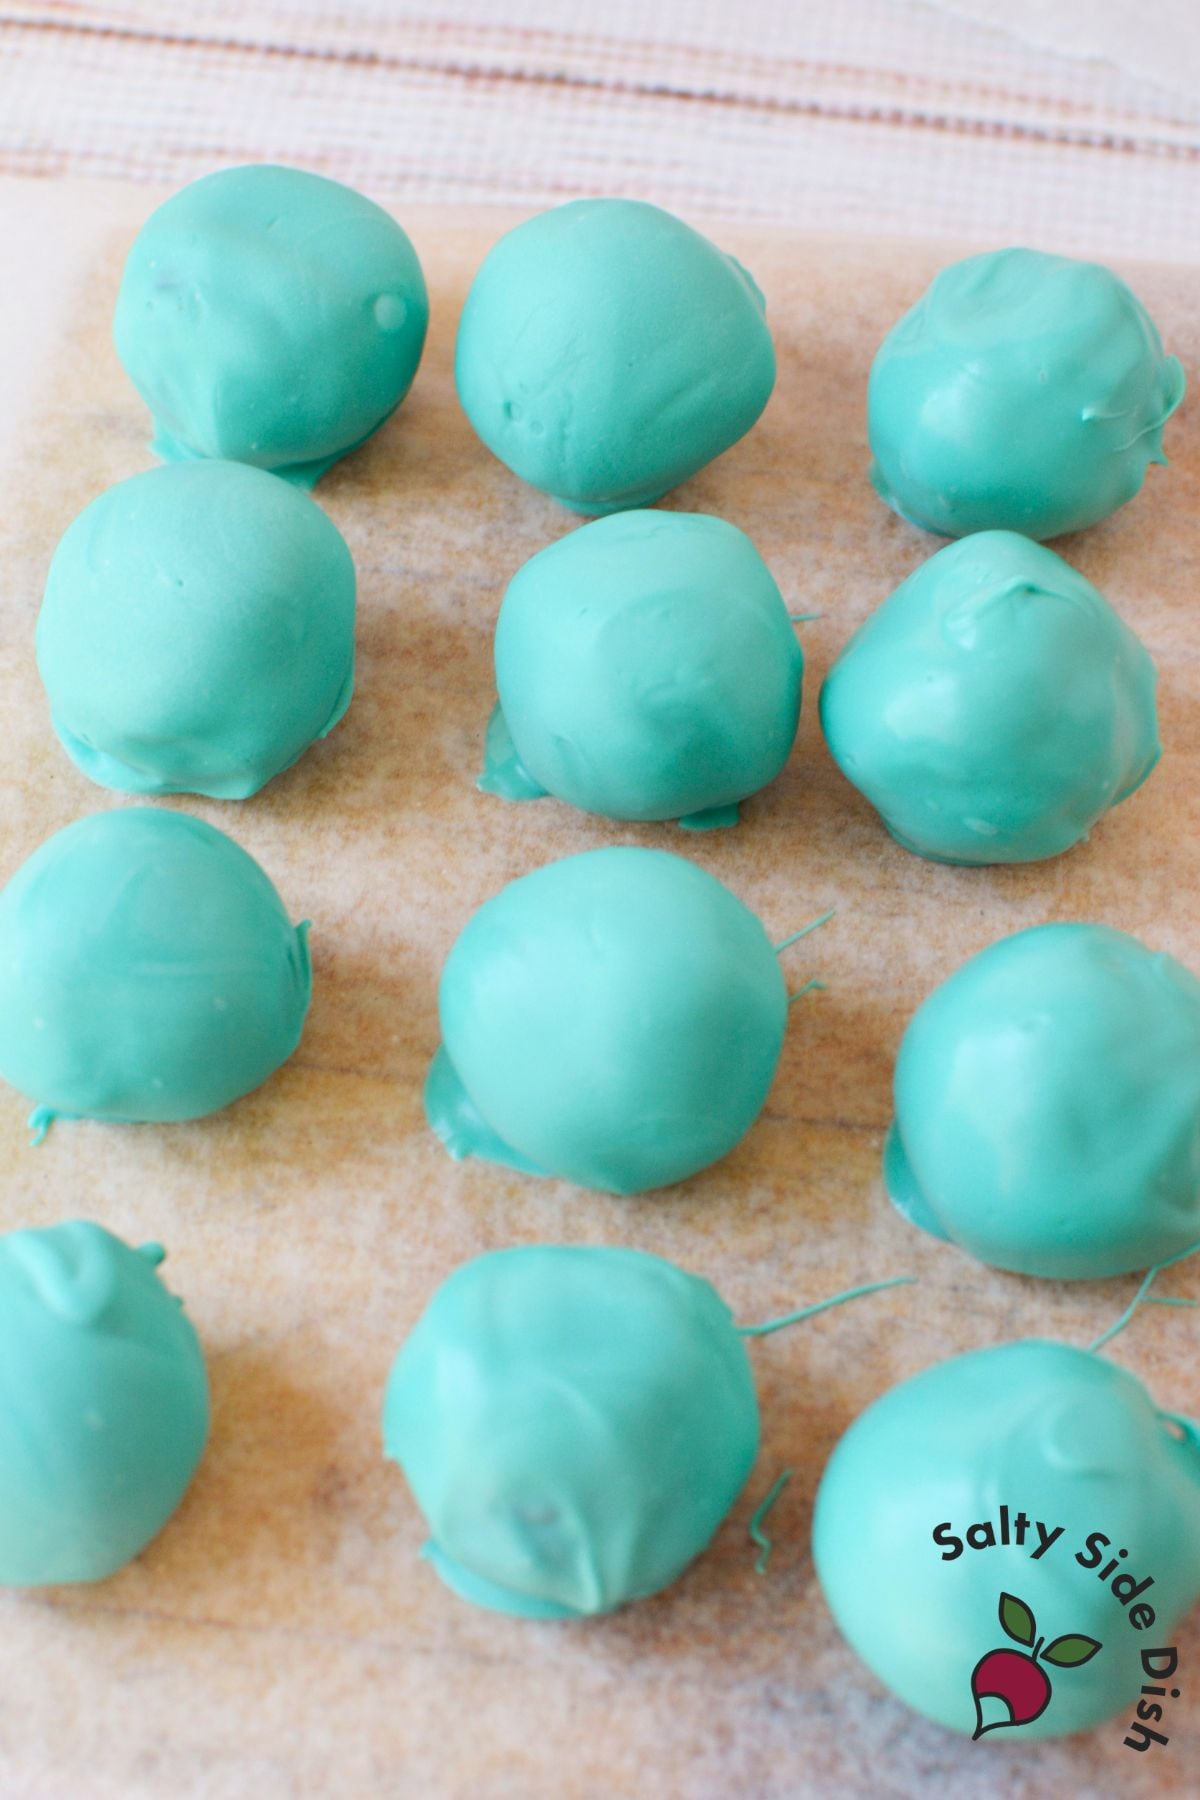
Dip each chilled truffle into the melted candy coating, letting the excess drip off before placing it back onto the wax paper. Repeat with the remaining colors until every truffle is coated.
Working in smaller batches like this keeps the candy melts from thickening before you finish dipping. Keep the remaining truffles refrigerated while you work so they stay firm.
Drizzle and Decorate
Melt the white candy melts at 50% power for 30 seconds, stir well, then continue heating in 15-second intervals until smooth.
Transfer the melted candy to a small resealable plastic bag, seal it, and snip off a tiny corner. Working with just a few truffles at a time, drizzle the white candy melts over the tops, then immediately add the rainbow nonpareil sprinkles before the drizzle hardens.
Allow the truffles to stand until the coating is completely set, or refrigerate them for about 30 minutes to speed up the process.

Serve
Serve immediately, or store covered in the refrigerator until you’re ready to enjoy them.
Makes approximately 36 to 38 truffles.
Expert Tips
- Regular Oreos work best for this recipe. Double Stuf Oreos contain extra filling, which creates a softer mixture that’s more difficult to dip.
- Let the cream cheese soften completely before mixing so the filling comes together smoothly.
- Tap your dipping fork gently against the side of the bowl to remove excess candy coating for a cleaner finish.
- If the candy melts begin to thicken while you’re working, microwave them for another 10 to 15 seconds and stir well.
- Any Oreo flavor works here. Try Golden Oreos, Mint Oreos, or seasonal flavors, then customize the candy melt colors for different holidays and celebrations.

How to Store Oreo Truffles
Store the finished truffles in an airtight container in the refrigerator for up to one week.
To freeze, arrange the truffles in a single layer until frozen solid, then transfer them to a freezer-safe container or zip-top bag. Freeze for up to two months.
Thaw overnight in the refrigerator before serving to help prevent condensation from forming on the candy coating.

Frequently Asked Questions
Can I use white chocolate chips instead of candy melts?
Candy melts are the better choice because they’re designed to harden without tempering and create a smooth finish. White chocolate chips can work in a pinch, but they tend to stay softer and are more prone to streaking.
Why are my Oreo truffles cracking?
Cracking usually happens when the truffles are extremely cold or the candy coating is too hot. Let the chilled truffles sit at room temperature for about 5 minutes before dipping, and avoid overheating the candy melts.
How far in advance can I make these?
These truffles keep well in the refrigerator for about one week, making them a great make-ahead dessert for parties, holidays, or gifting.
More No-Bake Truffles and Cake Balls You’ll Love
If you love these colorful pastel colored Oreo Truffles, be sure to try my Golden Oreo Truffles for a classic version with a chocolate coating.
If you’re looking for a cake-based treat instead of cookies, my Red Velvet Cake Balls use a similar dip-and-set method, while my Little Debbie Christmas Tree Cake Balls are always a holiday favorite. For another colorful bite-sized dessert, try my Fruity Pebbles Cake Pops. They’re made with cake instead of cookies and finished with a sweet Fruity Pebbles coating that’s perfect for parties.
Colorful Oreo Truffles
Equipment
- Parchment Paper
- 1 tablespoon scoop
Ingredients
For the Truffles
- 14.3 oz. regular Oreo cookies
- 8 oz. cream cheese softened
- 1 teaspoon vanilla extract
For the Coating
- 6 ounces lavender candy melts
- 6 ounces turquoise candy melts
- 6 ounces light pink candy melts
- 1/4 cup bright white candy melts
- Rainbow nonpareil sprinkles optional for decoration
Instructions
- Add the Oreo cookies to a food processor and process until they become fine crumbs. Transfer the crumbs to a large mixing bowl and add the softened cream cheese and vanilla extract. Mix with a sturdy spatula or clean hands until a soft, uniform dough forms. Regular Oreos work best for this recipe, as Double Stuf cookies can make the mixture too soft.
- Use a 1-tablespoon cookie scoop to portion the mixture, then roll each portion into a smooth ball. Arrange the truffles on a wax paper- or parchment-lined baking sheet.
- Refrigerate or freeze the truffles for at least 1 hour. Chilling is important because firm truffles are much easier to dip and will hold their shape in the warm candy coating.
- Working with one candy color at a time, melt about 3 ounces (half of one color) of candy melts in a microwave-safe bowl at 50% power for 1 minute. Stir well, then continue heating in 20- to 30-second intervals, stirring after each, until completely smooth. If the candy melts begin to thicken while you’re working, microwave for another 10 to 15 seconds and stir again.
- Dip each chilled truffle into the melted candy coating, letting the excess drip off before placing it back onto the lined baking sheet (a fork works best for this). Keep the remaining truffles refrigerated while you work so they stay firm. Repeat until all of the truffles are coated in your pastel colors.
- Melt the white candy melts at 50% power for 30 seconds, stir well, then continue heating in 15-second intervals until smooth. Transfer the melted candy to a small zip-top bag or piping bag and snip a tiny corner.
- Working with just a few truffles at a time, drizzle the white candy melts over the tops, then immediately add the rainbow nonpareil sprinkles before the drizzle hardens.
- Allow the truffles to stand until the coating is completely set, or refrigerate for about 30 minutes to speed up the process.
- Serve immediately, or store the truffles in an airtight container in the refrigerator for up to 1 week. To freeze, place the truffles in a single layer until frozen solid, then transfer them to a freezer-safe container or bag for up to 2 months. Thaw overnight in the refrigerator before serving to help prevent condensation from forming on the candy coating.
Nutrition
Nutritional Disclaimer: The nutritional data provided here is auto-calculated and intended for your convenience only. As it’s generated via automation, its accuracy may be compromised. For precise nutritional insight, please compute the values utilizing the actual ingredients in your recipe through your chosen nutrition calculator or application.
Did You Make This Recipe?
Make sure to follow Salty Side Dish on Pinterest and rate the recipe here and make sure to leave a comment below!


