
Butternut Squash Casserole
This post may contain affiliate links from our partners. Please read the Privacy Policy & Cookie Policy.
This butternut squash casserole is buttery, lightly sweet, and finished with a crunchy waffle cone topping made with brown sugar, cinnamon, and nutmeg. The squash bakes into a soft, creamy filling, and that crunchy waffle cone topping is what makes this such a good Thanksgiving side dish.
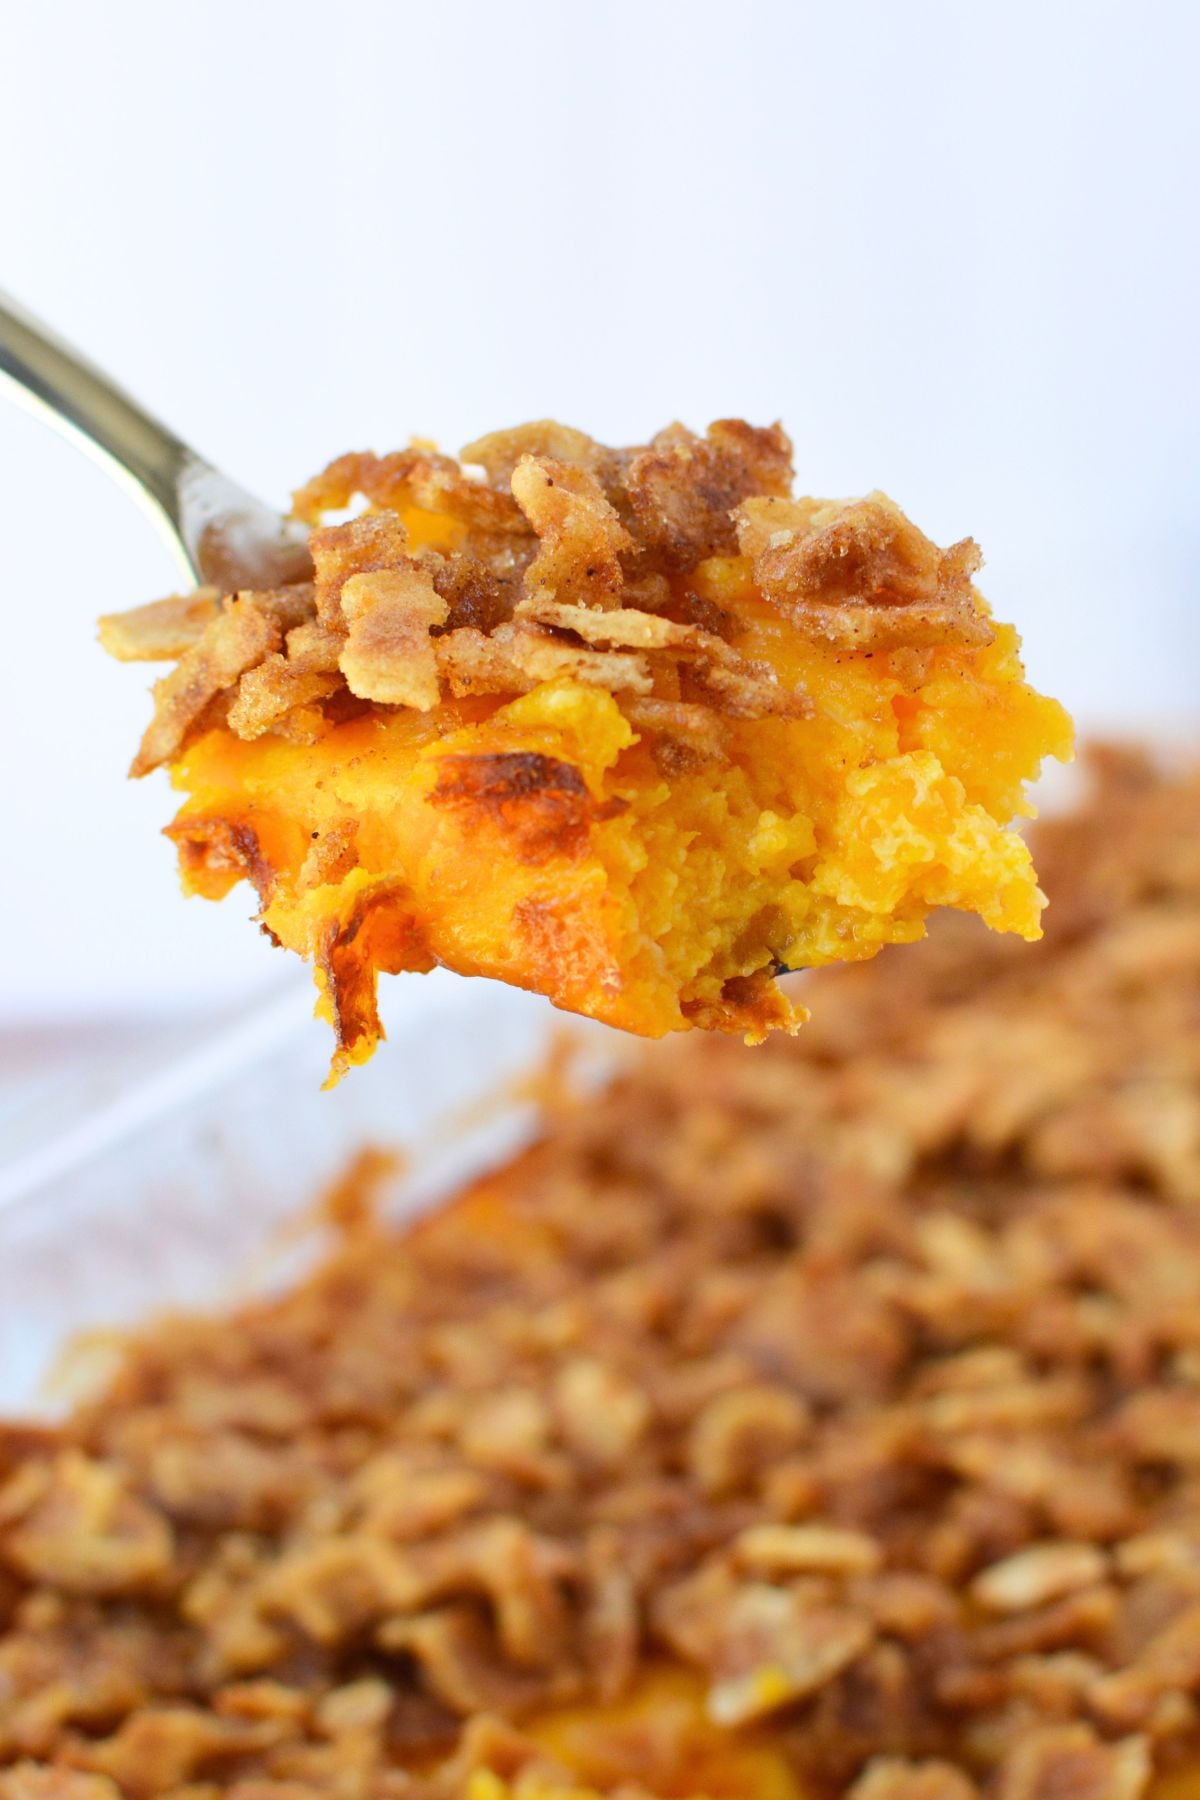
My favorite part of this recipe is that it’s sweet without being overly sweet. The waffle cones add just enough crunch to contrast with the softer squash underneath, and the warm spices give it that familiar fall flavor. It’s a nice change from my traditional sweet potato casserole, especially if you want another vegetable side dish for Thanksgiving dinner.
This recipe fills a 9 x 13-inch baking dish and makes 16 side dish portions, so there’s plenty to share.
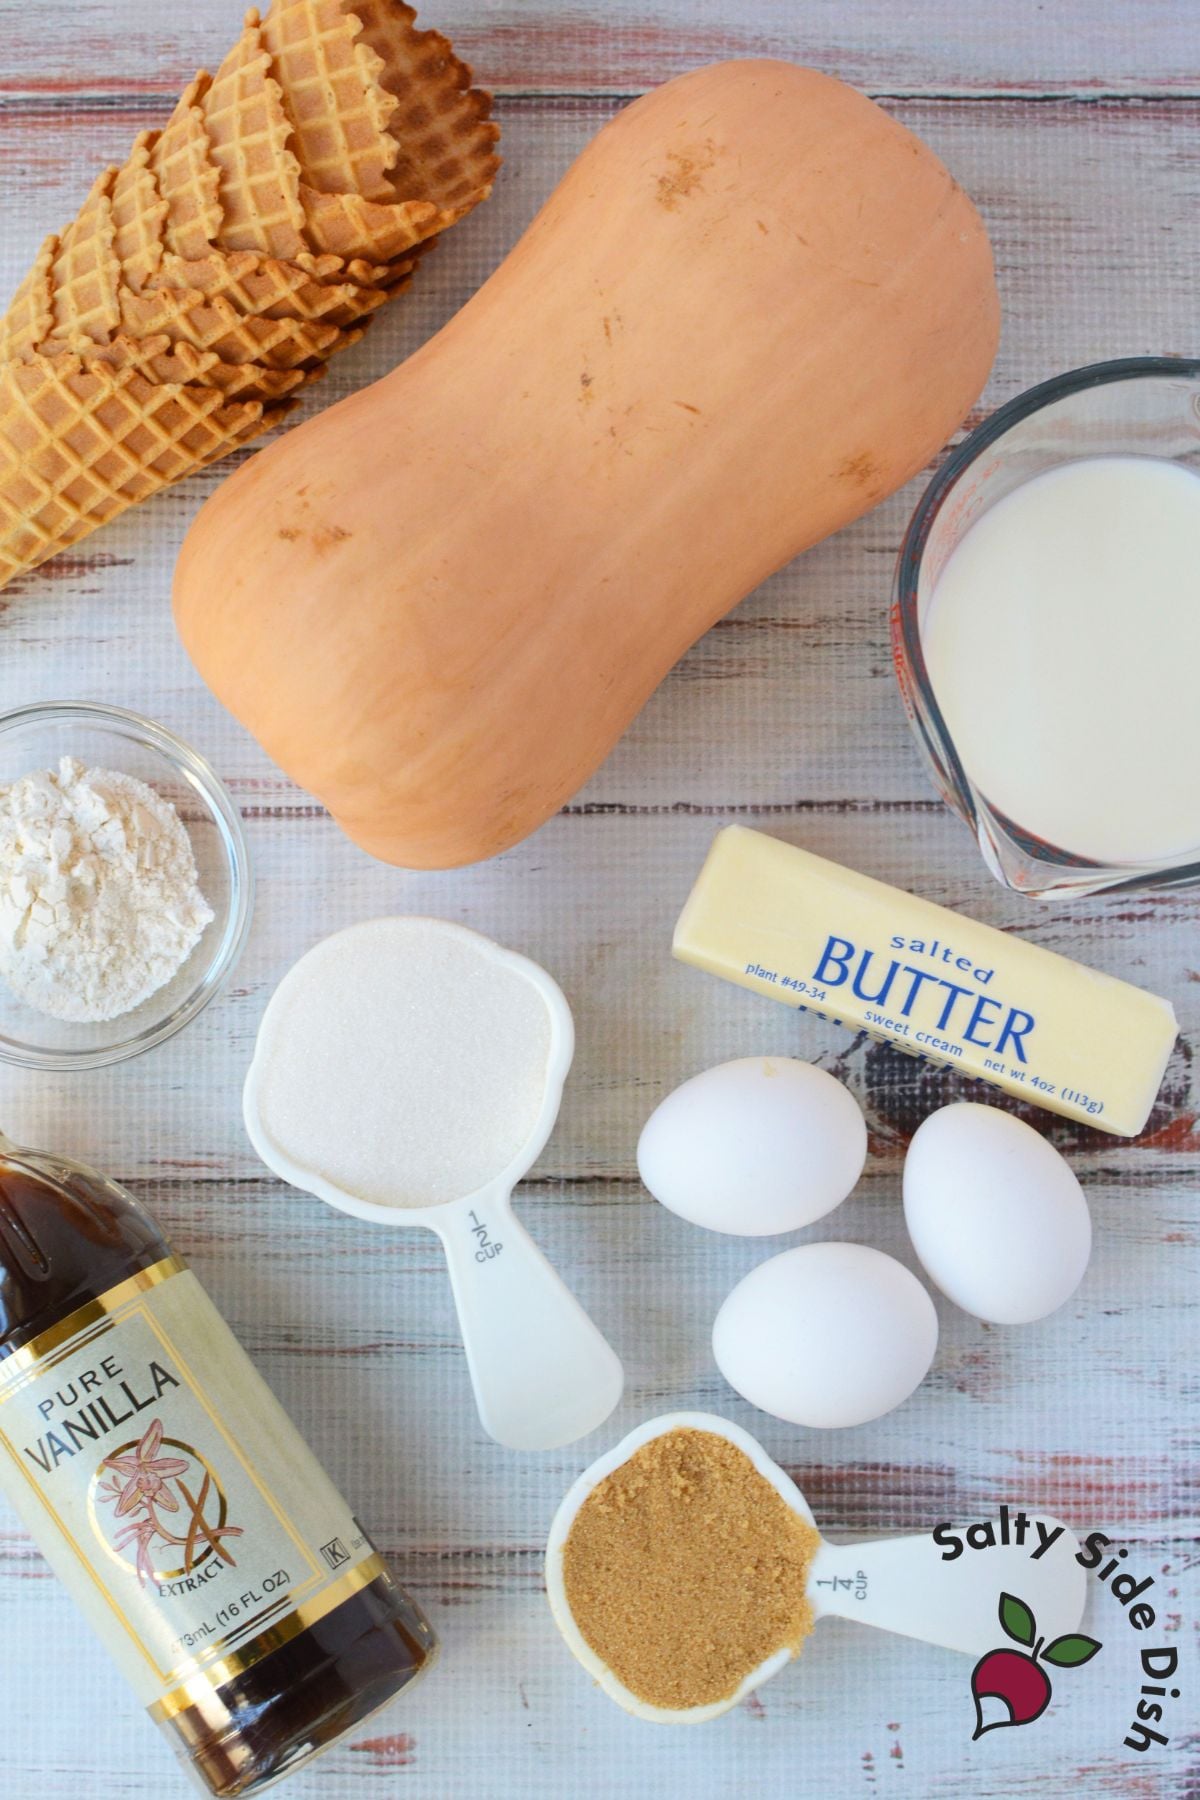
Ingredients for Butternut Squash Casserole
The full ingredient measurements are in the printable recipe card below.
- Fresh butternut squash: Start with a 3½–4-pound whole squash. Peel, remove the seeds, and cut into ½-inch cubes. I recommend wearing kitchen gloves because raw butternut squash can leave a sticky residue on your hands.
- Waffle cones: You’ll need six crushed waffle cones for the topping. If you prefer, substitute approximately 2 cups of crushed vanilla wafers or sugar cookies.
You’ll also need granulated sugar, butter, milk, eggs, vanilla, flour, brown sugar, cinnamon, and nutmeg.
How to Make Butternut Squash Casserole
Boil and mash the squash
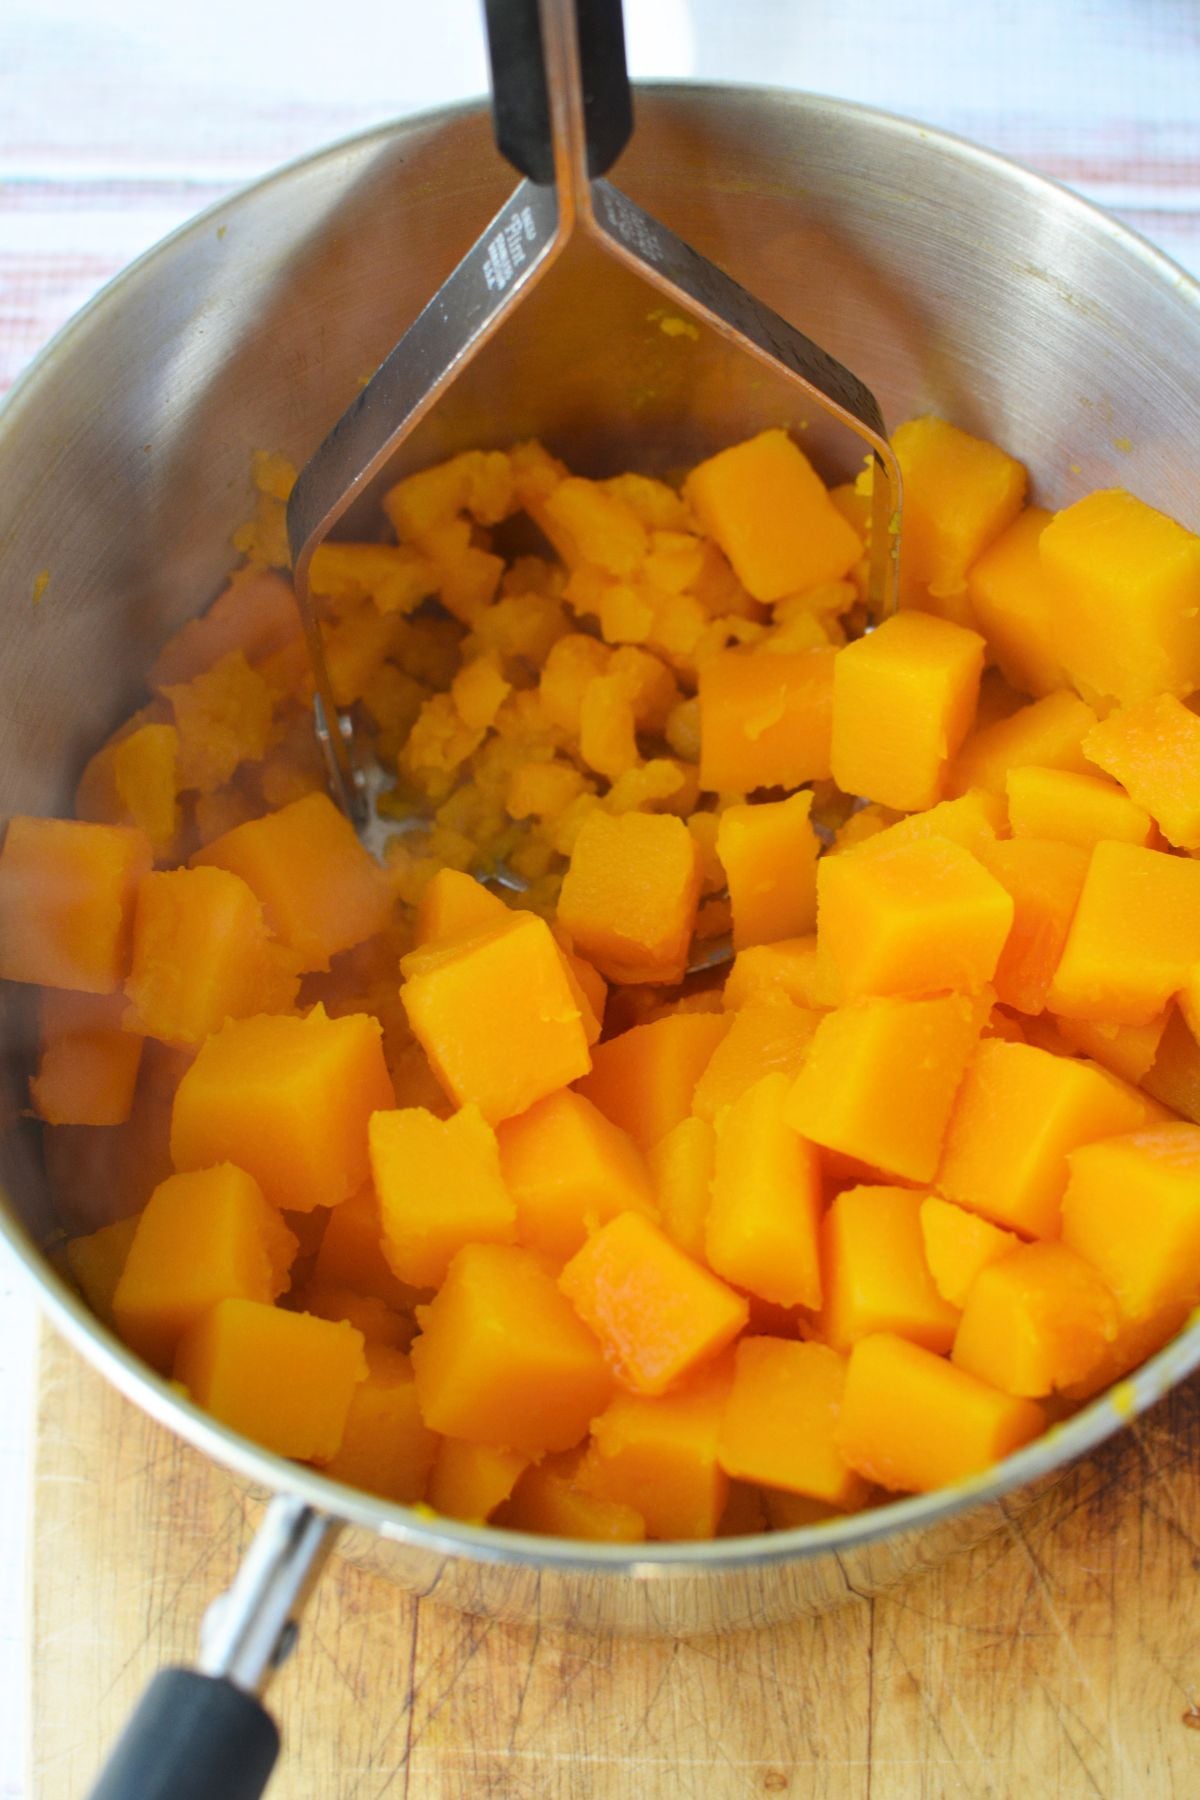
Peel the butternut squash, remove the seeds, and cut it into ½-inch pieces. Place the cubes in a large pot and add enough water to cover them by at least 1 inch. (Tip: Make sure you wear gloves when cutting the squash or your fingers will be a mess.)
Bring the water to a boil over medium-high heat, then continue boiling for about 10 minutes, or until the squash is fork-tender.
For timing, it takes about 20 minutes total for this step: 10 minutes to bring the water to a boil and another 10 minutes to soften the squash.
Drain well, return the squash to the pot, and mash until smooth.
Mix the casserole filling
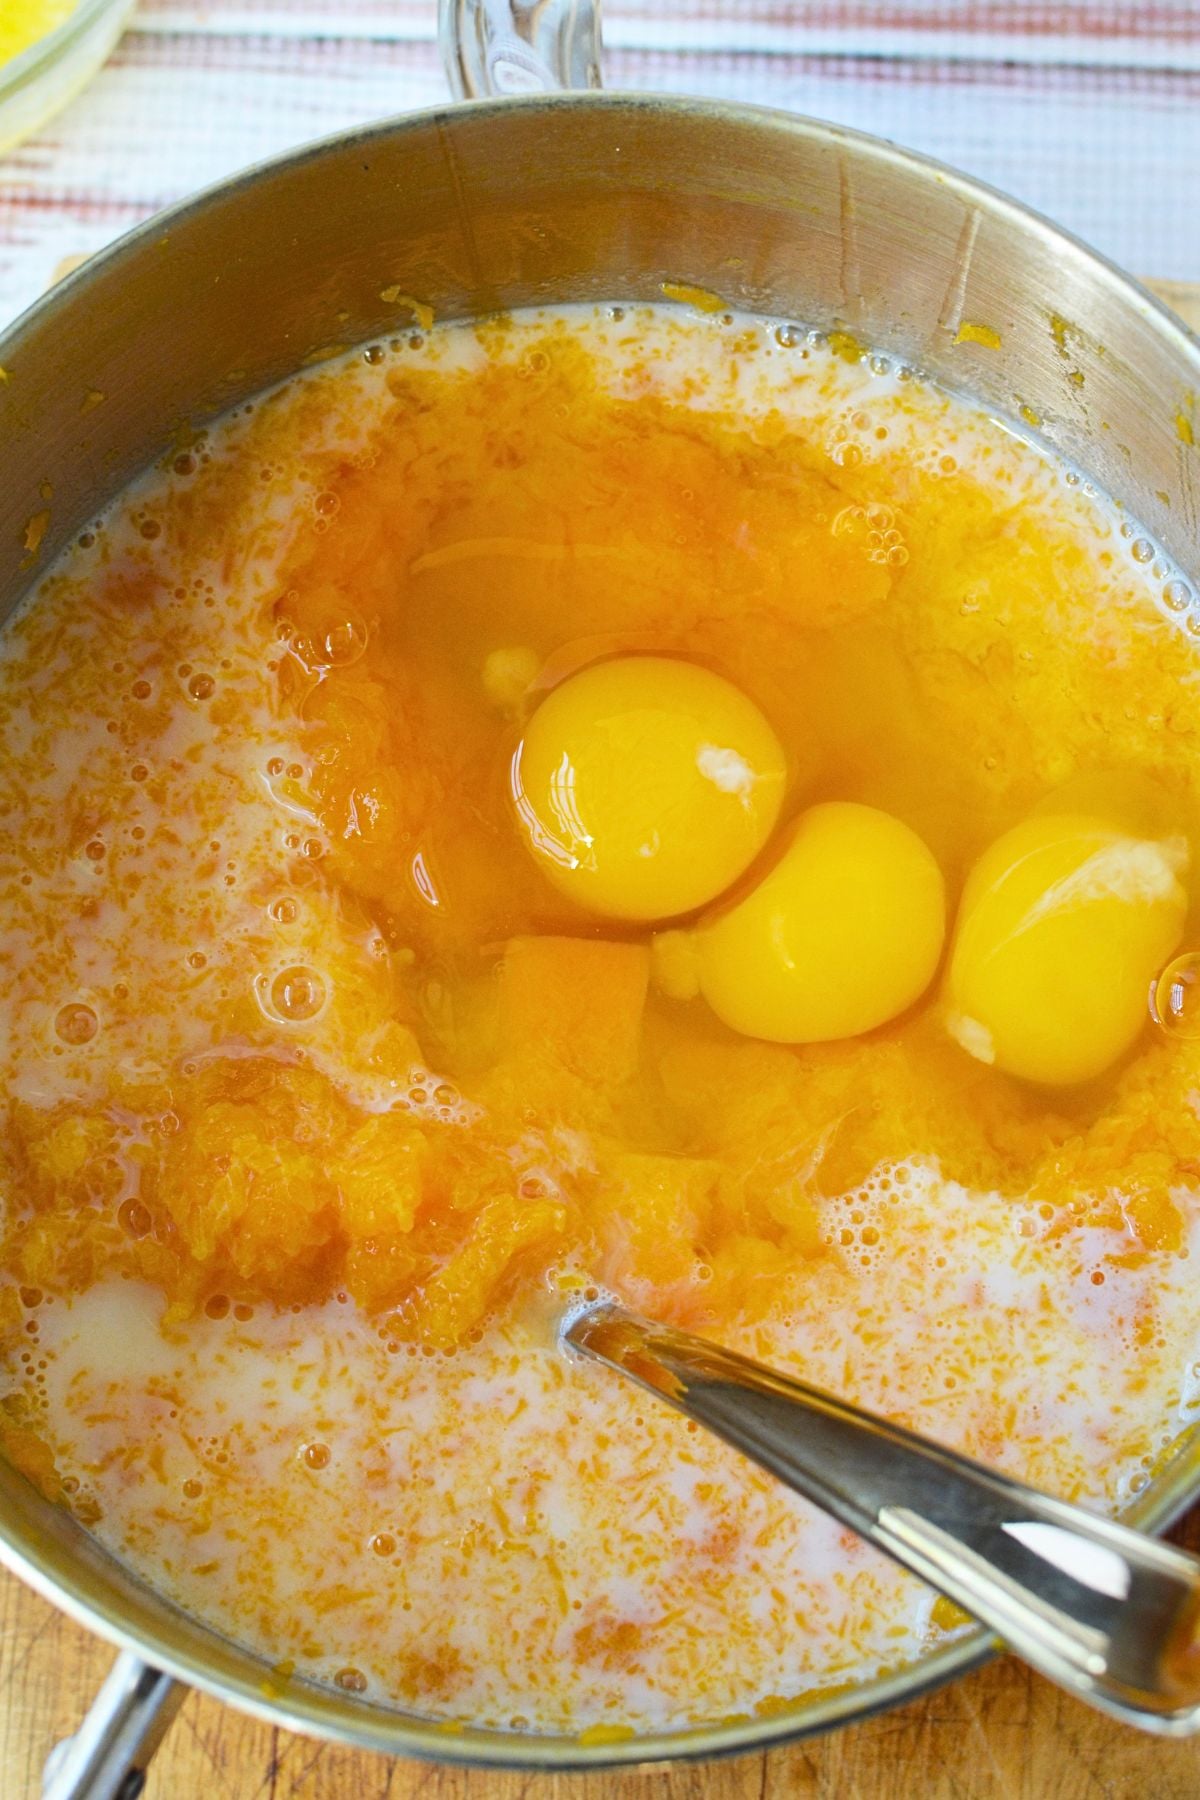
Add the granulated sugar, melted butter, milk, vanilla extract, flour, and eggs to the mashed squash. Mix until everything is well combined.
The mixture will be softer than regular mashed squash because of the milk and eggs. It will firm up as it bakes.
Bake the squash casserole
Preheat the oven to 425°F and grease a 9 x 13-inch baking dish with nonstick cooking spray.
Transfer the squash mixture to the prepared dish, spreading it evenly. Bake for 45 minutes.
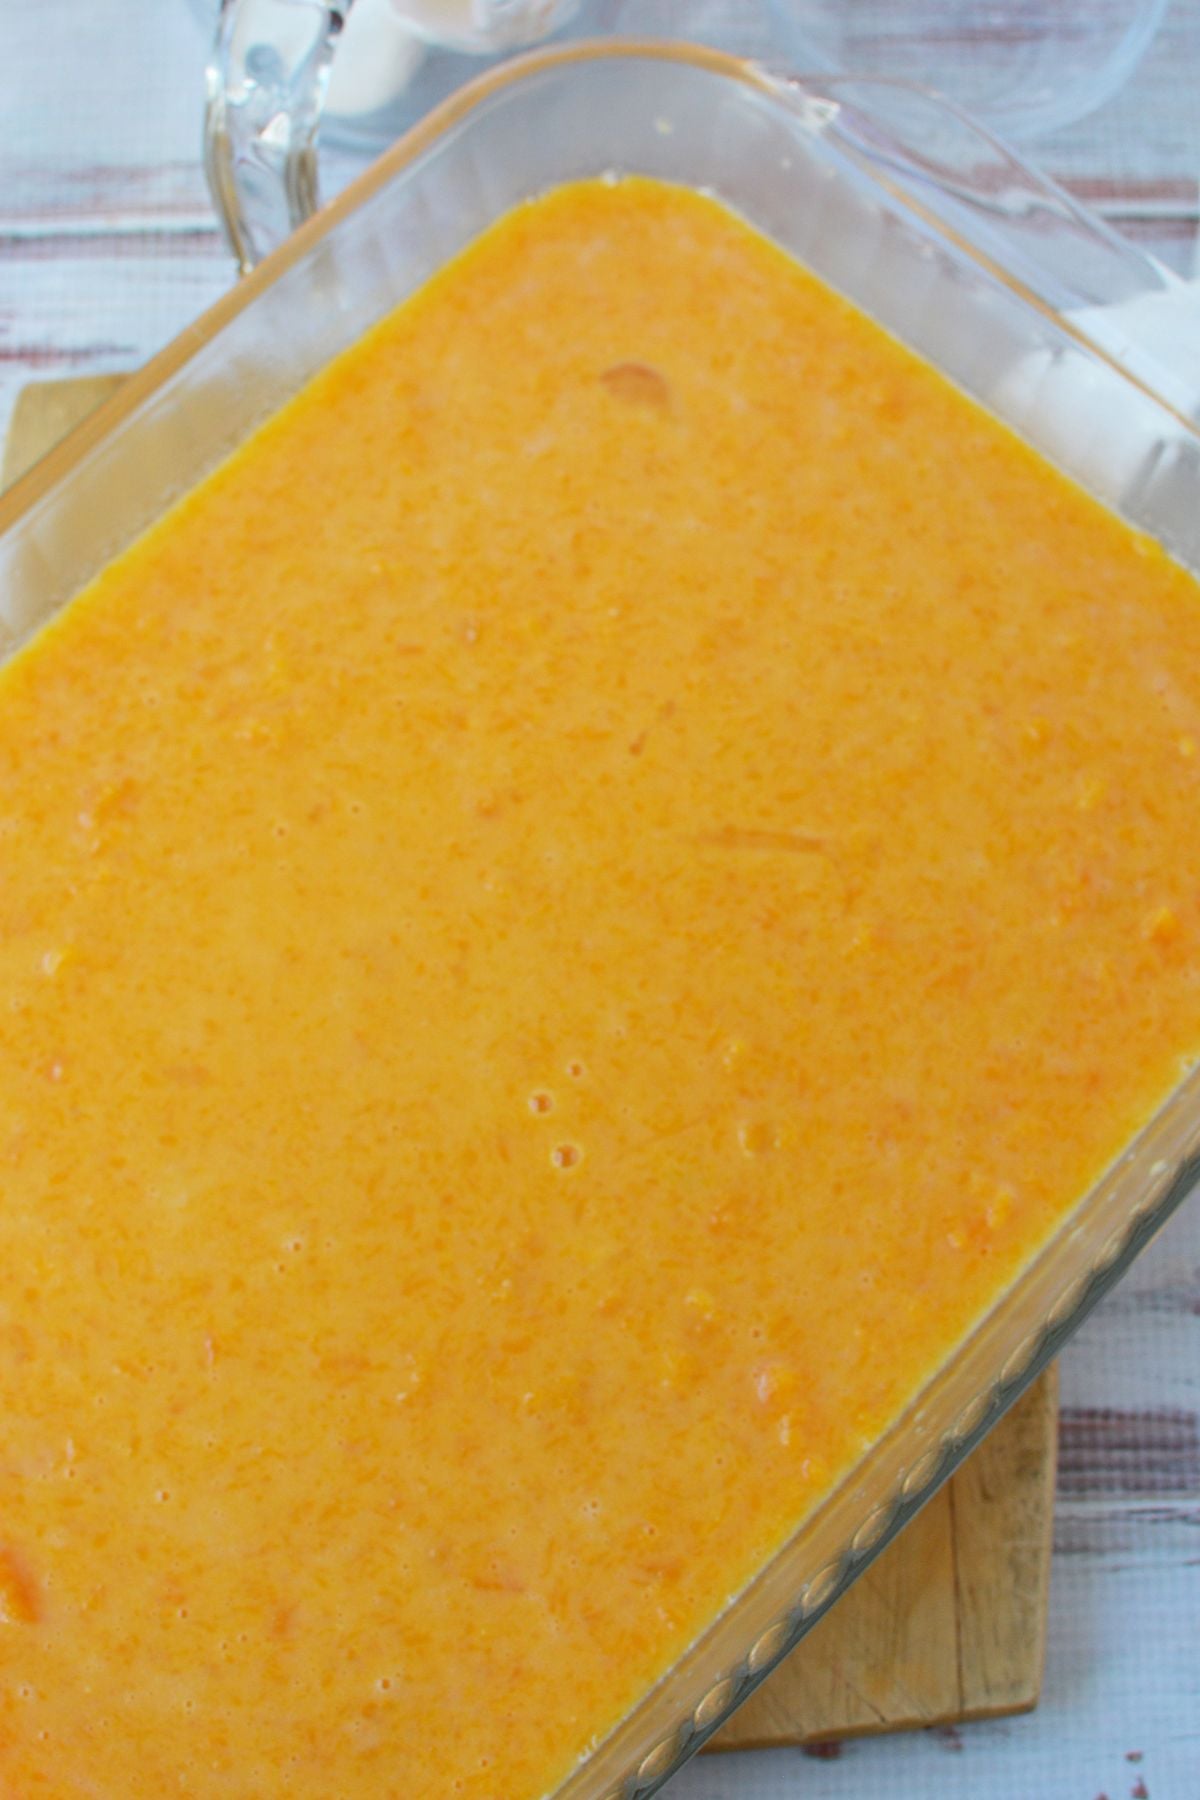
Add the crunchy waffle cone topping
While the casserole bakes, combine the crushed waffle cones, melted butter, brown sugar, cinnamon, and nutmeg in a mixing bowl. Stir until the crumbs are evenly coated.
Once the casserole has baked for 45 minutes, remove it from the oven and sprinkle the topping evenly over the squash.
Return to the oven for another 5 minutes to finish baking.
Let the casserole stand for a few minutes before serving warm.
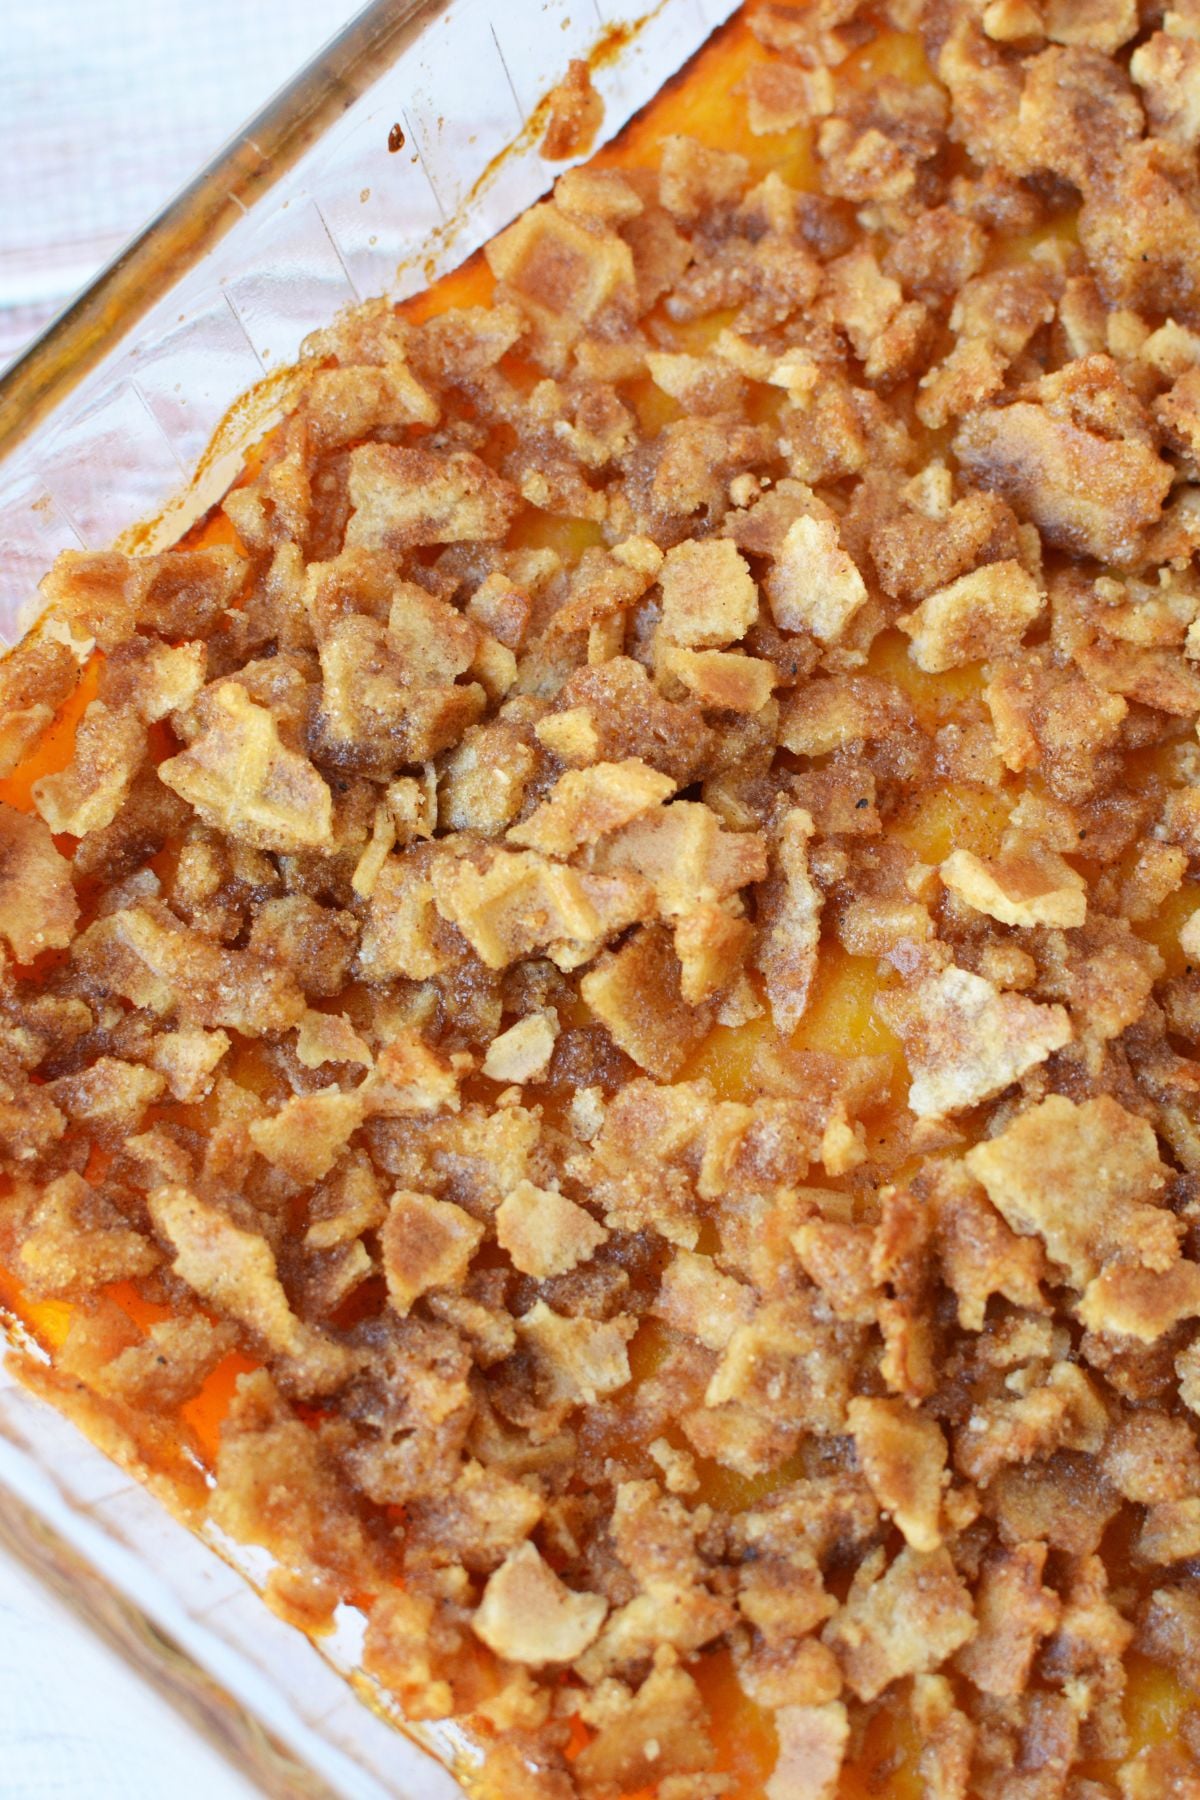
Serving Butternut Squash Casserole
This casserole is especially good served warm alongside turkey or ham for Thanksgiving or Christmas dinner. It has enough sweetness to complement the savory dishes on the table without tasting like a dessert.
If your family enjoys sweet holiday casseroles, my sweet potato crunch casserole is another good choice, with a buttery pecan topping instead of waffle cones.
For more ways to use fresh squash, try my roasted butternut squash with cranberries, which combines maple syrup, cranberries, feta, and pecans. My warm butternut squash quinoa salad is another option when you want something more savory.
You can also find more recipes to round out your holiday menu in my collection of Thanksgiving side dishes.
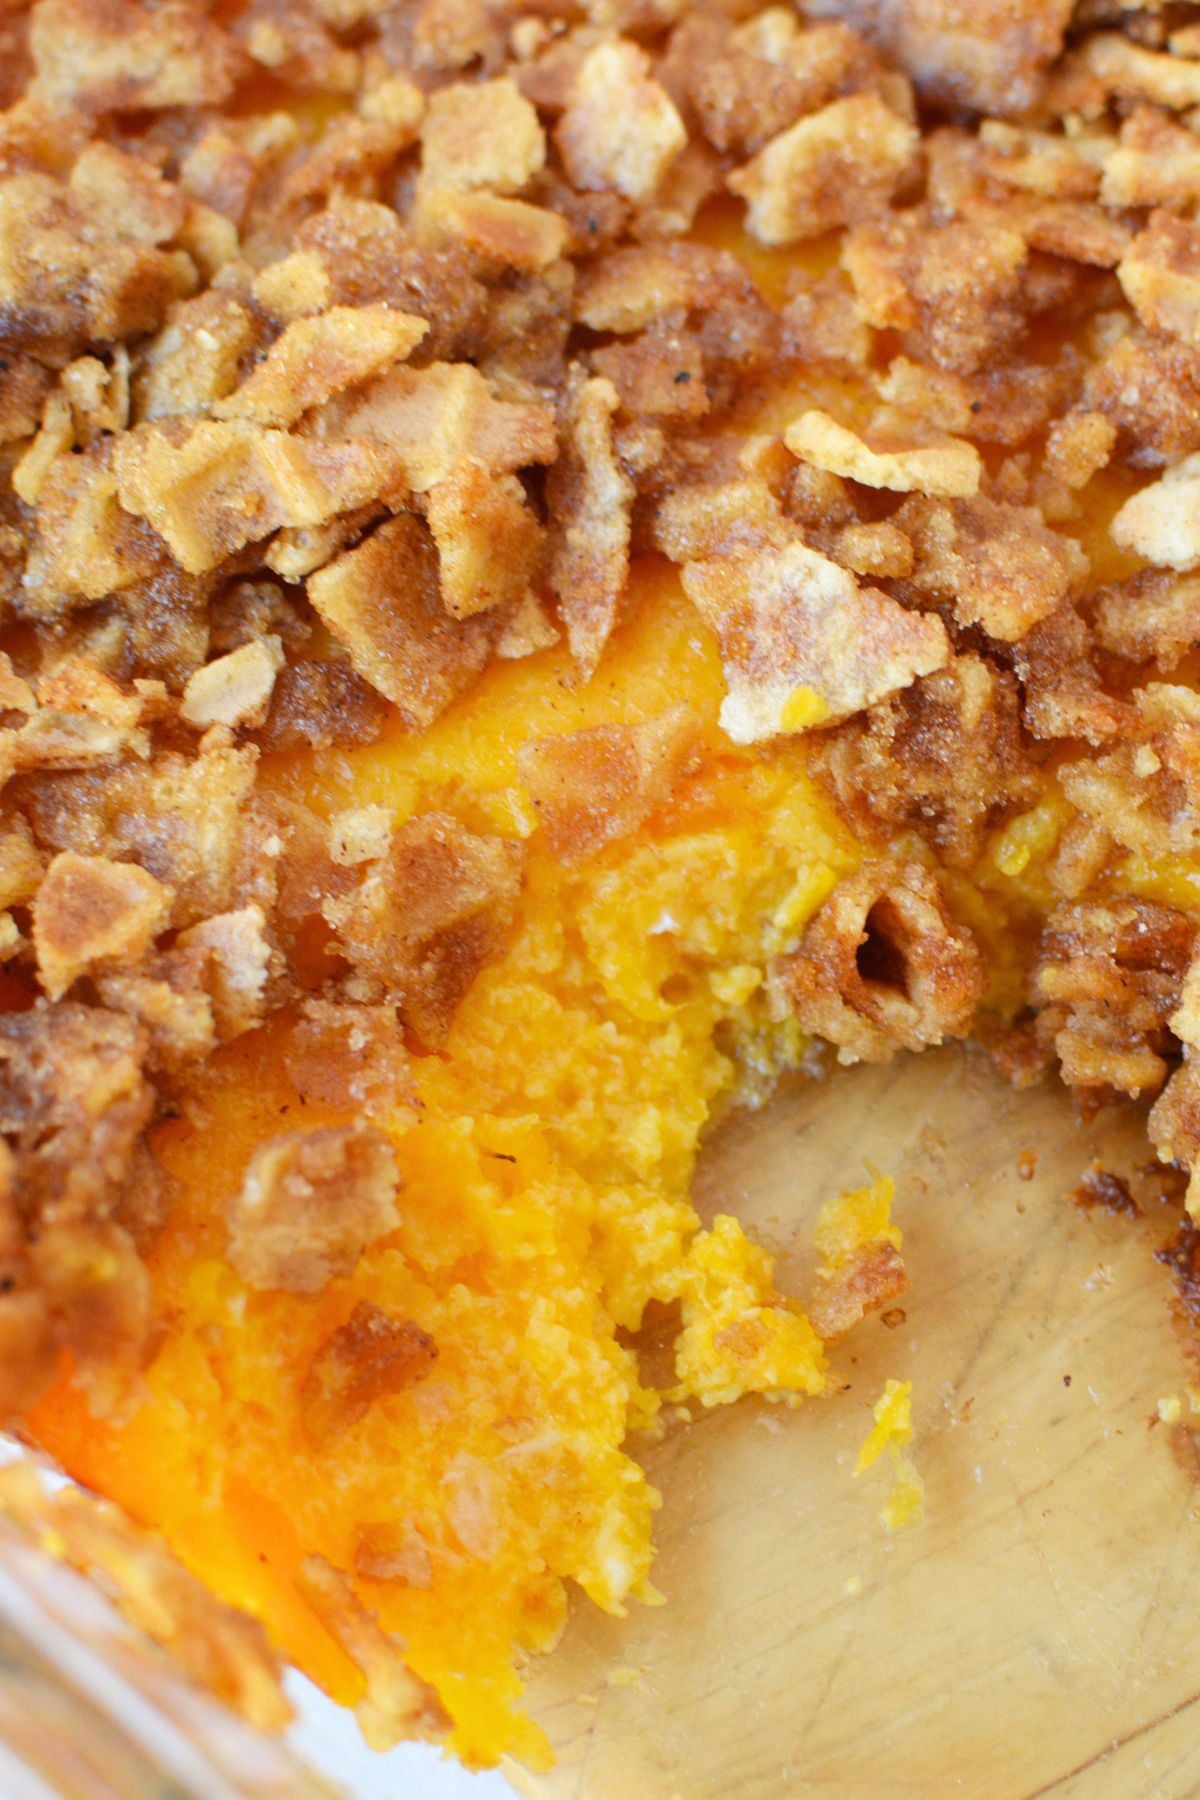
Butternut Squash Casserole with Waffle Cone Topping
Equipment
- 9 x 13-inch baking dish
- nonstick cooking spray
Ingredients
Butternut Squash Filling
- 1 whole butternut squash 3½–4 pounds, peeled, seeded, and cut into ½-inch pieces
- ½ cup granulated sugar
- ¼ cup butter melted
- 1½ cups milk
- 1 teaspoon vanilla extract
- 2 tablespoons all-purpose flour
- 3 large eggs
Crunchy Waffle Cone Topping
- 6 waffle cones crushed
- ¼ cup butter melted
- ¼ cup brown sugar
- ¼ teaspoon ground nutmeg
- ¼ teaspoon ground cinnamon
Instructions
- Prepare the squash. Peel the butternut squash, remove the seeds, and cut into ½-inch cubes. I recommend wearing kitchen gloves because freshly cut butternut squash can leave a sticky residue on your hands.
- Boil the squash. Place the squash in a large pot and add enough water to cover it by at least 1 inch. Bring to a boil over medium-high heat, then continue boiling for approximately 10 minutes, or until fork-tender. My pot took about 10 minutes to reach a boil, so allow approximately 20 minutes total for this step.
- Mash and mix. Drain the squash thoroughly and return it to the pot. Mash until smooth. Let cool slightly if still very hot, then add granulated sugar, ¼ cup melted butter, milk, vanilla extract, flour, and eggs. Mix until evenly combined.
- Bake the casserole. Preheat oven to 425°F. Grease a 9 x 13-inch baking dish with nonstick cooking spray. Transfer the squash mixture to the prepared dish and spread evenly. Bake for 45 minutes.
- Prepare the topping. While the casserole bakes, combine the crushed waffle cones, ¼ cup melted butter, brown sugar, nutmeg, and cinnamon in a bowl. Stir until the mixture is crumbly and evenly coated. For a different topping, substitute approximately 2 cups of crushed vanilla wafers or sugar cookies for the waffle cones.
- Finish baking. After 45 minutes, remove the casserole from the oven and sprinkle the waffle cone mixture evenly over the top. Return to the oven for another 5 minutes.
- Rest and serve. Remove from the oven and let stand for a few minutes before serving warm.
Nutritional Disclaimer: The nutritional data provided here is auto-calculated and intended for your convenience only. As it’s generated via automation, its accuracy may be compromised. For precise nutritional insight, please compute the values utilizing the actual ingredients in your recipe through your chosen nutrition calculator or application.
Did You Make This Recipe?
Make sure to follow Salty Side Dish on Pinterest and rate the recipe here and make sure to leave a comment below!


