
Cheddar Bay Biscuit Chicken Pot Pie
This post may contain affiliate links. Please read the Privacy Policy & Cookie Policy.
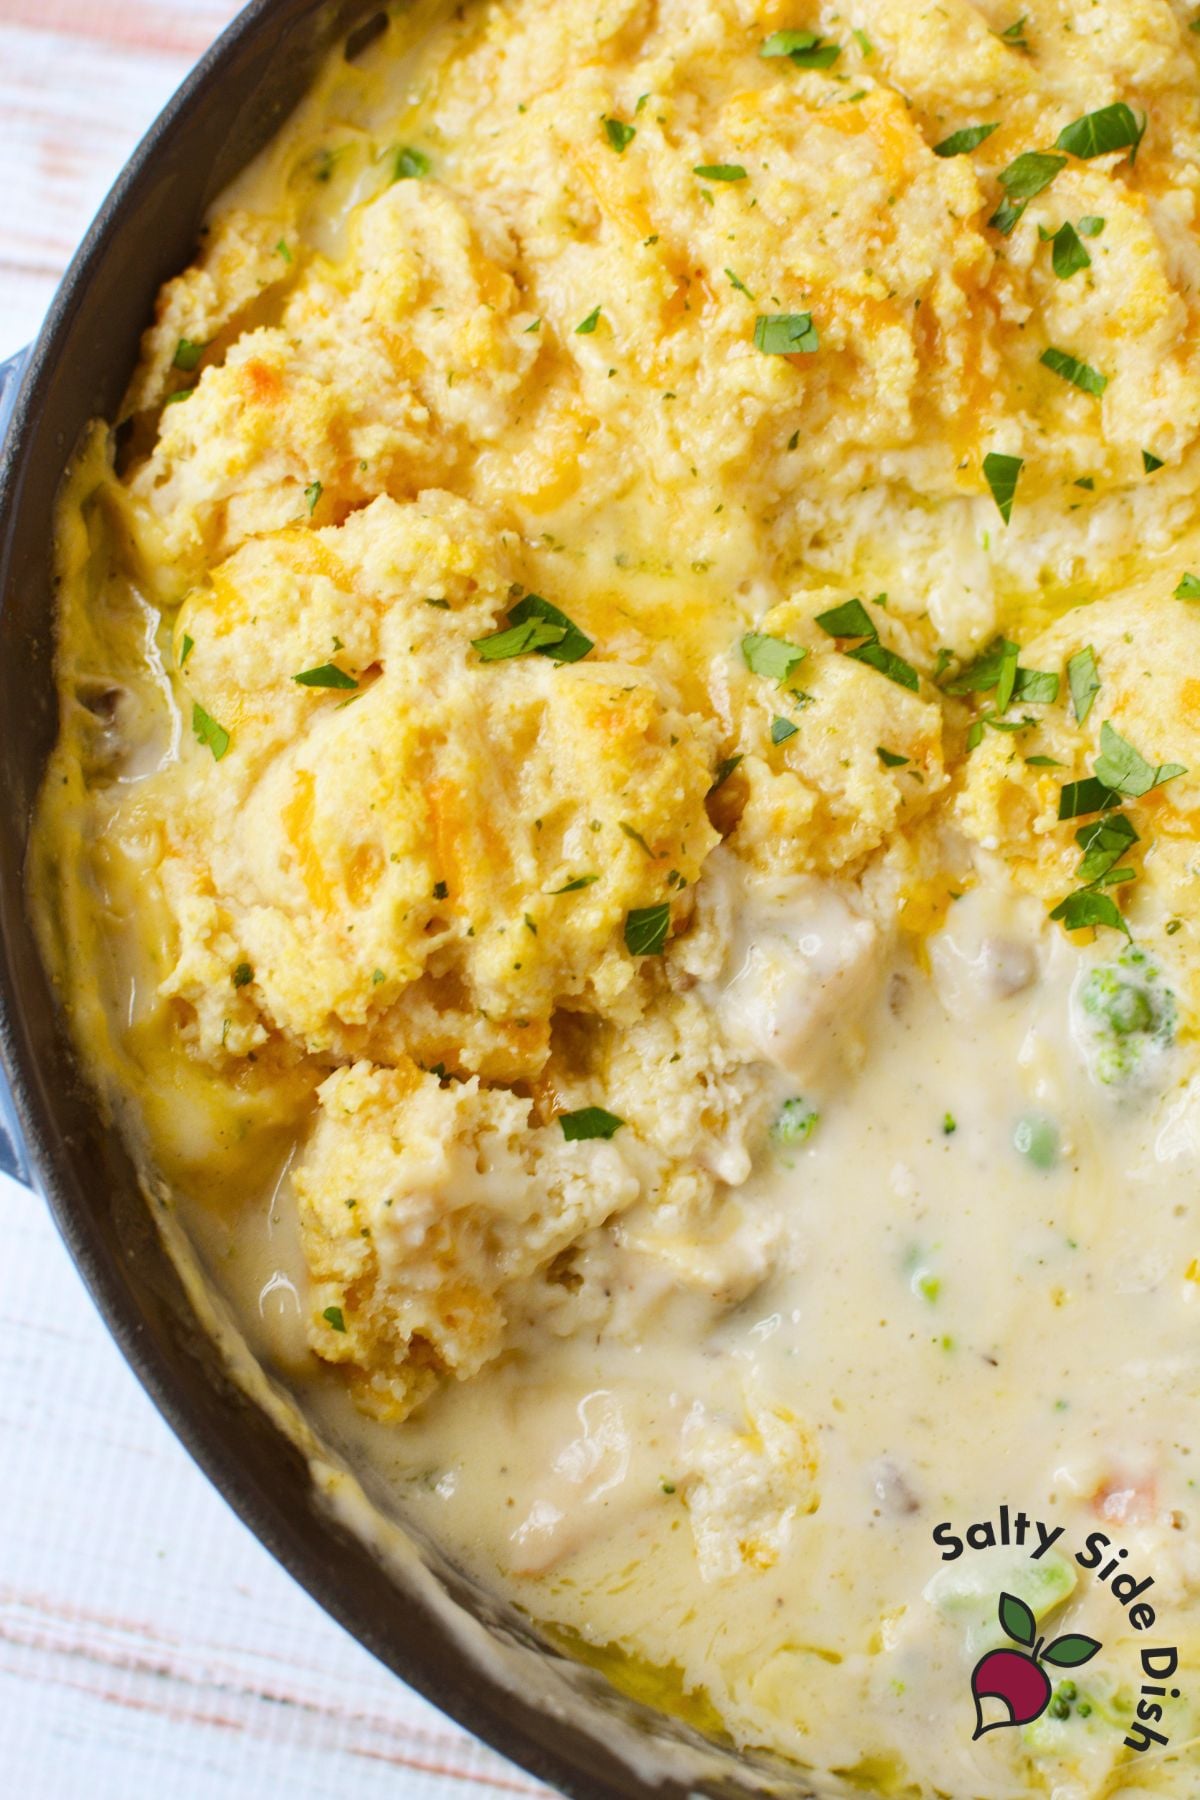
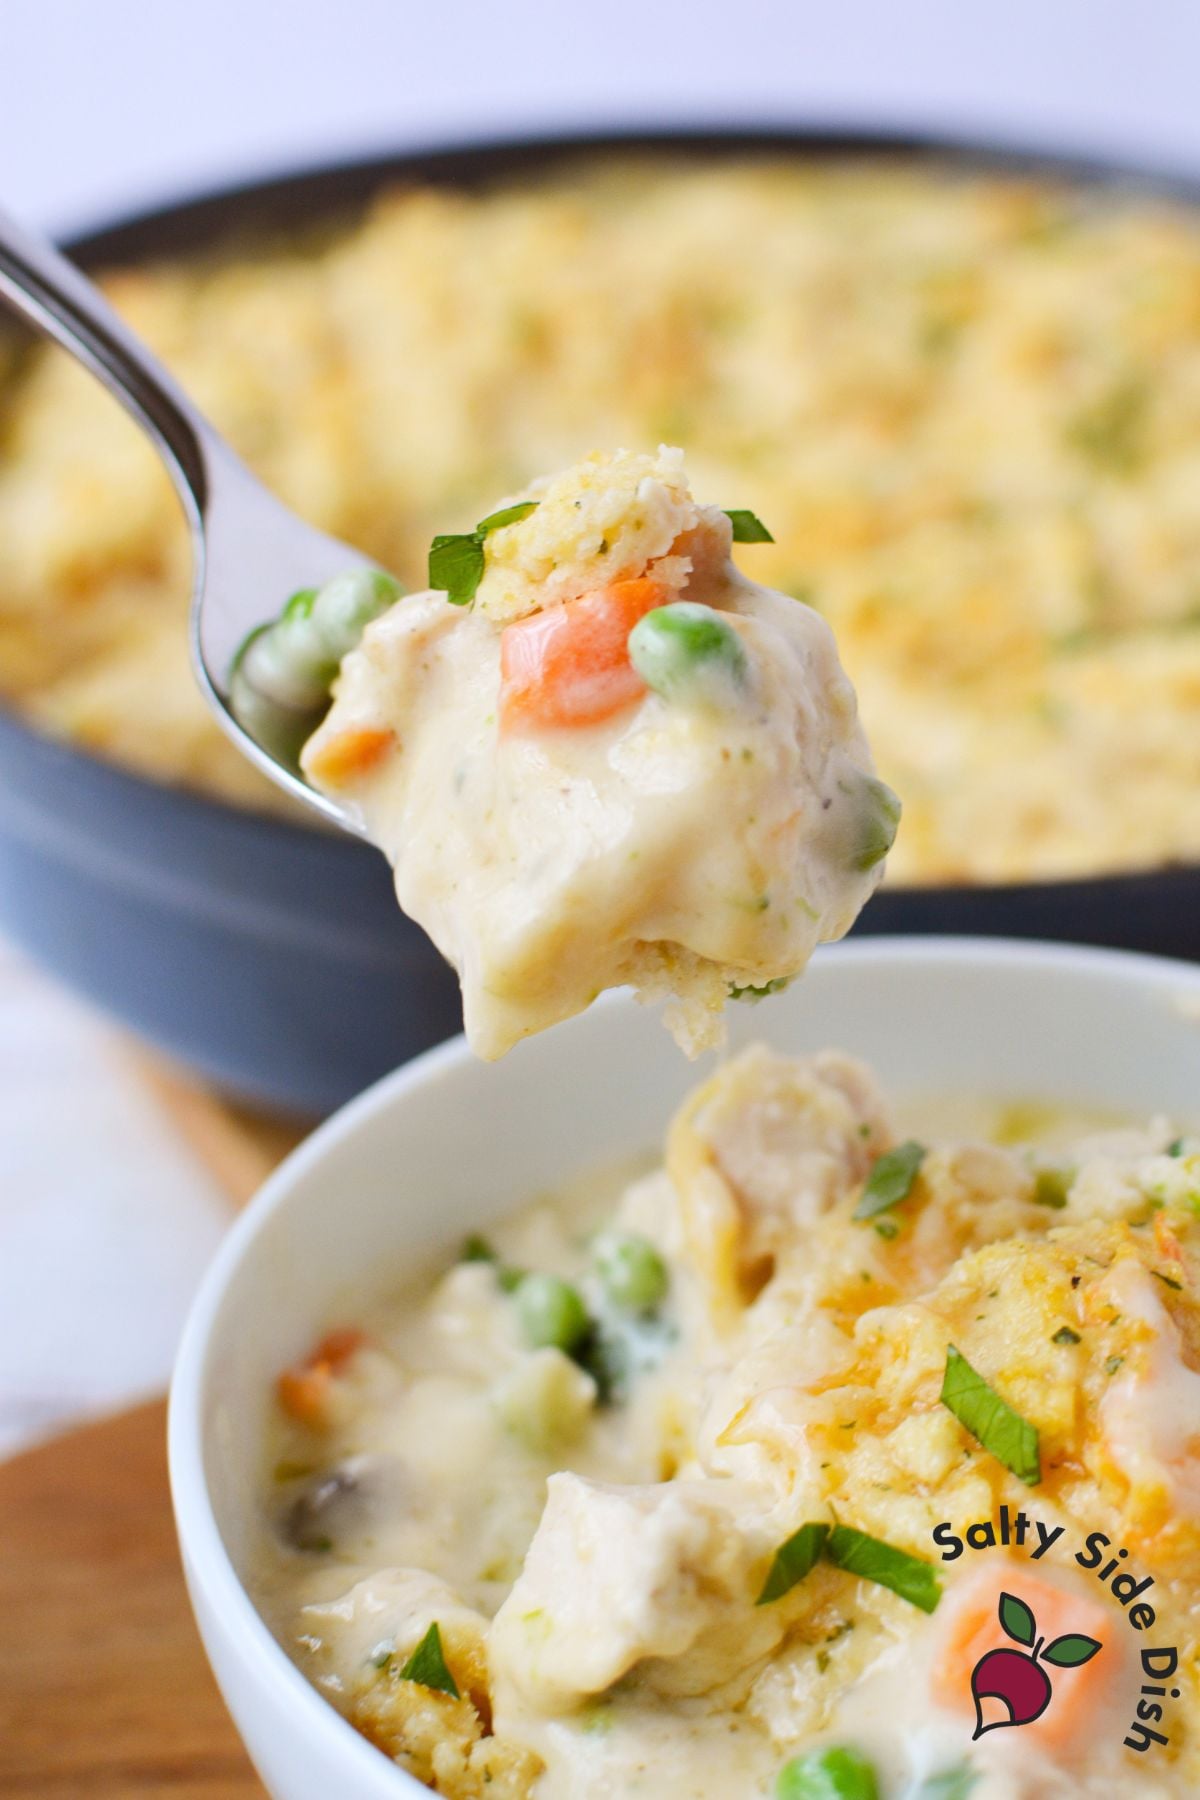
Chicken pot pie is already a comfort food staple, but swapping the traditional crust for cheddar bay biscuits turns it into something that disappears fast at the dinner table. I like this version better than traditional chicken pot pie when I want something cozy but do not want to deal with pie crust.
This recipe uses the Red Lobster Cheddar Bay Biscuit Mix, which comes with its own seasoning packet, so the biscuit topping already has that buttery, garlicky, herby flavor built right in. No homemade dough, no guesswork.
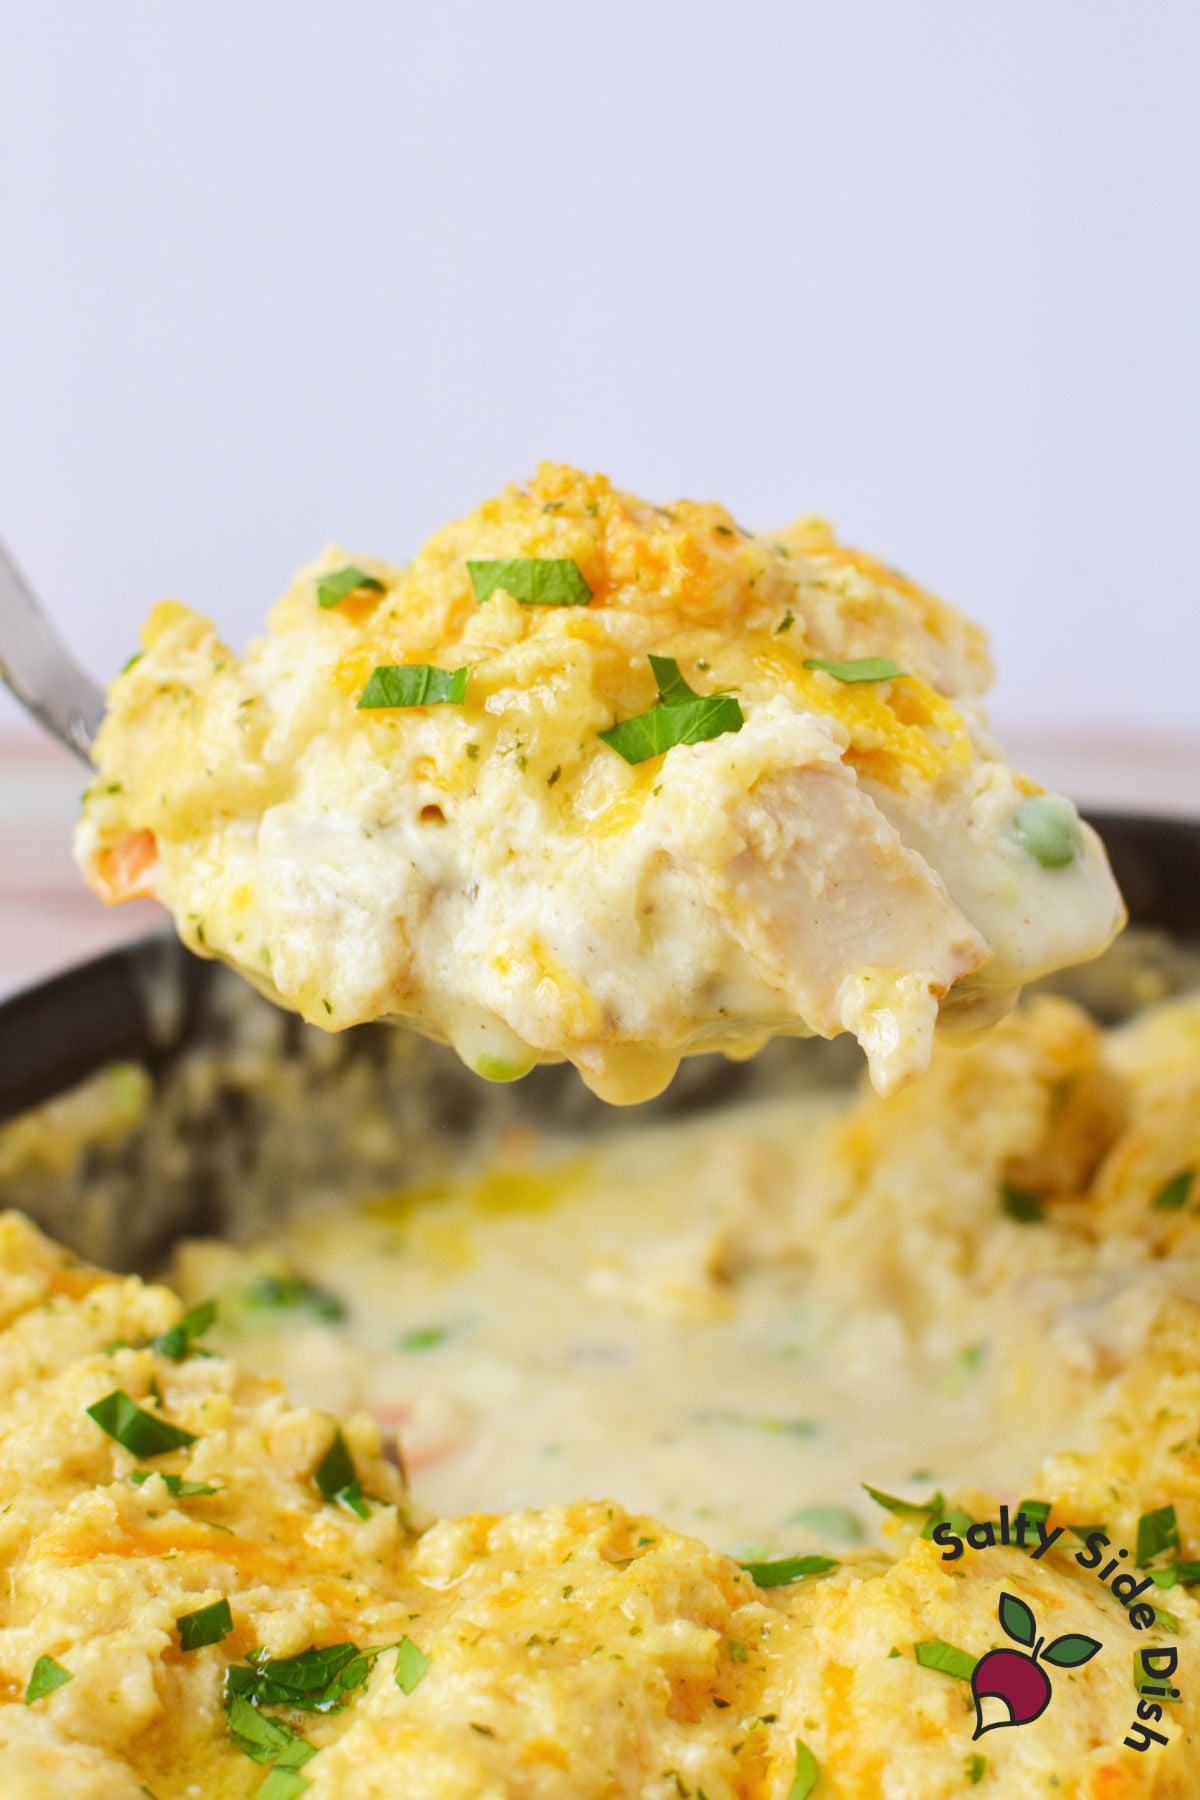
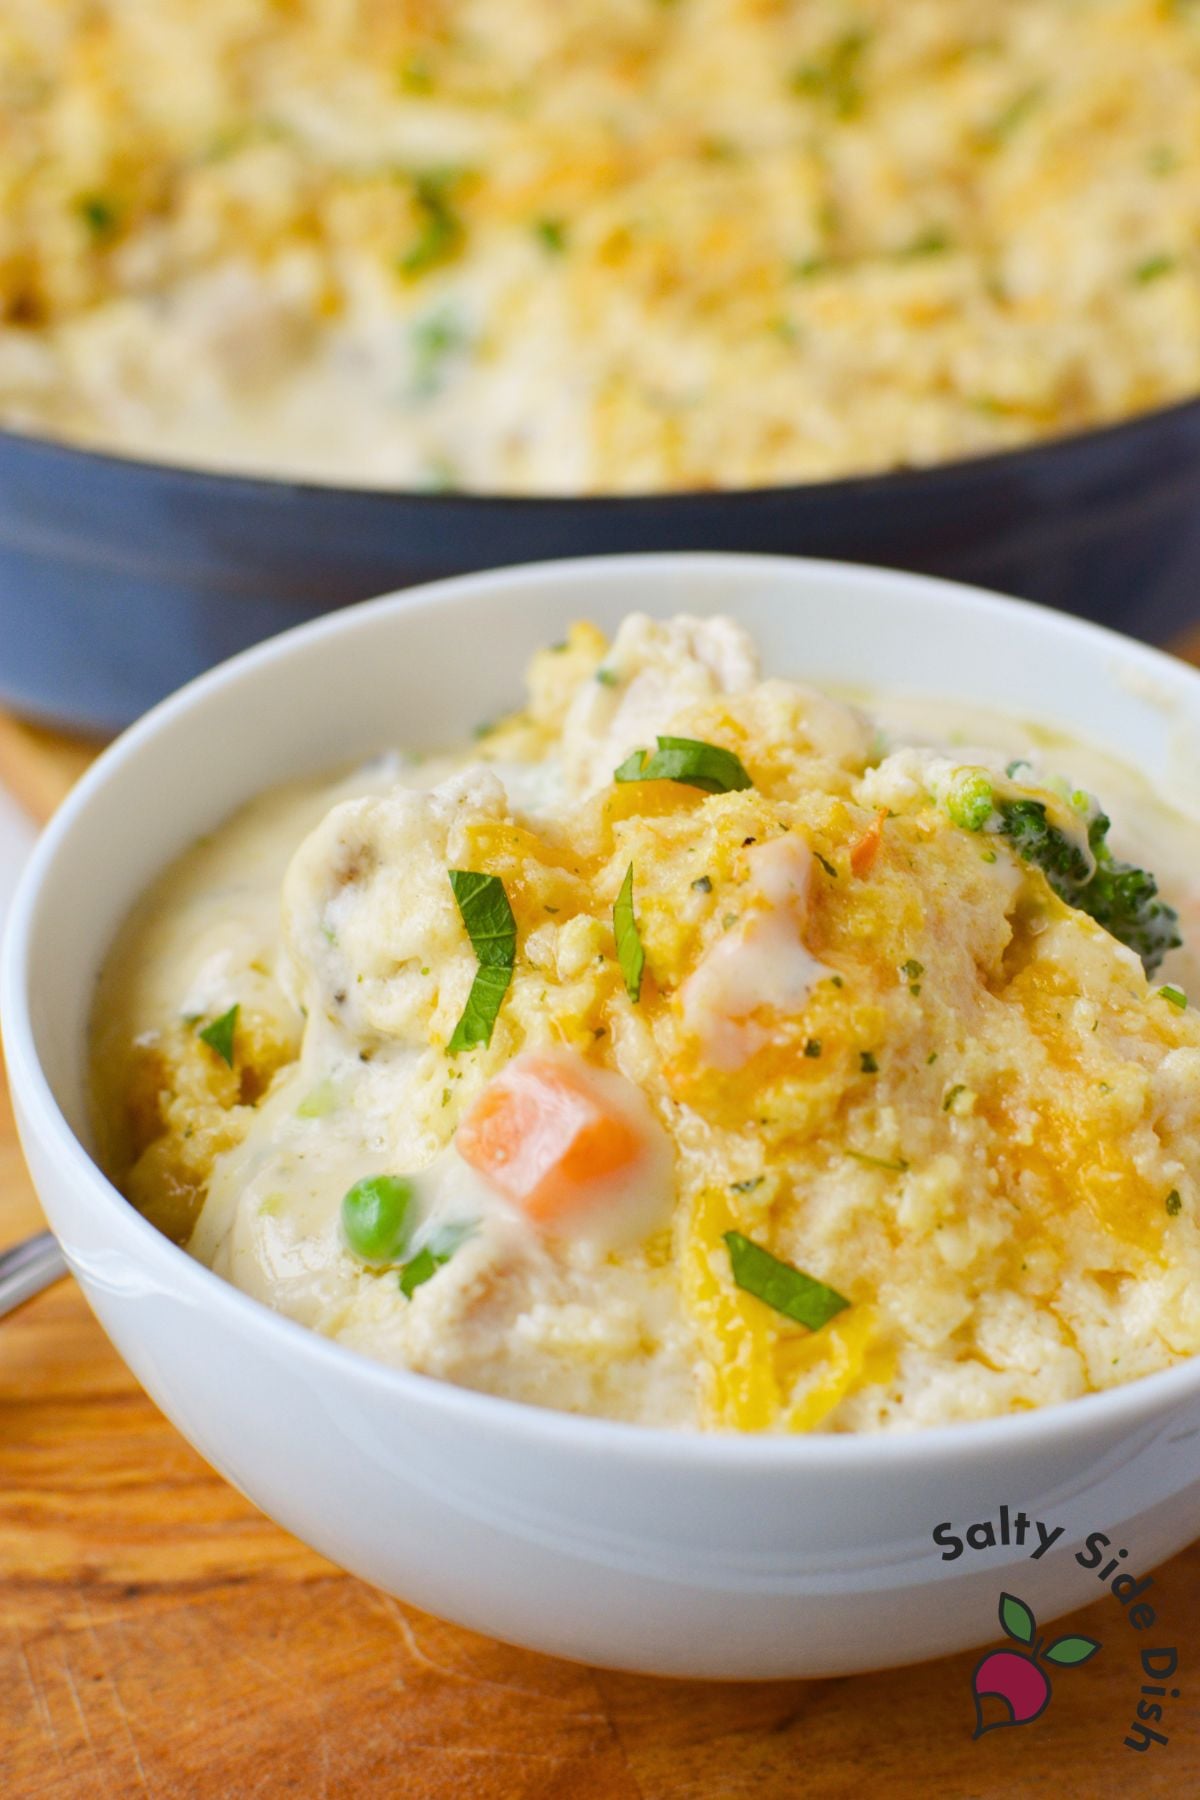
Everything goes into one oven-proof skillet. The creamy filling comes together with cream of chicken and cream of mushroom soup, rotisserie or leftover chicken, and frozen vegetables that you keep frozen and add straight to the pan. The biscuit mix goes on top in dollops, bakes up golden and fluffy, and then gets brushed with the herb butter from the seasoning packet while it is still hot. It is the kind of dinner that feels like a lot of effort but is genuinely simple to put together.
Ingredients
- 3 cups cooked chicken, cut into cubes
- 1 cup frozen peas and carrots (keep frozen)
- 1 cup frozen broccoli (keep frozen)
- 1 can (10.5 oz) cream of mushroom soup
- 1 can (10.5 oz) cream of chicken soup
- 1 empty soup can full of milk
- 1 box (11.36 oz) Cheddar Bay Biscuit Mix
- 1/2 cup shredded cheddar cheese
- 3/4 cup cold water
- 1/4 cup melted butter
- Chopped fresh parsley, optional for serving
How to Make Cheddar Bay Biscuit Chicken Pot Pie
Preheat your oven to 350 degrees F.
Add the chicken, frozen vegetables, both cans of soup, and the milk to an oven-proof skillet. Mix until combined and spread evenly in the pan.

In a separate bowl, combine the biscuit mix and shredded cheddar cheese. Remove the seasoning packet from the box and set it aside for later. Add the cold water and stir just until the dough comes together. Do not overmix.
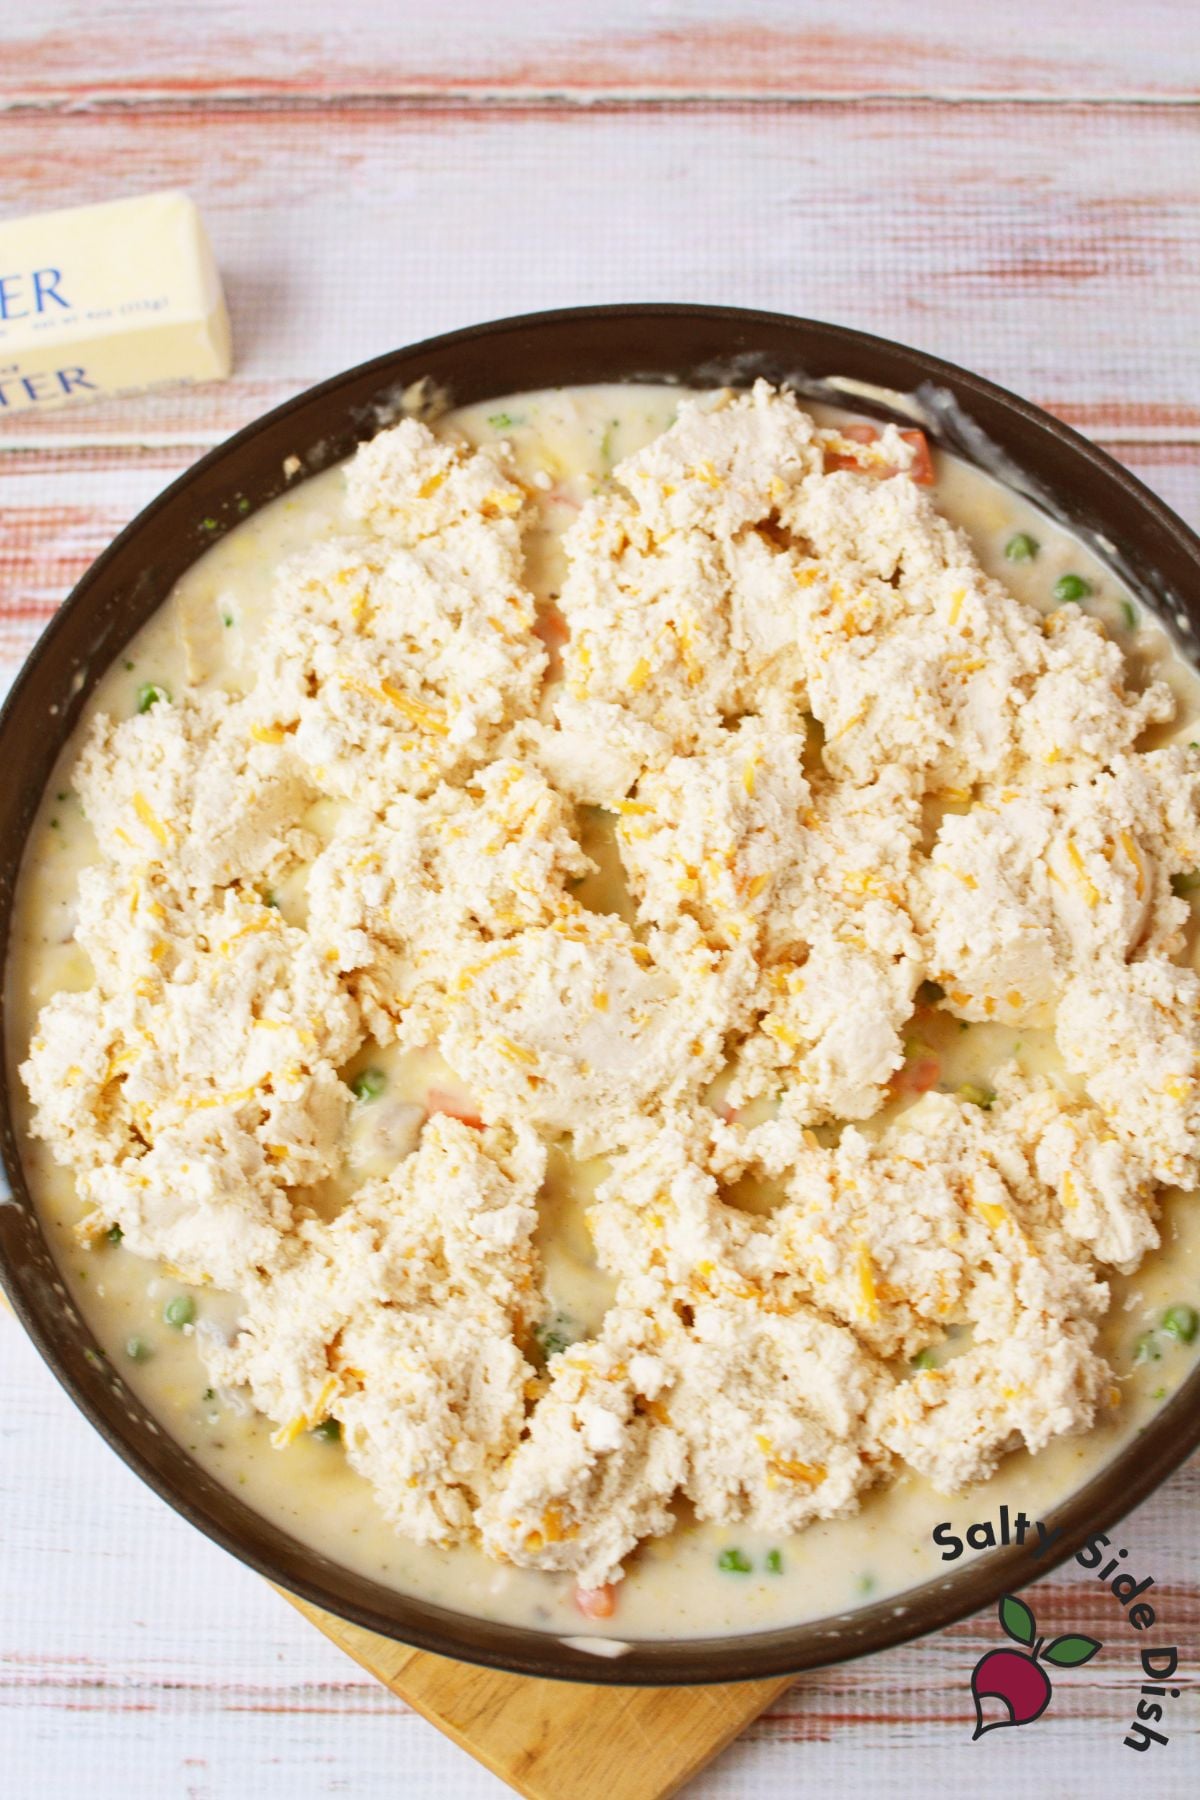
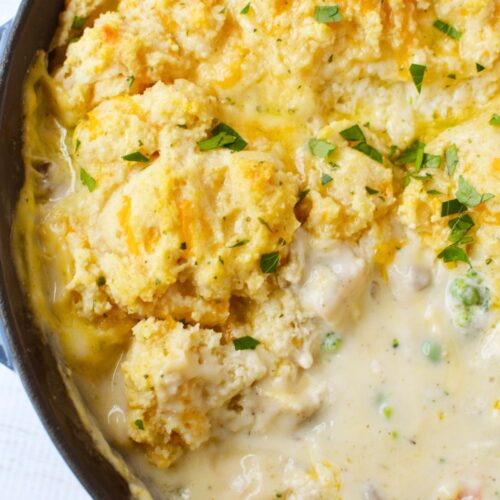
Drop dollops of the biscuit mixture on top of the chicken filling. I usually try to spread the biscuit dough across most of the top so you get a little biscuit in every serving.
Bake for 35 minutes, until the biscuits are cooked through and golden on top.
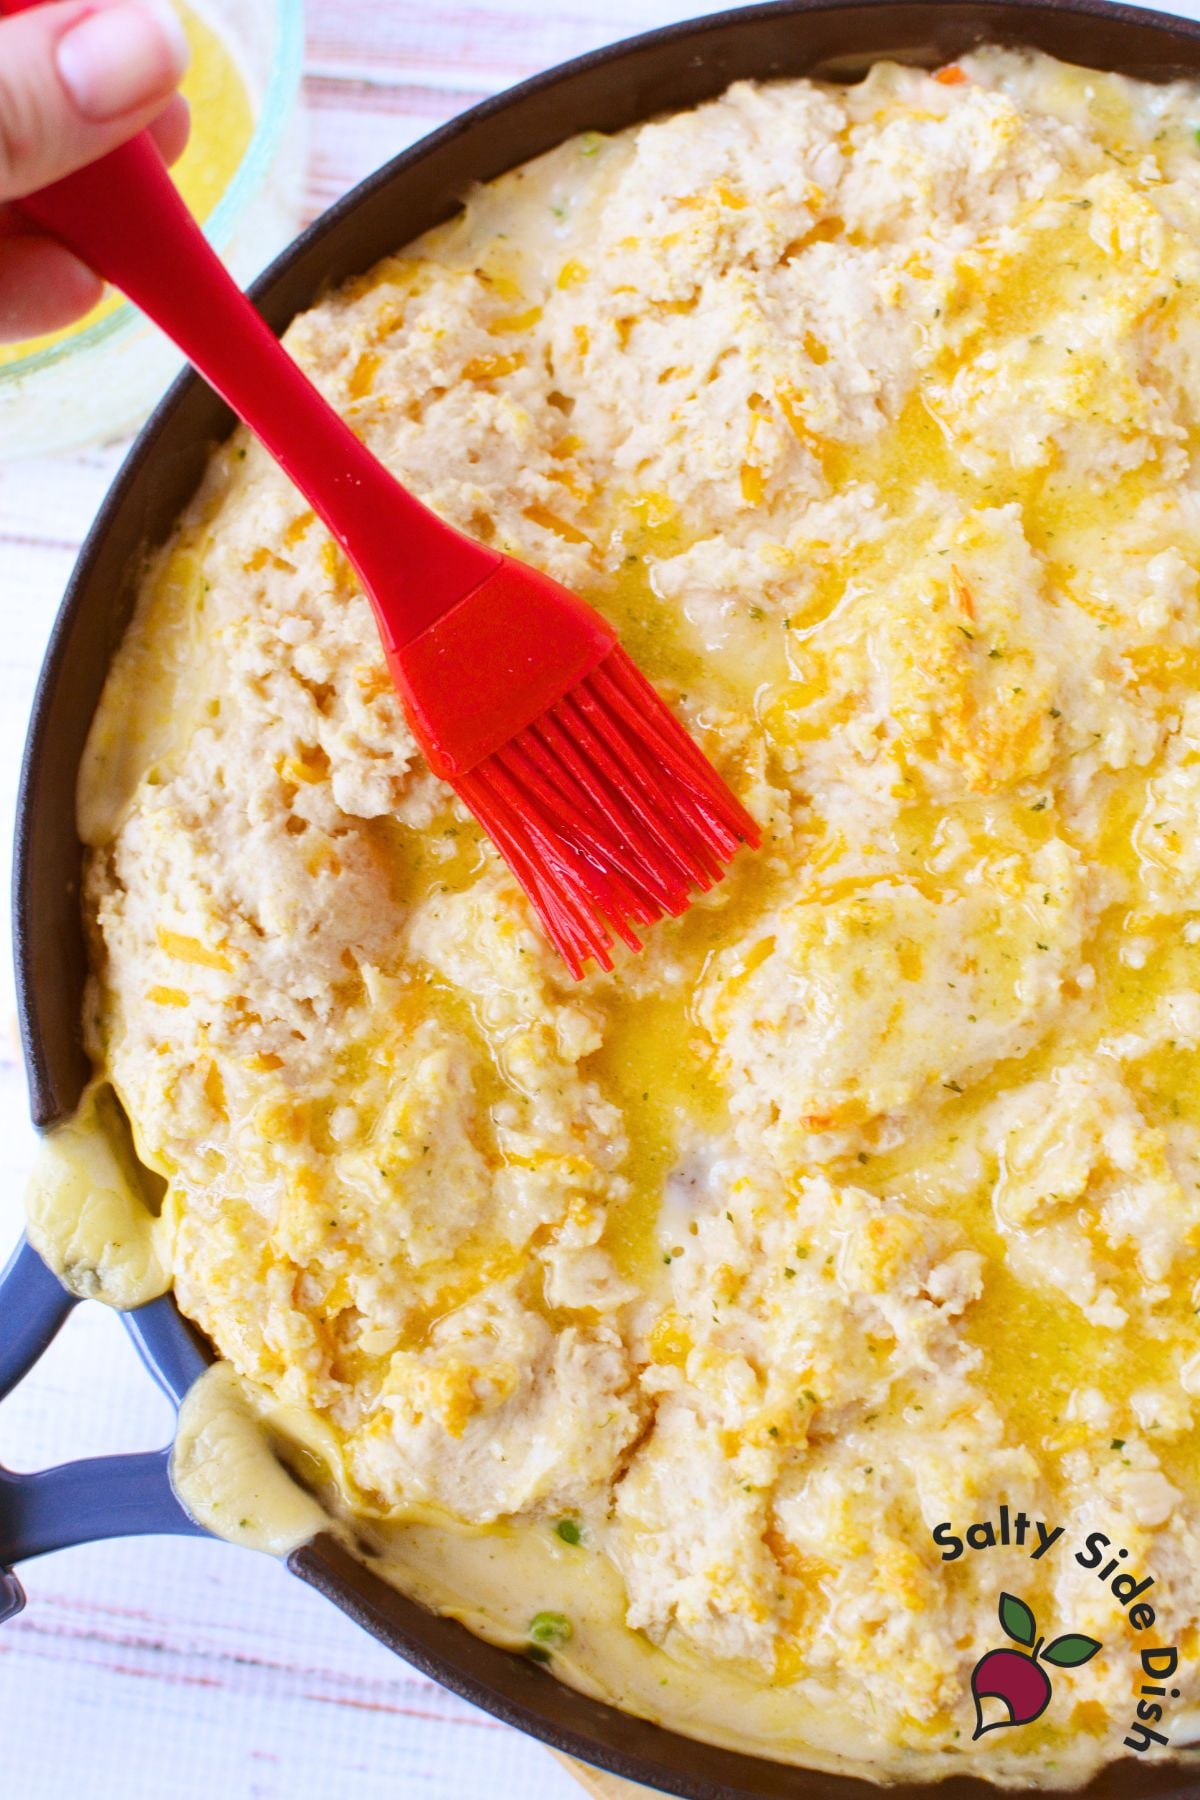
Remove from the oven. Stir together the melted butter and the reserved seasoning packet. Use a pastry brush to coat the tops of the biscuits with the herb butter.
Let the skillet stand for 10 minutes before serving. Top with chopped fresh parsley if desired.
Tips and Notes
I’ve found that keeping the vegetables frozen gives the filling a better consistency and keeps it from turning watery. Thawed vegetables release moisture and can make the filling thin.
Do not overmix the biscuit dough. Stir just until the water is incorporated. Overmixing develops the gluten and results in dense, tough biscuits instead of the light, fluffy ones you want on top.
Save the seasoning packet. This is important. The packet comes out of the biscuit mix box and gets stirred into the melted butter at the end. That herb butter brushed over the hot biscuits is what gives the topping that classic cheddar bay flavor.
Rotisserie chicken works great here. Any cooked chicken will do, but a store-bought rotisserie bird is the fastest option and adds a little extra flavor to the filling.
I let it rest for about 10 minutes before serving, and that makes a big difference in how thick and scoopable the filling is.
Frequently Asked Questions
Can I make this in a casserole dish instead of a skillet?
Yes. A 9×13 baking dish works well. Spread the filling evenly and add the biscuit dollops on top the same way. The bake time should stay the same but check at 30 minutes since casserole dishes vary.
Can I use fresh vegetables instead of frozen?
You can, but par-cook them first so they are tender by the time the biscuits are done. Raw fresh vegetables will not cook through in 35 minutes inside a thick filling.
Can I make this ahead of time?
The filling can be made a day ahead and stored covered in the fridge. Add the biscuit topping just before baking so the dough does not absorb moisture from the filling overnight.
How do I store leftovers?
Store leftovers covered in the refrigerator for up to 3 days. Reheat in the oven at 325 degrees F to keep the biscuits from getting soggy, or microwave individual portions if you are not worried about texture.
- If you love this concept but want to try it with refrigerated tube biscuits instead, my Chicken Pot Pie with Biscuits uses buttermilk biscuits dipped in butter for a more classic biscuit topping.
Cheddar Bay Biscuit Chicken Pot Pie
Ingredients
- 3 cups cooked chicken cut into cubes
- 1 cup frozen peas and carrots
- 1 cup frozen broccoli
- 10.5 ounces cream of mushroom soup
- 10.5 ounces cream of chicken soup
- 1 soup can full of milk
- 11.36 ounces Cheddar Bay Biscuit Mix
- 1/2 cup shredded cheddar cheese
- 3/4 cup cold water
- 1/4 cup melted butter
- Chopped fresh parsley optional for serving
Instructions
- Preheat the oven to 350 degrees F.
- Add the chicken, frozen peas and carrots, frozen broccoli, both cans of soup, and the milk to an oven-proof skillet. Mix until combined and spread evenly in the pan.
- In a separate bowl, combine the Cheddar Bay Biscuit Mix and shredded cheddar cheese. Remove the seasoning packet from the box and set it aside for later.
- Add the cold water and stir just until the dough comes together. Do not overmix or the biscuit topping can turn dense instead of fluffy.
- Drop dollops of the biscuit mixture on top of the chicken filling, covering as much of the surface as you can. Rotisserie chicken works especially well here if you want a quick shortcut.
- Bake for 35 minutes, until the biscuits are cooked through and golden on top.
- Remove from the oven. Stir together the melted butter and the reserved seasoning packet, then use a pastry brush to coat the tops of the biscuits with the herb butter. Do not skip the seasoning packet, since it gives the topping that classic cheddar bay flavor.
- Let the skillet stand for 10 minutes before serving so the filling can thicken slightly. Top with chopped fresh parsley if desired.
Nutrition
Nutritional Disclaimer: The nutritional data provided here is auto-calculated and intended for your convenience only. As it’s generated via automation, its accuracy may be compromised. For precise nutritional insight, please compute the values utilizing the actual ingredients in your recipe through your chosen nutrition calculator or application.
Did You Make This Recipe?
Make sure to follow Salty Side Dish on Pinterest and rate the recipe here and make sure to leave a comment below!


