
Crispy Skillet Chicken Tacos (Pan-Fried, Not Deep Fried)
This post may contain affiliate links, please read our privacy policy for details.
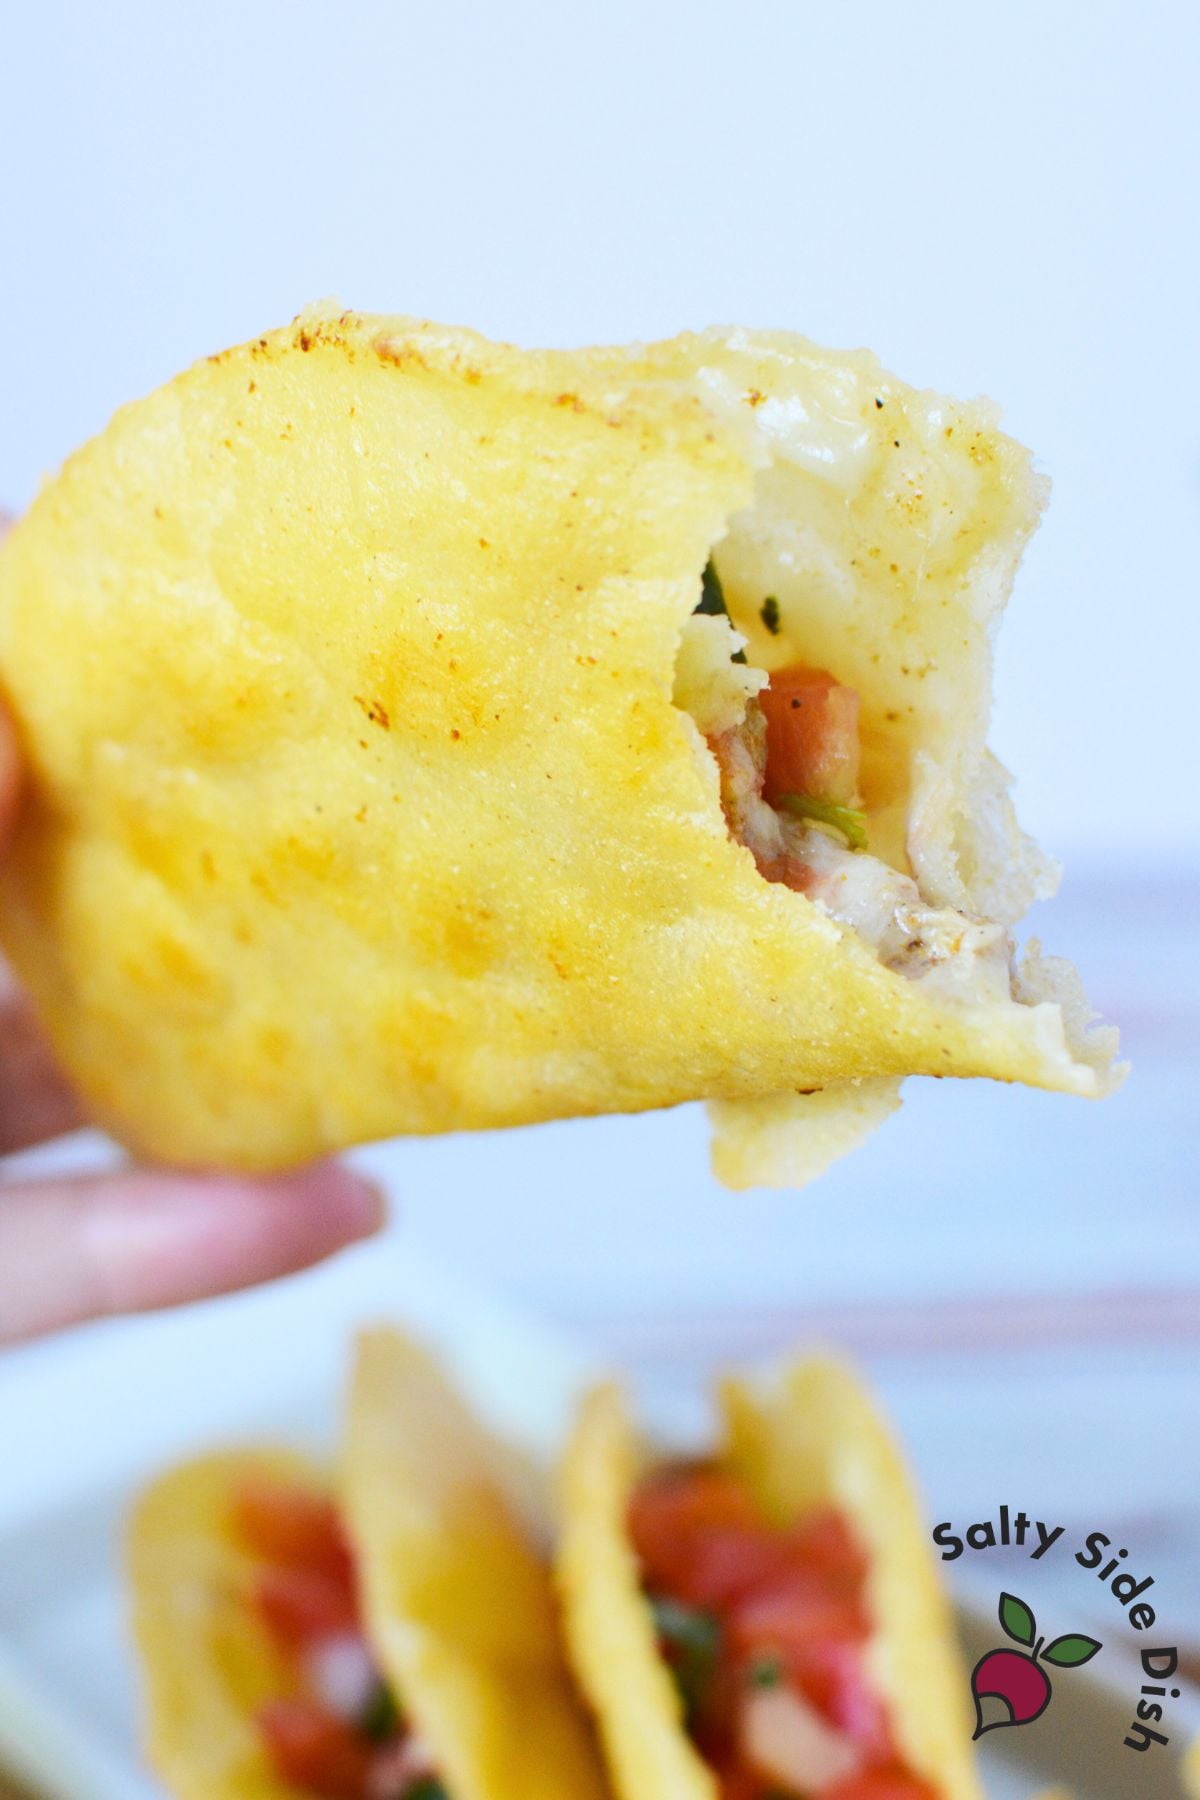
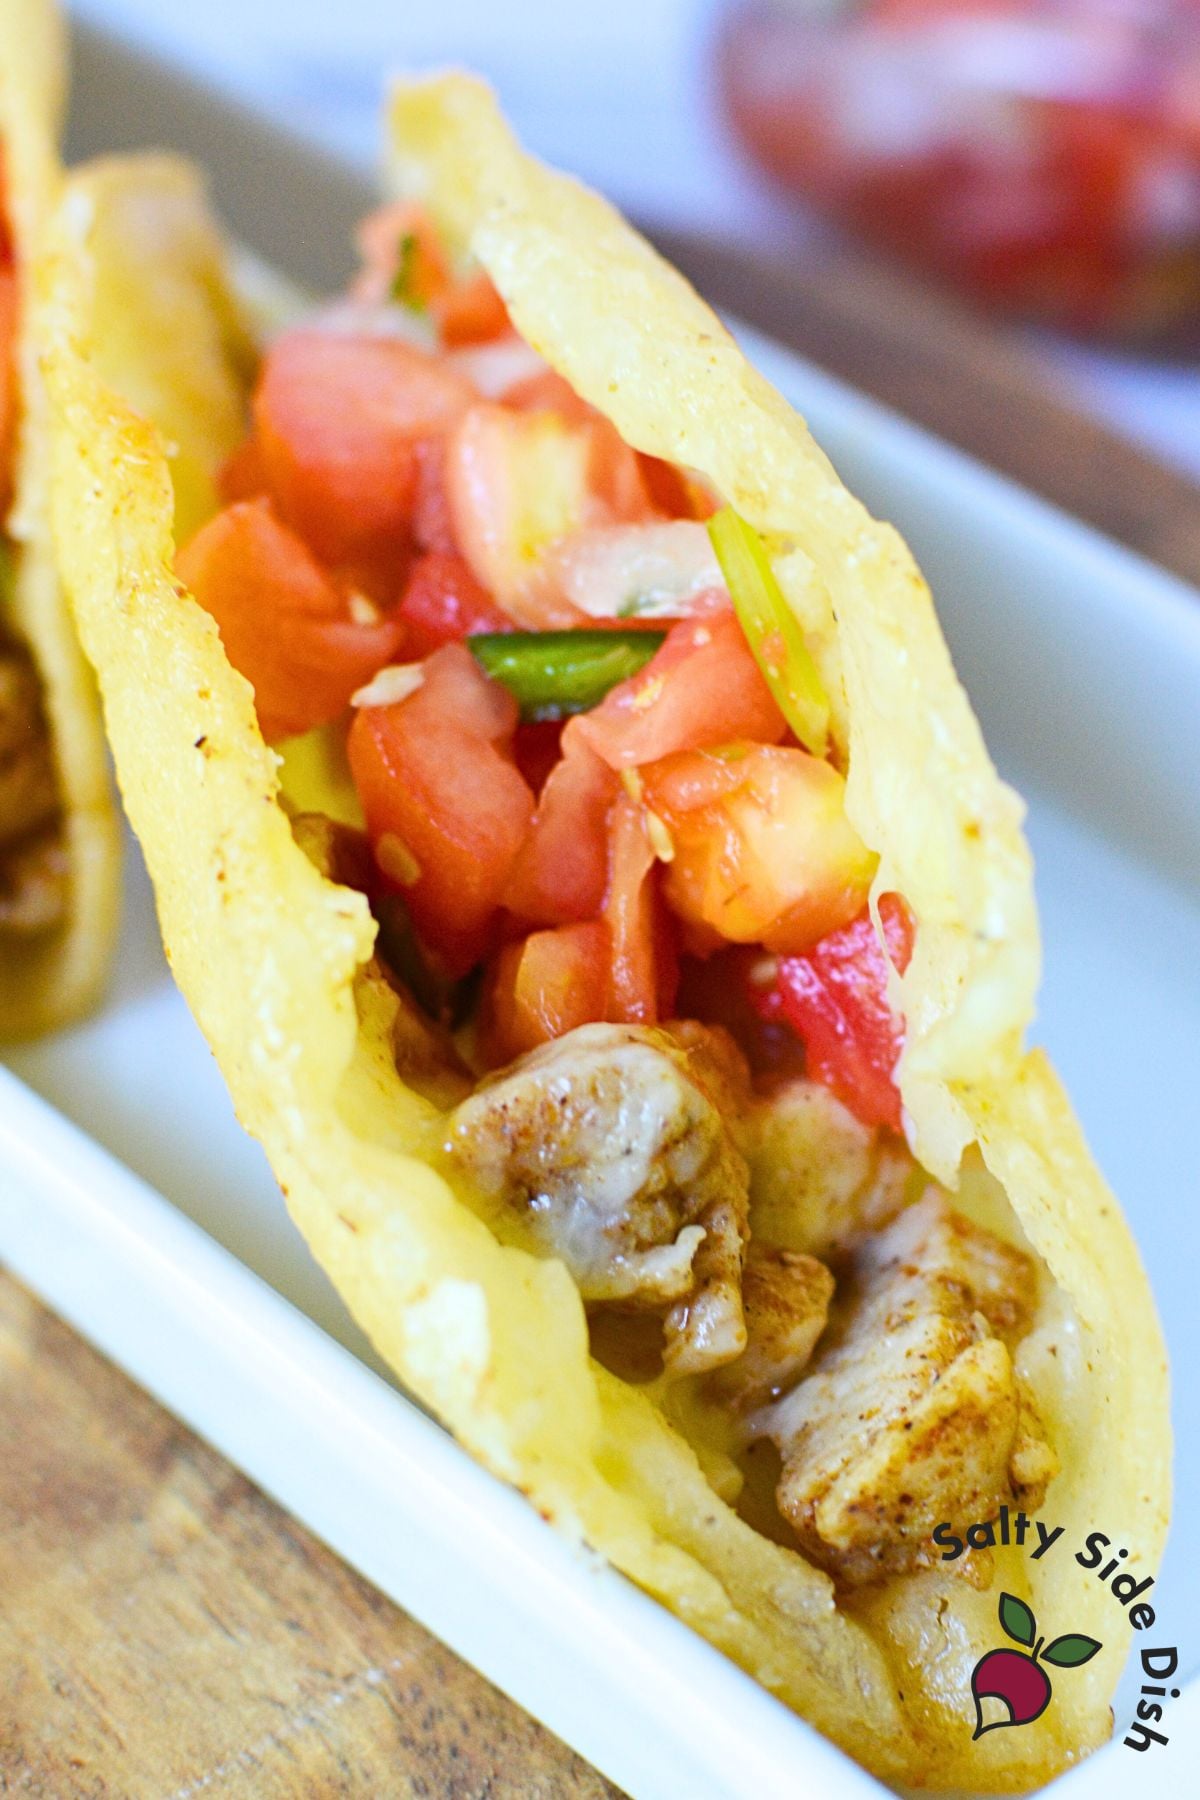
These crispy skillet chicken tacos have a golden, crunchy shell and perfectly seasoned chicken that stays hot inside. They’re pan-fried in a cast iron skillet, no deep fryer needed, and taste just like the fried tacos you’d get at a taco restaurant.

Prep Time: 10 minutes
Cook Time: 20 minutes
Total Time: 30 minutes
Servings: 6 (18 tacos, 2-3 per person)
Ingredients
- 1 lb chicken breast, chopped small
- 2 tablespoons olive oil
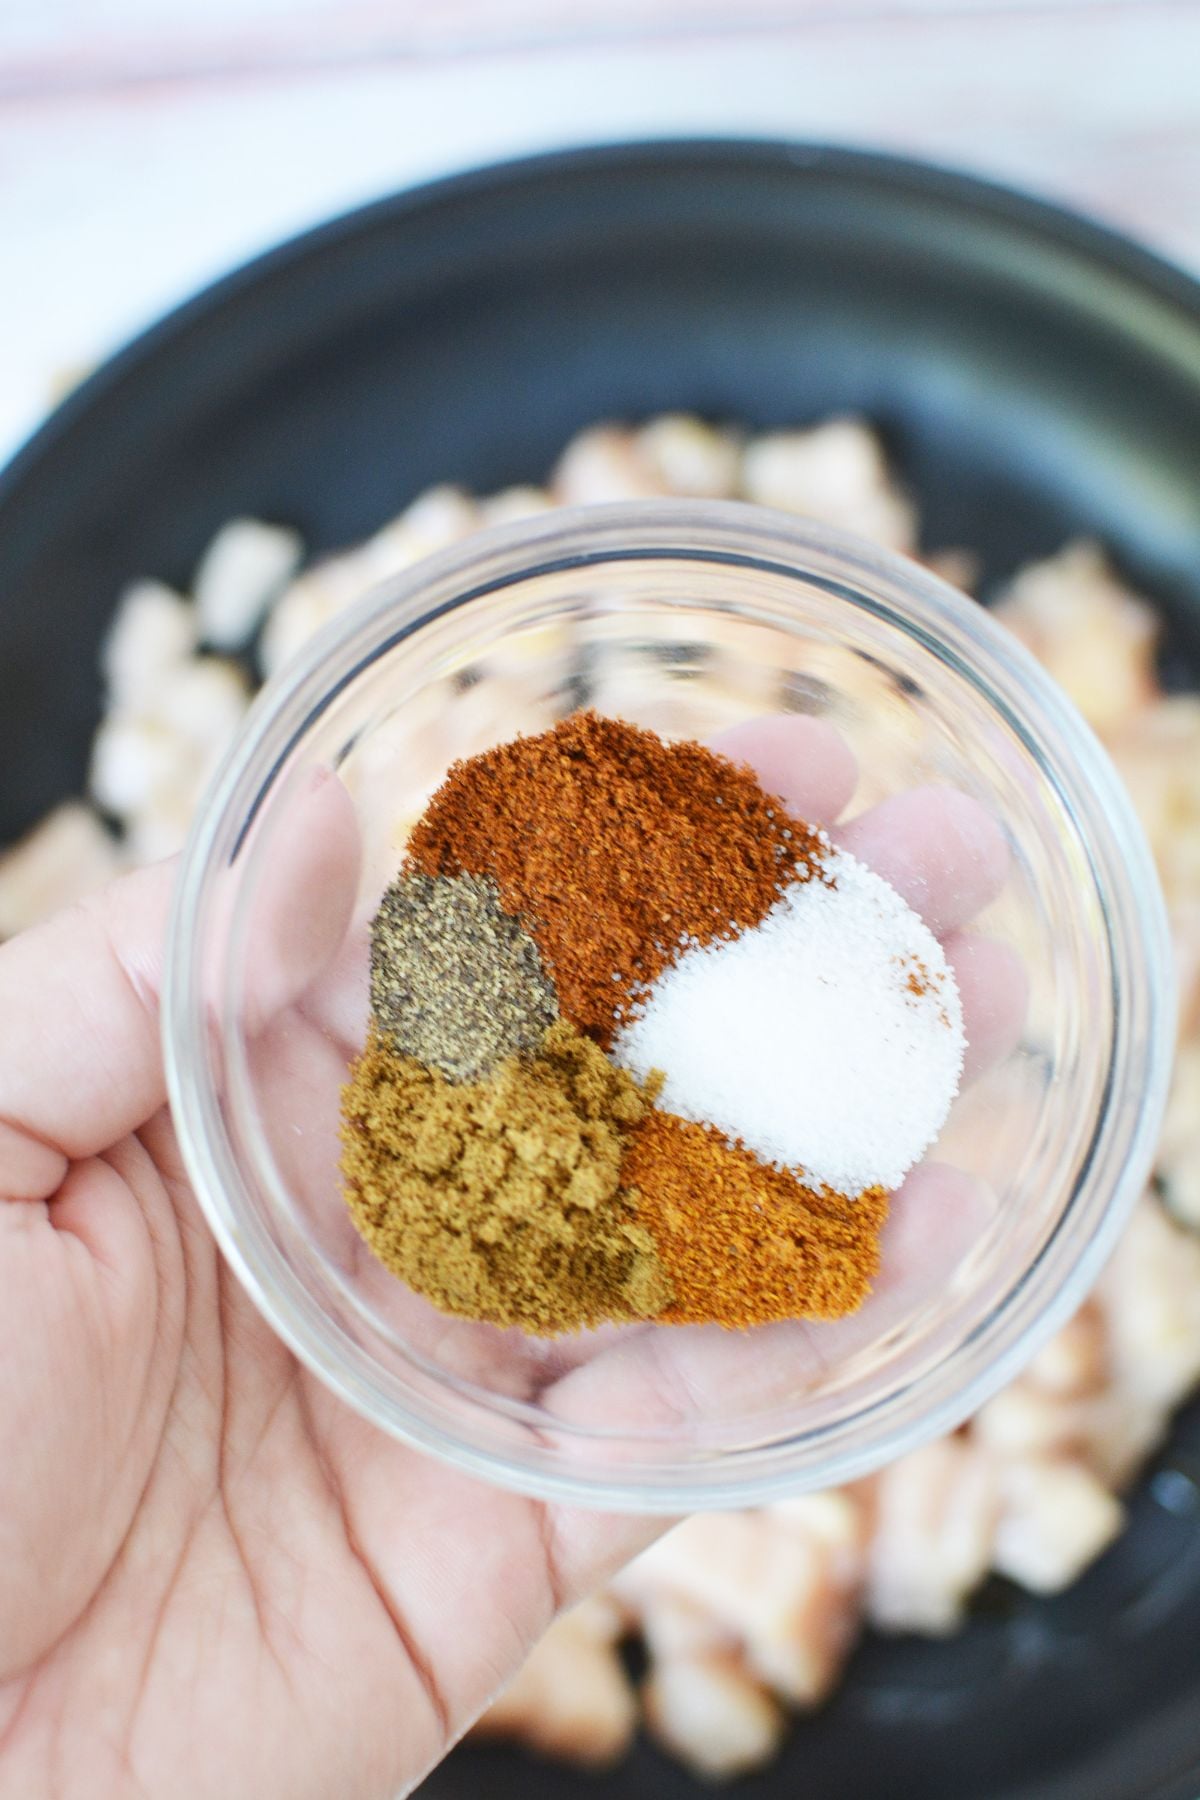
- 2 teaspoons chili powder
- 1 teaspoon cumin
- 1/2 teaspoon cayenne pepper
- 1/2 teaspoon salt
- 1/4 teaspoon black pepper
- 18 white corn tortillas
- Vegetable oil for frying
- 2 cups shredded cheese (Mexican blend or cheddar)
- Pico de gallo for serving
How to Make Crispy Chicken Tacos in a Skillet
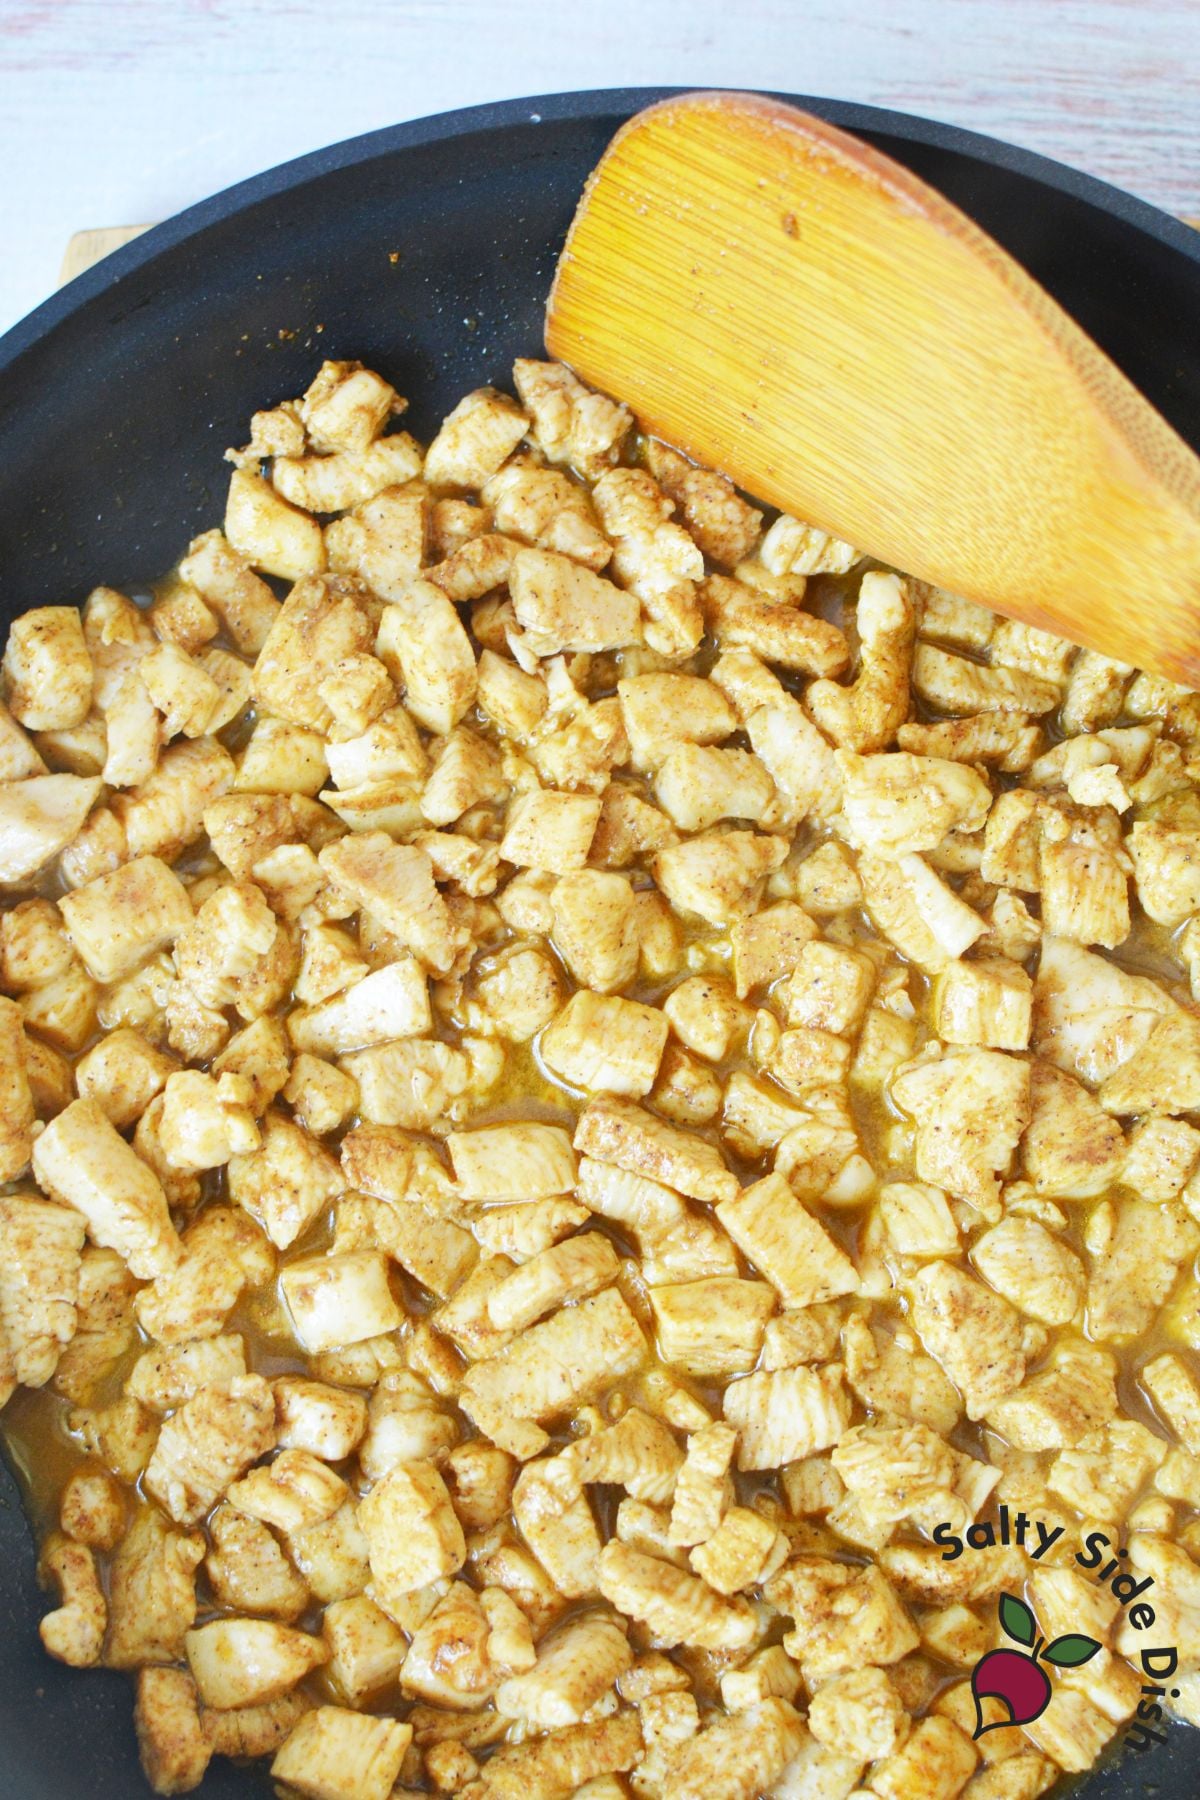
Step 1: Season and cook the chicken. Add chopped chicken, olive oil, chili powder, cumin, cayenne, salt, and black pepper to a large skillet over medium-high heat. Stir occasionally until the chicken is cooked through and no longer pink, about 7-8 minutes. Transfer chicken to a plate.
Step 2: Heat the frying oil. Pour about 1/2 inch of vegetable oil into the same skillet. Heat over medium until the oil shimmers. Test it by dropping in a small piece of tortilla – it should sizzle right away.
Step 3: Add cheese and chicken to tortilla. Place one corn tortilla flat in the hot oil. Immediately sprinkle a small handful of shredded cheese on one half, then add about 2 tablespoons of cooked chicken on top of the cheese.

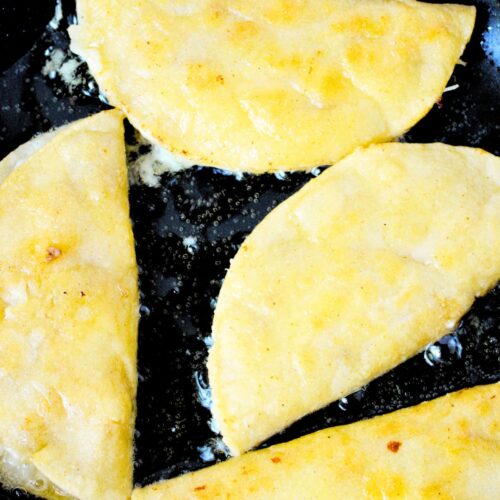
Step 4: Fold and fry. Let the tortilla fry for about a minute until the bottom starts browning, then fold it in half with tongs. Keep frying, flipping every 30-45 seconds, until both sides are golden and crispy, about 2-3 minutes total.
Step 5: Drain and repeat. Remove the taco and place on paper towels to drain. Repeat with remaining tortillas and filling. You can fry 3-4 tacos at once if your skillet is large enough.
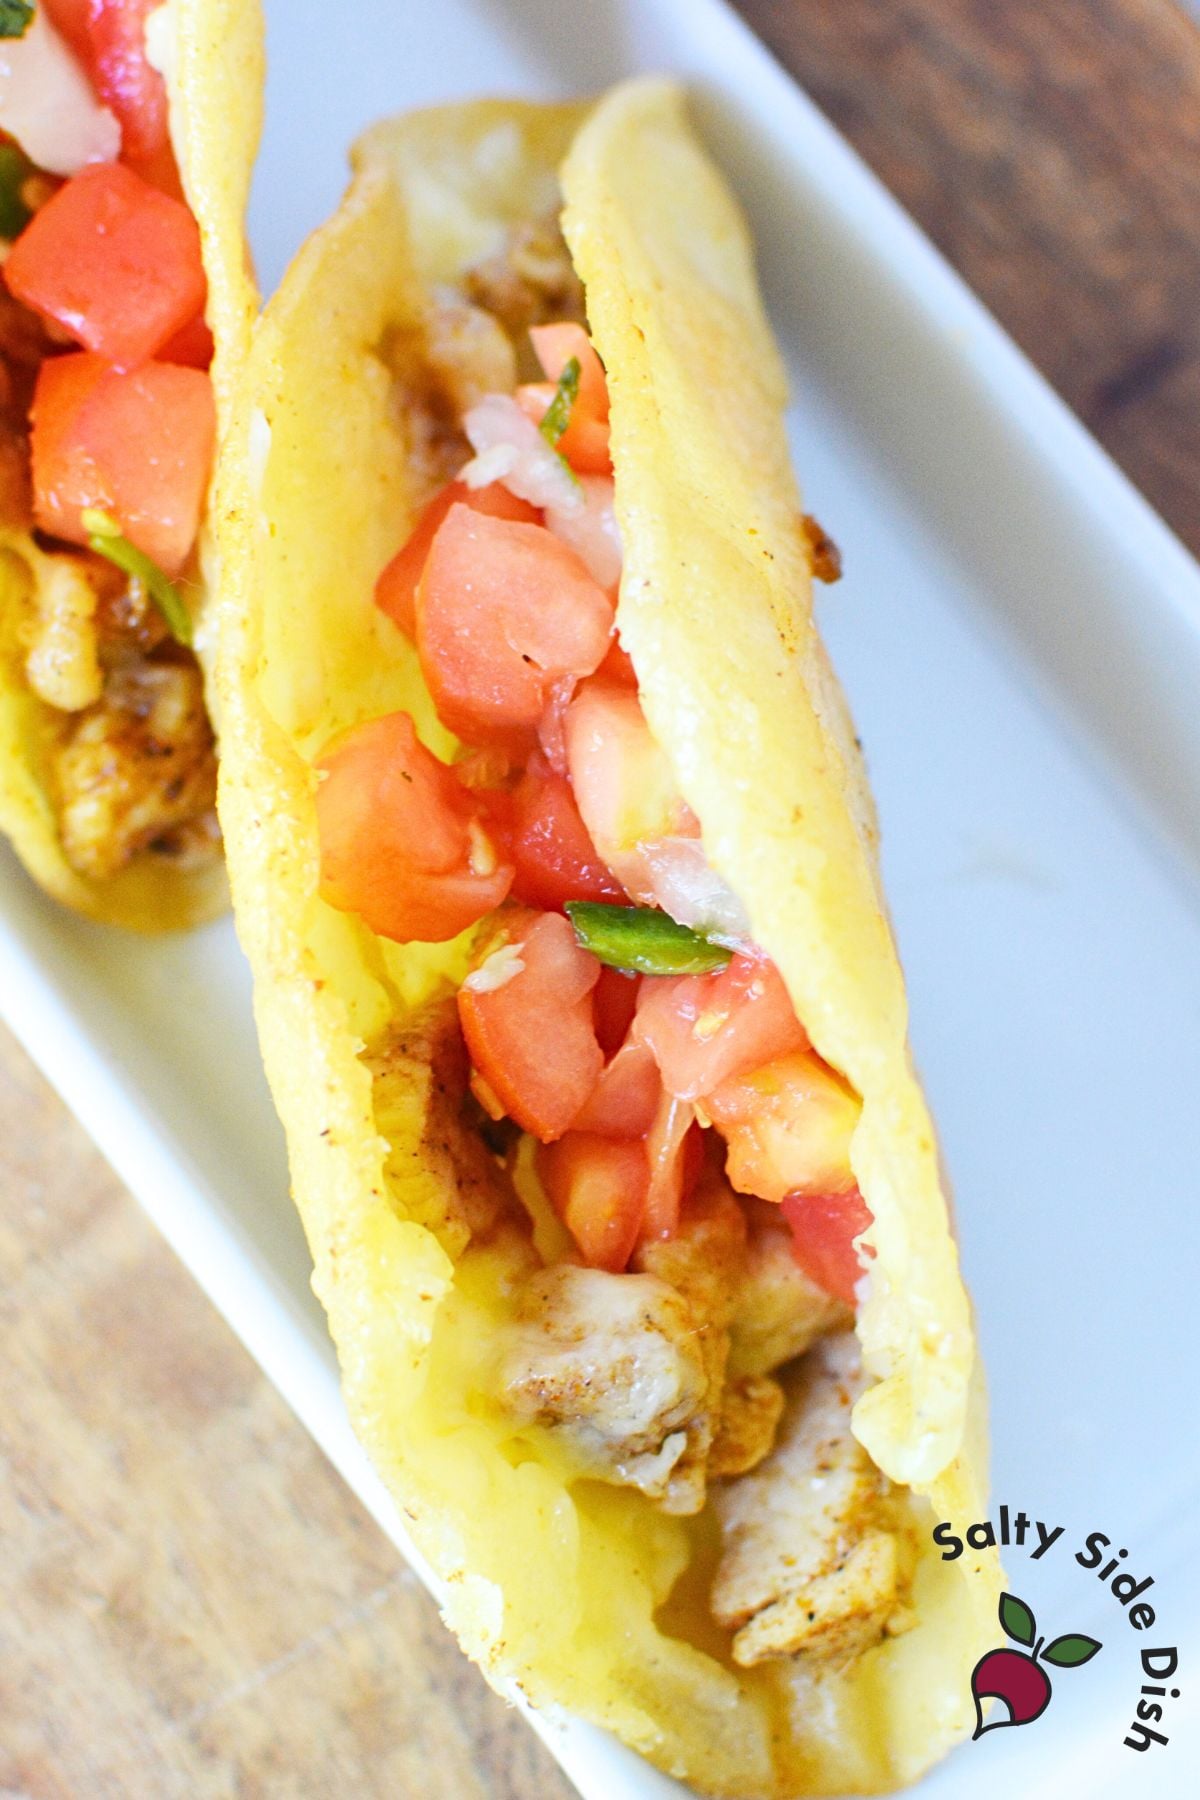
Step 6: Add toppings and serve. Carefully open each crispy taco slightly and fill with pico de gallo or your favorite toppings. Serve immediately while hot.
Why Do My Tacos Get Soggy? (How to Keep Them Crispy)
The biggest mistake is using the wrong oil temperature. If the oil isn’t hot enough, the tortillas absorb grease instead of crisping up. If it’s too hot, they burn before the cheese melts. Medium heat with a shimmer test is what works.
I also learned you have to add the cheese first, not the chicken. The melted cheese seals the tortilla shut and keeps moisture from the chicken from making things soggy. When I tried putting chicken directly on the tortilla, it slid around and leaked.
Don’t skip draining them on paper towels either. That extra oil sitting on the taco will soften the shell.
What’s the Best Tortilla for Fried Tacos?
White corn tortillas work best. I tested flour tortillas and they got doughy and thick instead of crispy. Yellow corn tortillas work too, but white corn gives you the lightest, crunchiest texture.
Don’t warm or soften the tortillas first – fry them straight from the package. When I tried microwaving them to make them pliable, they fell apart in the oil.
Can You Make Crispy Chicken Tacos Ahead of Time?
You can prep the seasoned chicken up to 2 days ahead and store it in the fridge. When you’re ready to eat, just reheat it and fry the tacos fresh.
Fried tacos don’t hold well – they’re best eaten right away while the shells are still crispy. If you have leftovers, refrigerate them and reheat in a dry skillet over medium heat for 2-3 minutes per side. Don’t microwave them or they’ll get soggy.
Do You Need a Cast Iron Skillet?
No. I use a regular nonstick skillet and it works fine. Cast iron holds heat well which is nice, but any large skillet that can hold 1/2 inch of oil will work. Just make sure it’s big enough to fit 3-4 tacos at once so you’re not frying all day.
Easy Substitutions and Variations
Less spicy: Cut the cayenne in half or swap it for paprika. The chili powder and cumin still give you plenty of flavor.
Use rotisserie chicken: Skip cooking the chicken from scratch. Just shred rotisserie chicken, toss it with the spices in a pan until warm, and use that as your filling.
Different proteins: Ground beef, shredded pork, or even black beans work with this same frying method.
Cheese options: Mexican blend melts the best, but cheddar, Monterey Jack, or even pepper jack all work.
What to Serve With Crispy Chicken Tacos
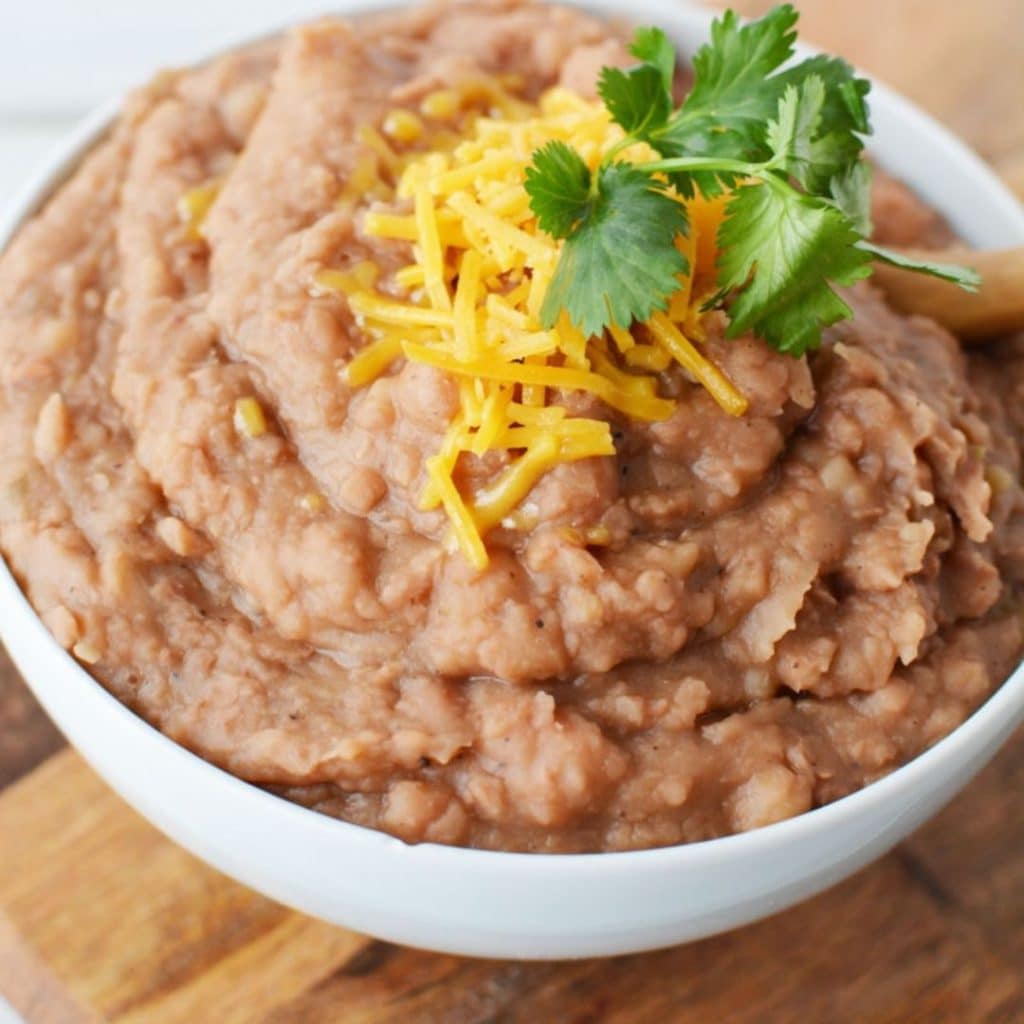
These are pretty rich, but Mexican food is about getting so full you cannot move, so honestly, Ill pair them with ANYTHING. Mexican rice, homemade refried beans, or a simple cabbage slaw all work. Extra pico de gallo, black olives, guacamole, sour cream, and lime wedges are always good to have on the table.
A cold beer or margarita doesn’t hurt either. 🙂
If you want to try these with a different protein, check out my beef fried tacos – same crispy technique, different filling.
Recipe FAQs
How many tacos does this make?
About 18 tacos. Plan on 2-3 per person as a main dish.
Can I bake these instead of frying?
I tried it and they dried out. The frying is what gives you that crispy texture and keeps the inside moist.
What oil should I use?
Vegetable oil or canola oil work best because they have a high smoke point and neutral flavor. Avoid olive oil – it’ll burn.
How do you keep the tacos from opening while frying?
The melted cheese acts like glue. Make sure you’re using enough cheese and letting it melt for a full minute before you fold the taco.
Can you freeze these?
I don’t recommend it. The tortillas get weird when thawed and won’t crisp up properly when reheated.
Crispy Skillet Chicken Tacos
Equipment
- Large Cast Iron Skillet
Ingredients
- 1 lb chicken breast chopped small
- 2 tablespoons olive oil (to cook chicken)
- 2 teaspoons chili powder
- 1 teaspoon cumin
- 1/2 teaspoon cayenne pepper
- 1/2 teaspoon salt
- 1/4 teaspoon black pepper
- 18 white corn tortillas
- Vegetable oil for frying (about 1-2 cups, enough for 1/2 inch depth)
- 2 cups shredded cheese Mexican blend or cheddar
- your favorite toppings
Instructions
- Cook the chicken: Add chopped chicken, olive oil, chili powder, cumin, cayenne, salt, and black pepper to a large skillet over medium-high heat. Stir occasionally until the chicken is cooked through and no longer pink, about 7-8 minutes. Transfer chicken to a plate.
- Heat the frying oil: Pour about 1/2 inch of vegetable oil into the same skillet. Heat over medium until the oil shimmers. Test it by dropping in a small piece of tortilla – it should sizzle right away.
- Add cheese and chicken to tortilla: Place one corn tortilla flat in the hot oil. Immediately sprinkle a small handful of shredded cheese on one half, then add about 2 tablespoons of cooked chicken on top of the cheese.
- Fold and fry: Let the tortilla fry for about a minute until the bottom starts browning, then fold it in half with tongs. Keep frying, flipping every 30-45 seconds, until both sides are golden and crispy, about 2-3 minutes total.
- Drain and repeat: Remove the taco and place on paper towels to drain excess oil. Repeat with remaining tortillas and filling. You can fry 3-4 tacos at once if your skillet is large enough.
- Add toppings and serve: Carefully open each crispy taco slightly and fill with pico de gallo or your favorite toppings. Serve immediately while hot.
Notes
- Oil temperature matters: If the oil isn’t hot enough, tortillas will absorb grease. If too hot, they’ll burn before cheese melts. Medium heat is key.
- Don’t overfill: Use only about 2 tablespoons of chicken per taco or they won’t seal properly.
- Cheese first: The melted cheese acts like glue and prevents moisture from making tacos soggy.
- White corn tortillas work best: Flour tortillas get doughy instead of crispy.
- Make ahead: Cook chicken up to 2 days ahead. Fry tacos fresh when ready to serve.
- Reheating: Use a dry skillet over medium heat for 2-3 minutes per side. Don’t microwave.
Nutrition
Nutritional Disclaimer: The nutritional data provided here is auto-calculated and intended for your convenience only. As it’s generated via automation, its accuracy may be compromised. For precise nutritional insight, please compute the values utilizing the actual ingredients in your recipe through your chosen nutrition calculator or application.
Did You Make This Recipe?
Make sure to follow Salty Side Dish on Pinterest and rate the recipe here and make sure to leave a comment below!