
Cherry Cheesecake Dump Cake with Crumble Topping
This post may contain affiliate links. Please read the Privacy Policy & Cookie Policy.
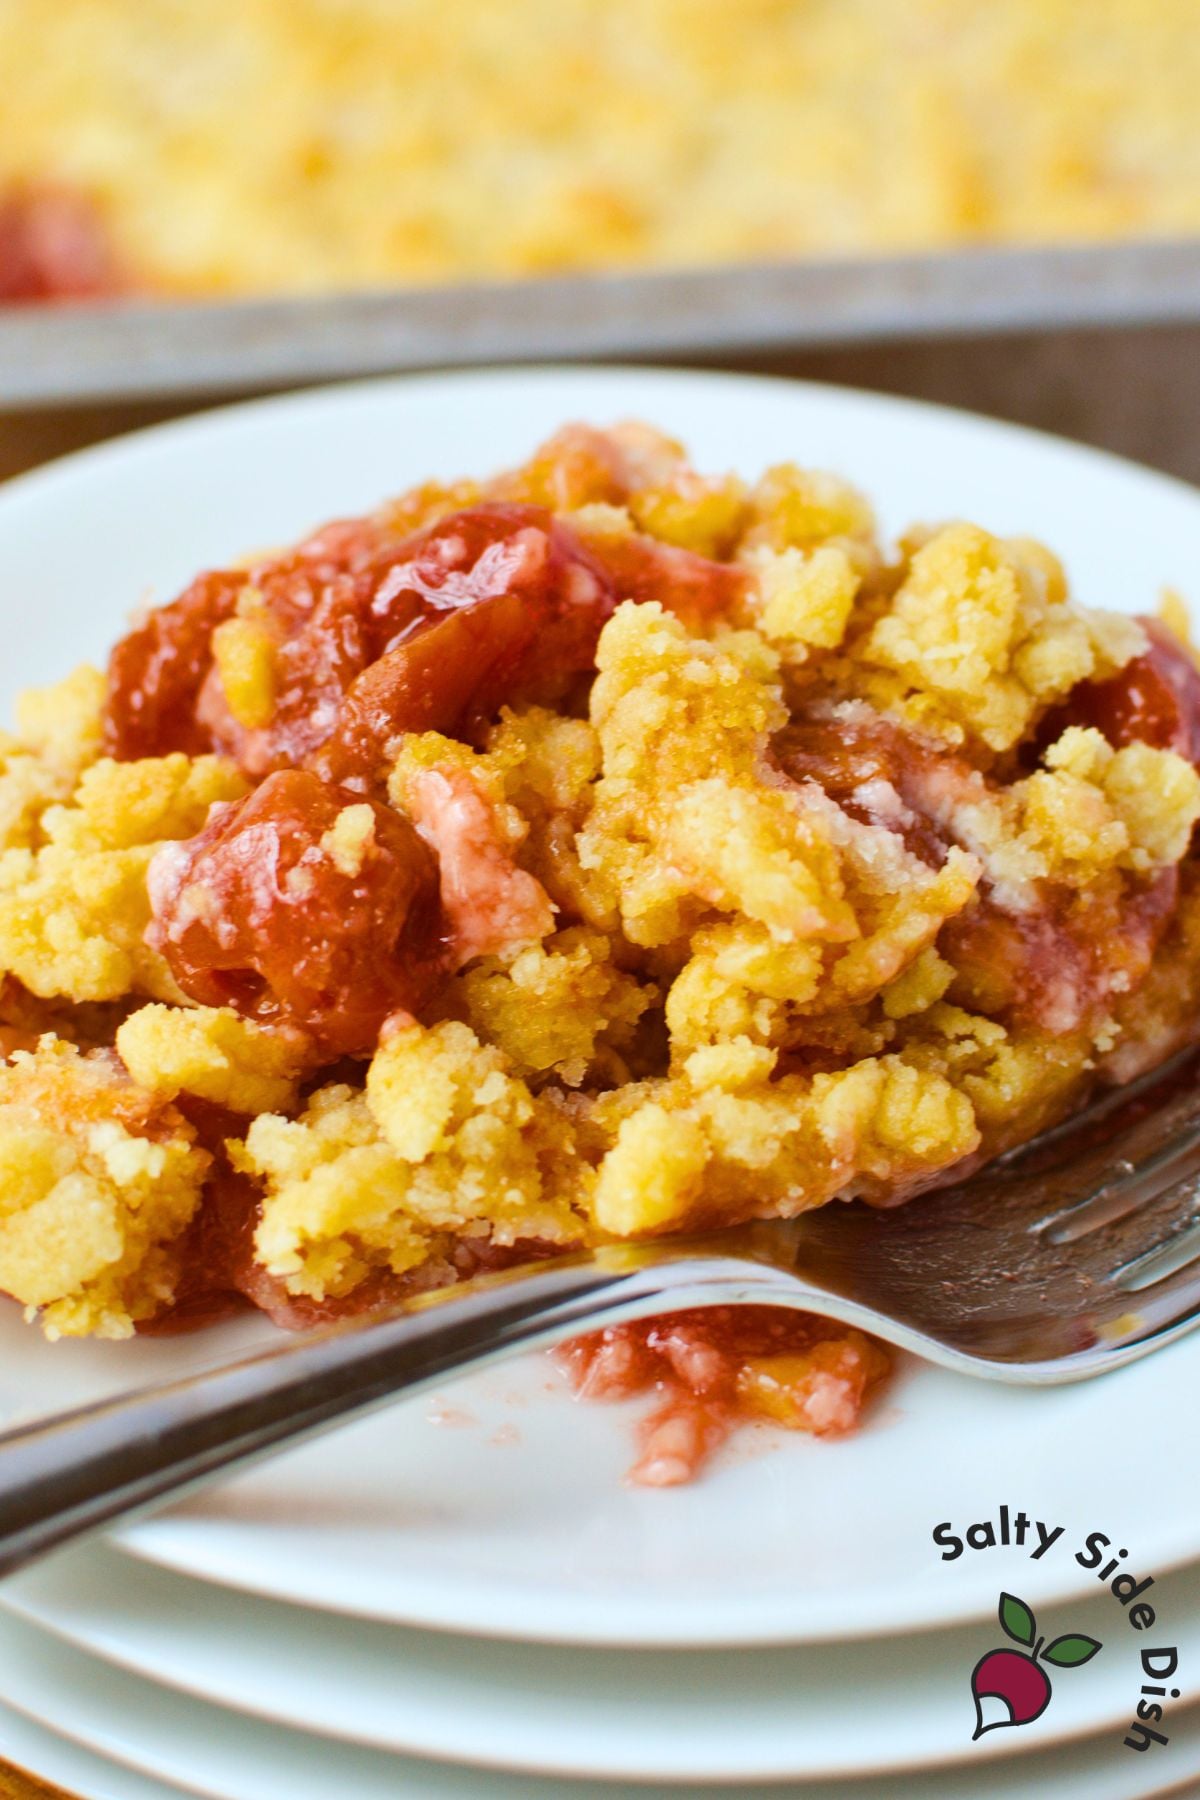
If you love cherry cheesecake but don’t want to spend hours baking one, this Cherry Cheesecake Dump Cake with Crumble Topping is about to be your new favorite dessert. Just four simple ingredients — cherry pie filling, whipped cream cheese, yellow cake mix, and butter — go into a 9×13 dish and bake into something that tastes much more impressive than the effort it takes.
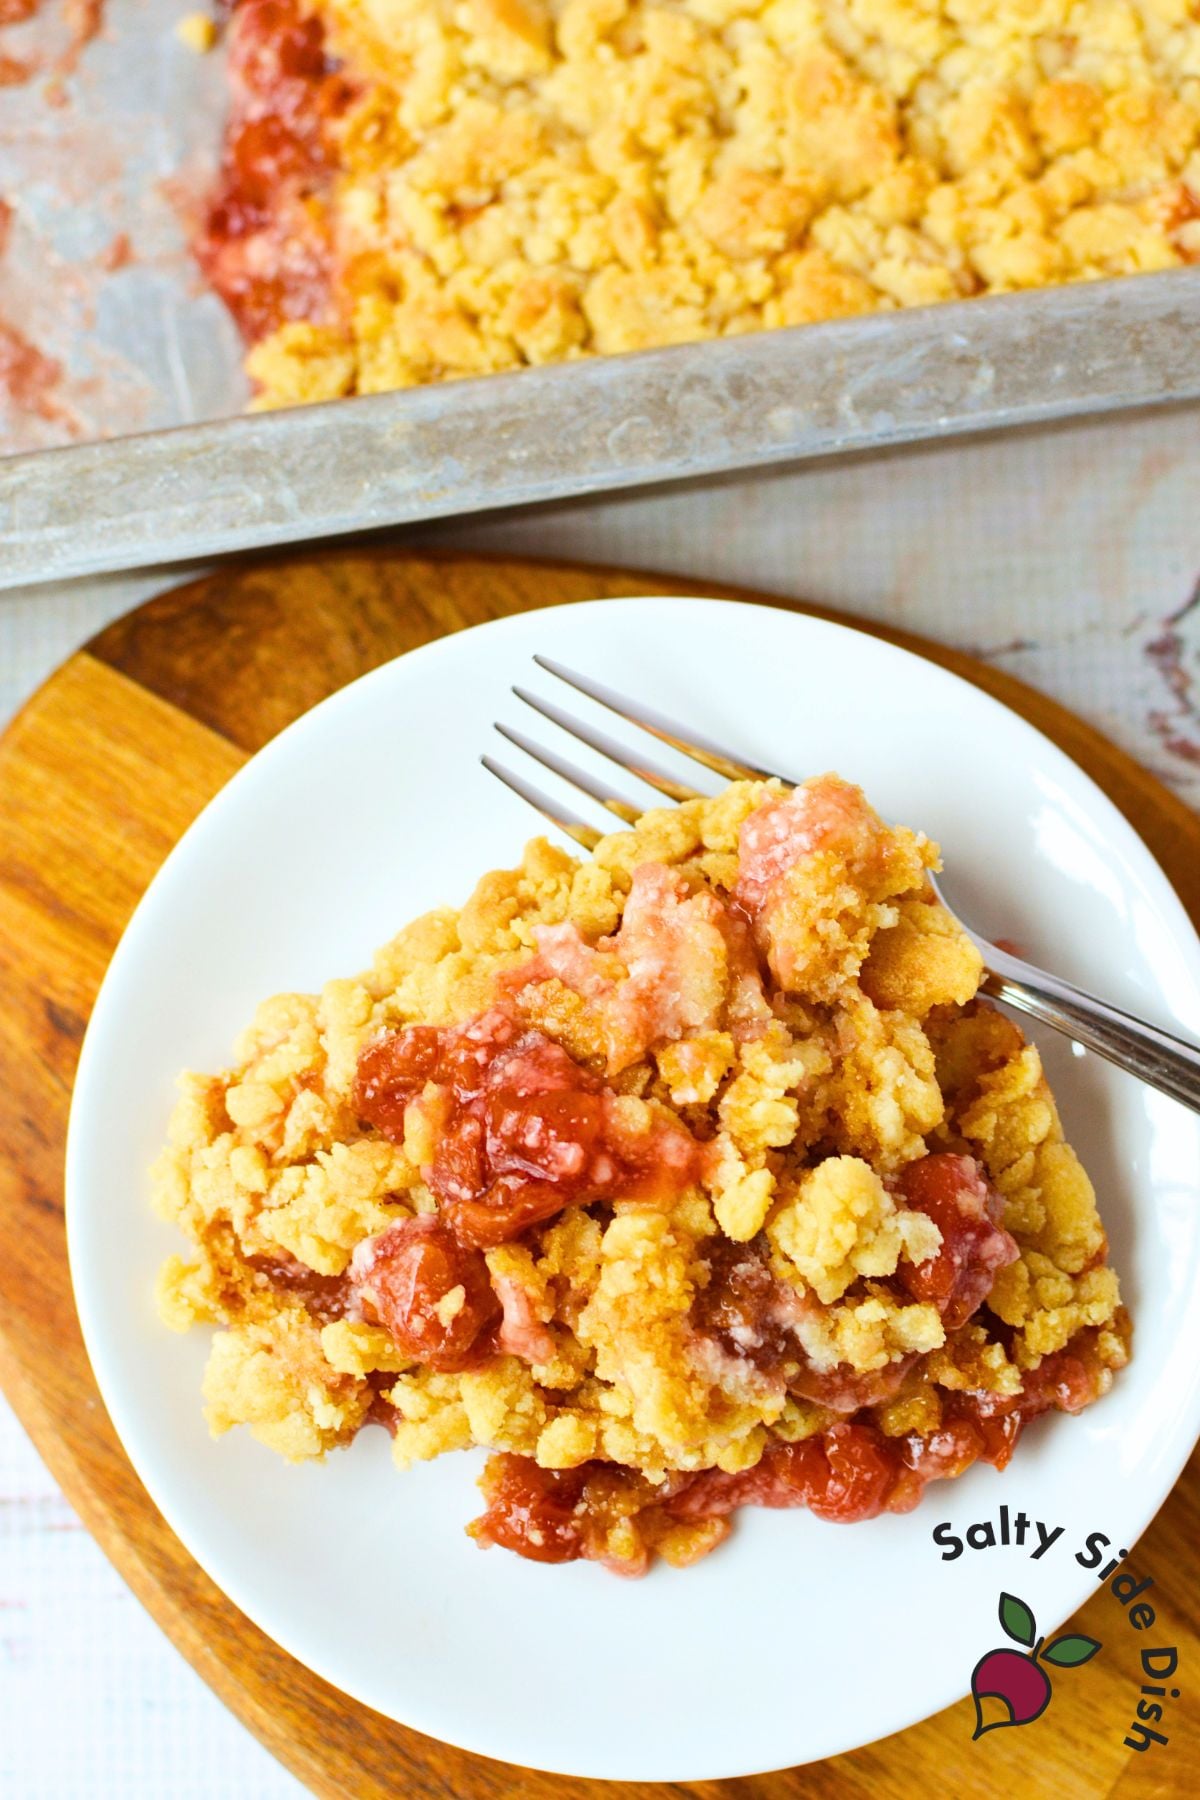
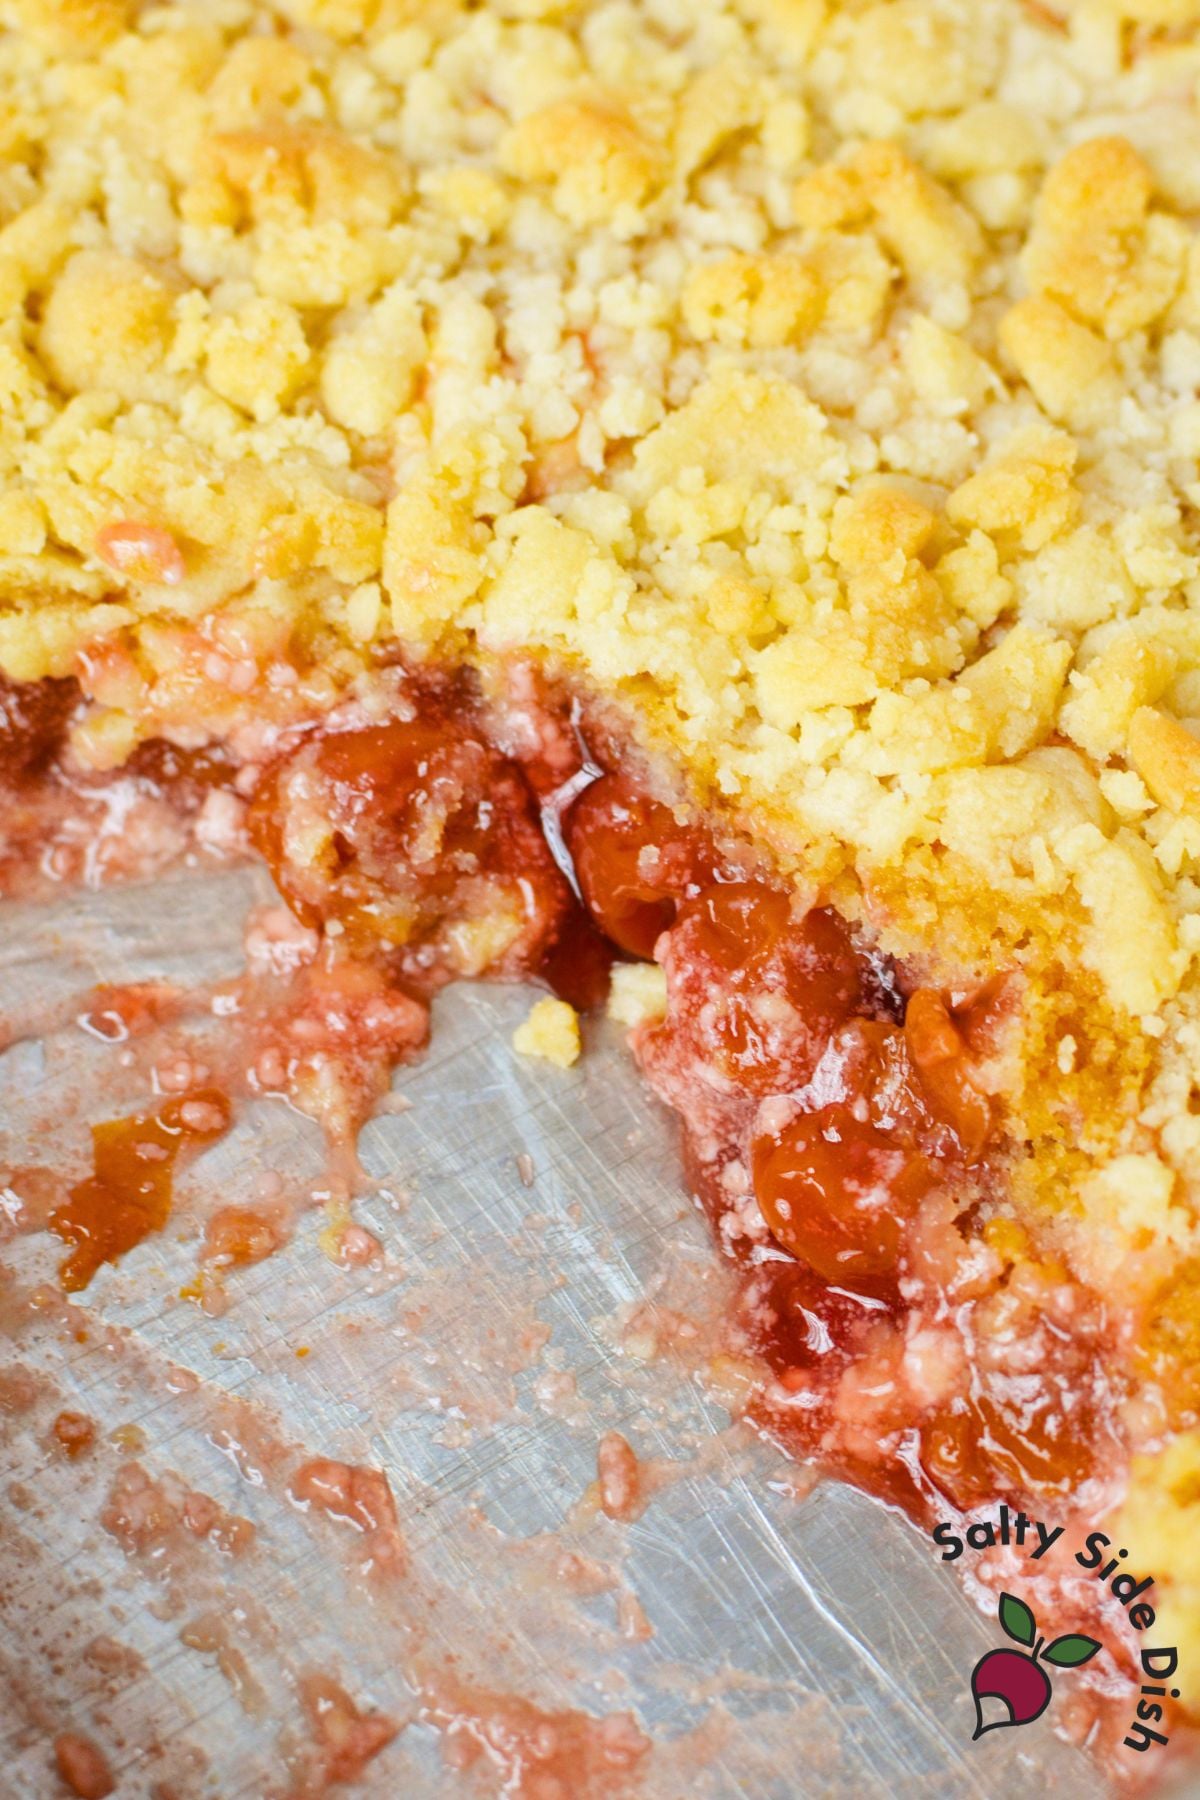
The crumble topping is what sets this version apart. Instead of just sprinkling dry cake mix and butter on top, you mix the cake mix with softened butter first to make a golden, sandy crumble. This bakes into a crispy, buttery crust over the cherry filling. The texture is different from other cherry dump cakes. Imagine a mix between fruit crisp, cheesecake, and cobbler. Each bite has a crunchy top and a creamy, gooey cherry layer underneath.
This dessert is perfect for feeding a crowd with almost no prep, disappears quickly at potlucks, and reheats well the next day if you have any leftovers.
What You Need for This Cherry Cheesecake Crumble Cake
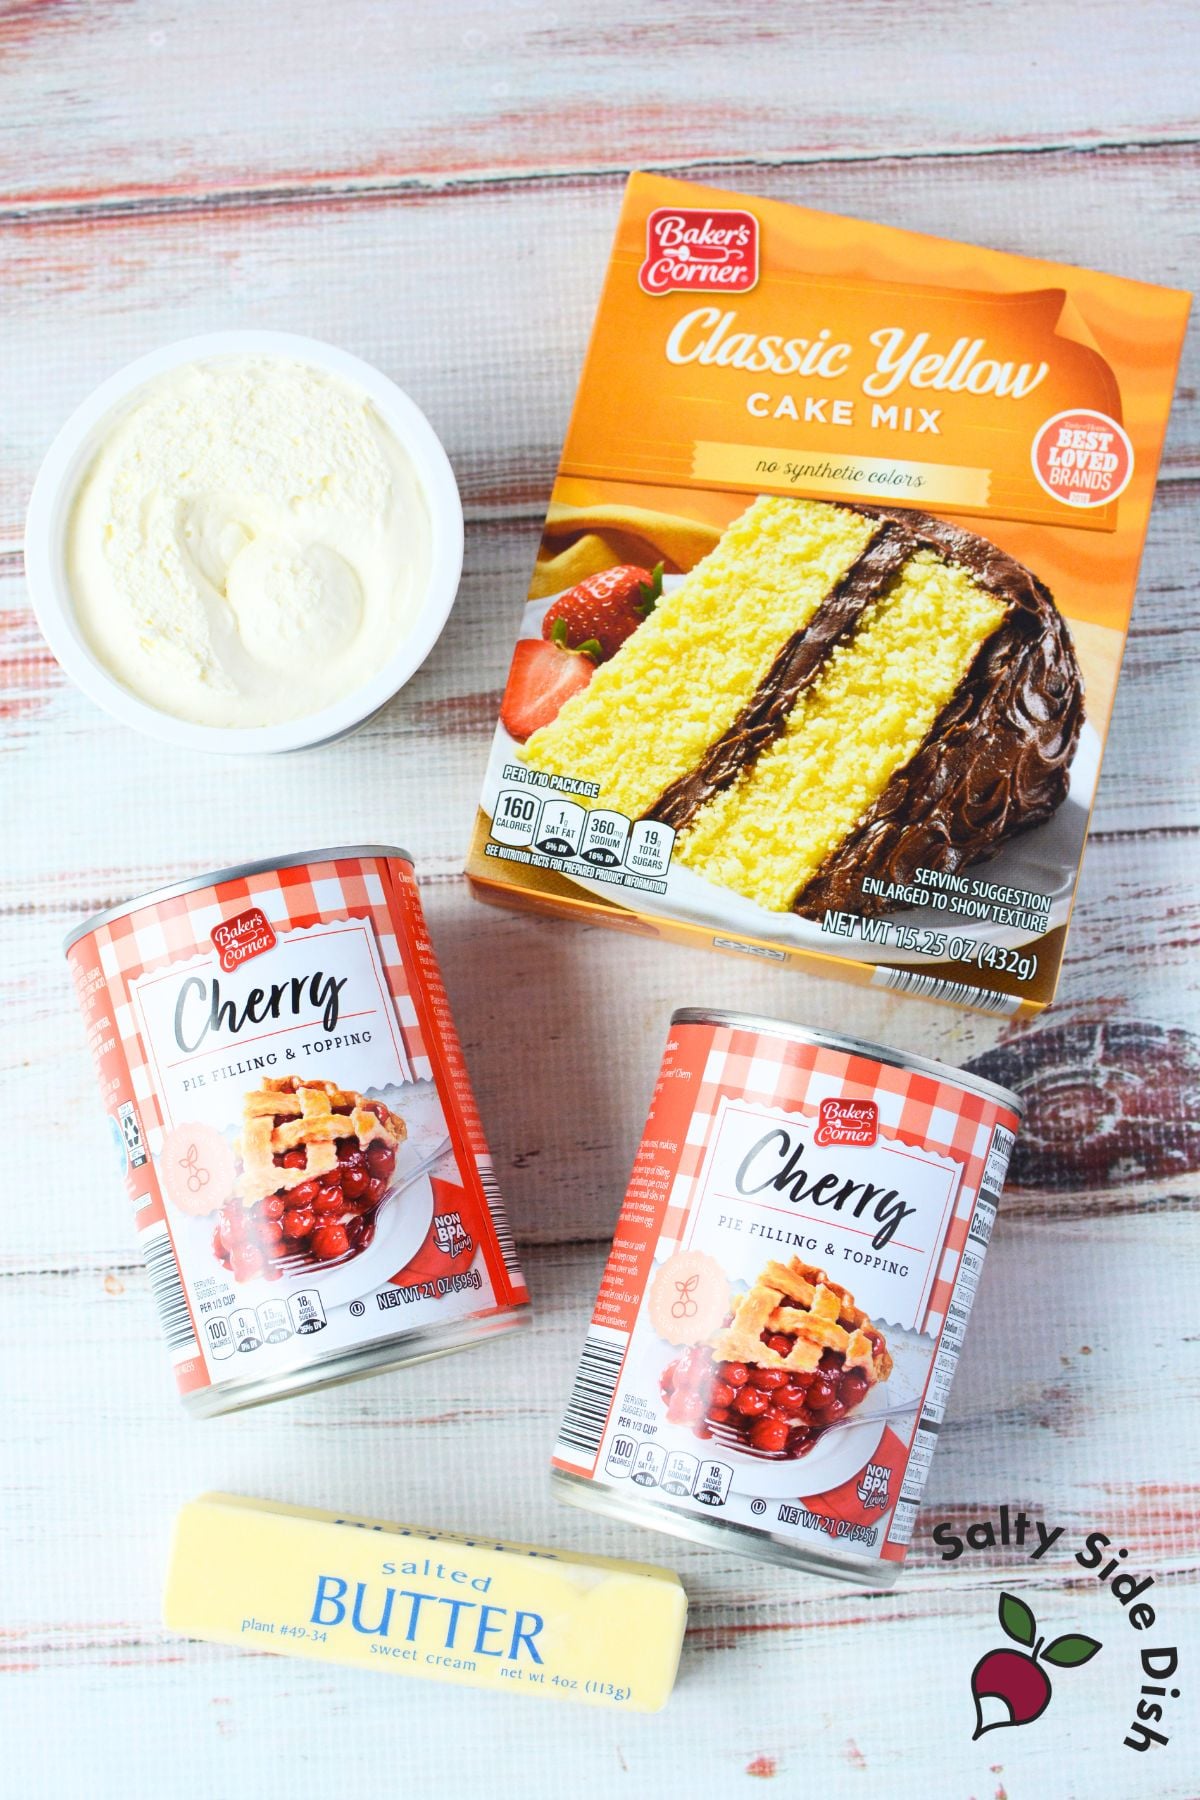
You only need four ingredients, and chances are most of them are already in your pantry:
Cherry pie filling — use two 21 oz cans. Don’t drain them; the thick, glossy sauce makes the filling rich and jammy as it bakes. For extra flavor, add a splash of almond extract before spreading the filling in the pan.
Whipped cream cheese — one 8 oz tub, softened to room temperature. Whipped cream cheese blends into the filling more smoothly than a block, so you get creamy swirls in every bite without big clumps. Make sure it’s fully softened before you start; it makes swirling much easier.
Yellow cake mix — one standard 15.25 oz box, dry. This is the base for your crumble topping. Yellow cake mix has a buttery, vanilla flavor that goes great with cherries. White cake mix works too if that’s what you have.
Butter — half a cup (one stick), softened. Mixing softened butter into the dry cake mix is what makes the crumble. Don’t melt it and pour it over; instead, work it into the mix until it forms clumps, like a streusel.
How to Make Cherry Cheesecake Dump Cake with Crumble Topping
Preheat your oven to 350°F and grease a 9×13 baking dish with nonstick cooking spray.
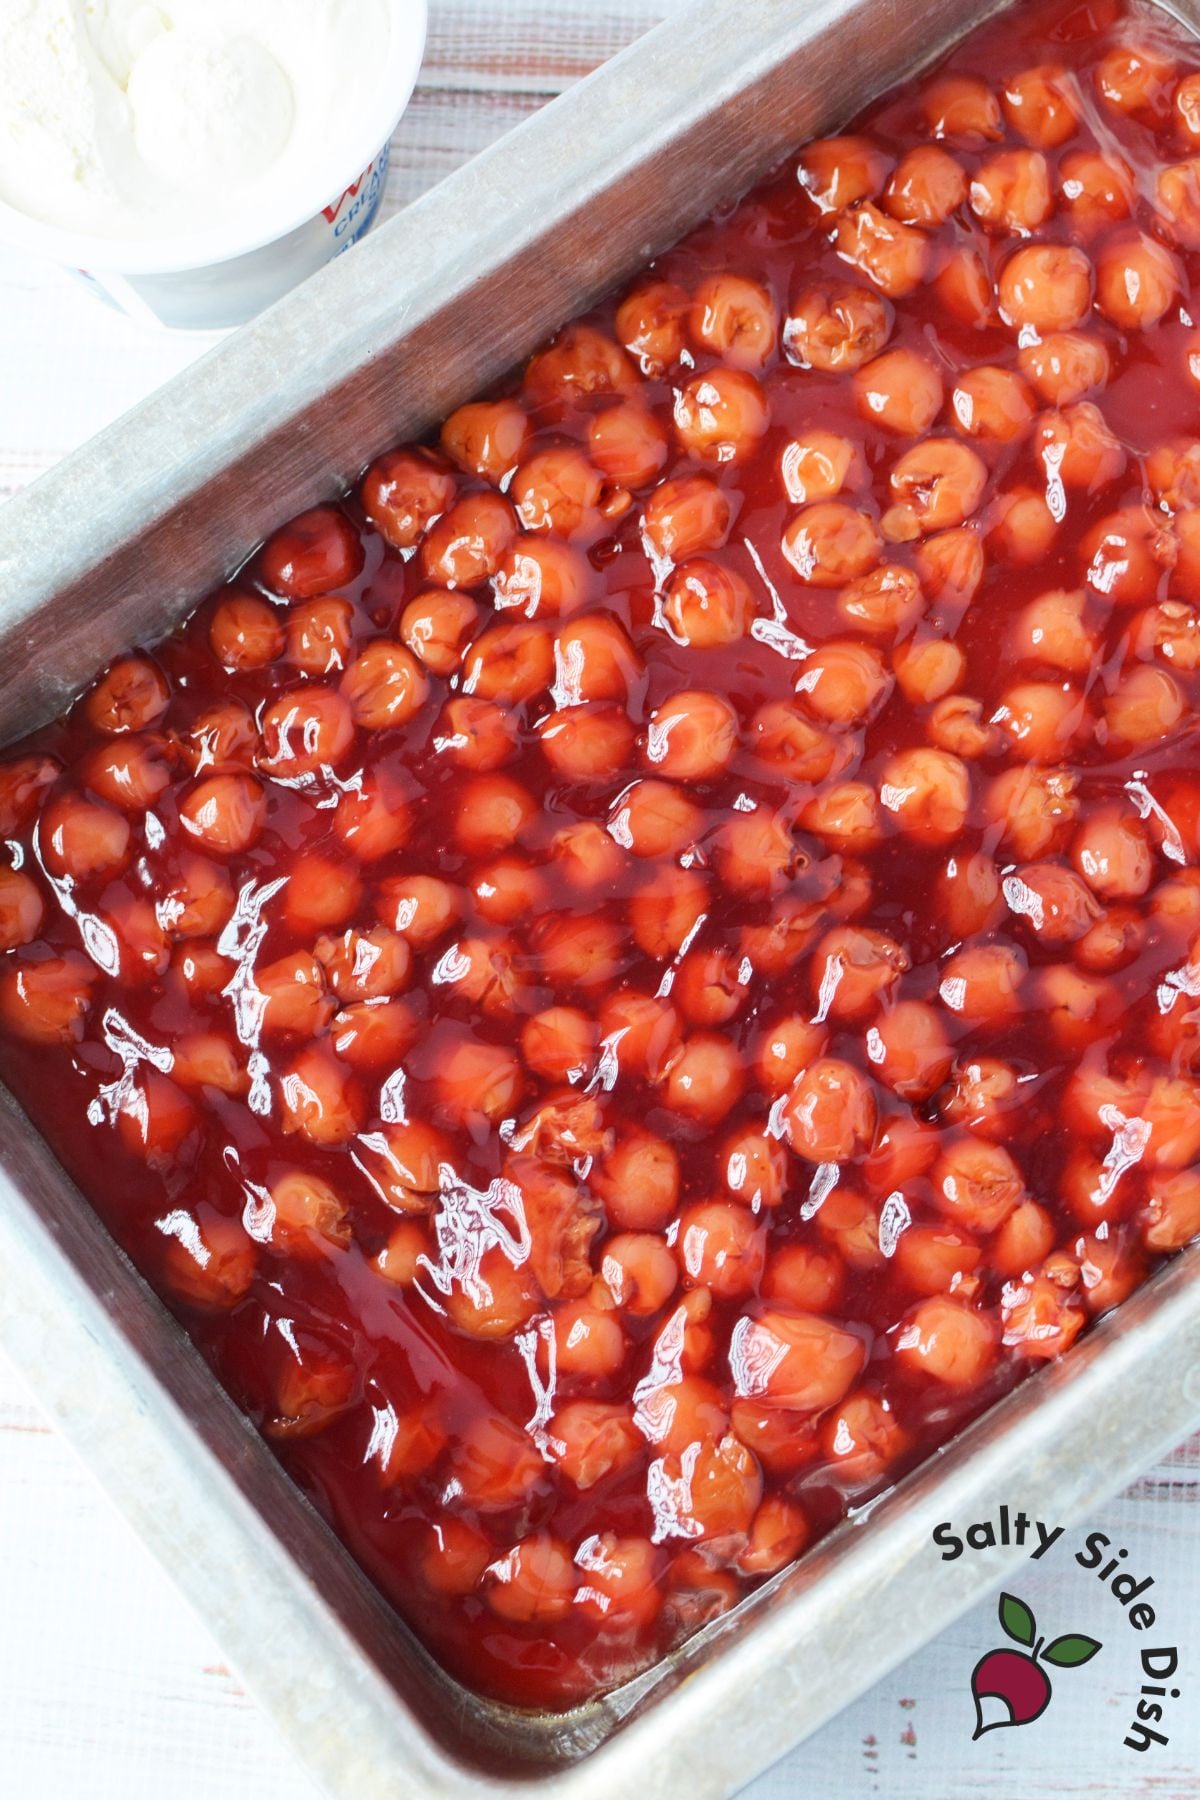
Spread both cans of cherry pie filling evenly over the bottom of the dish.
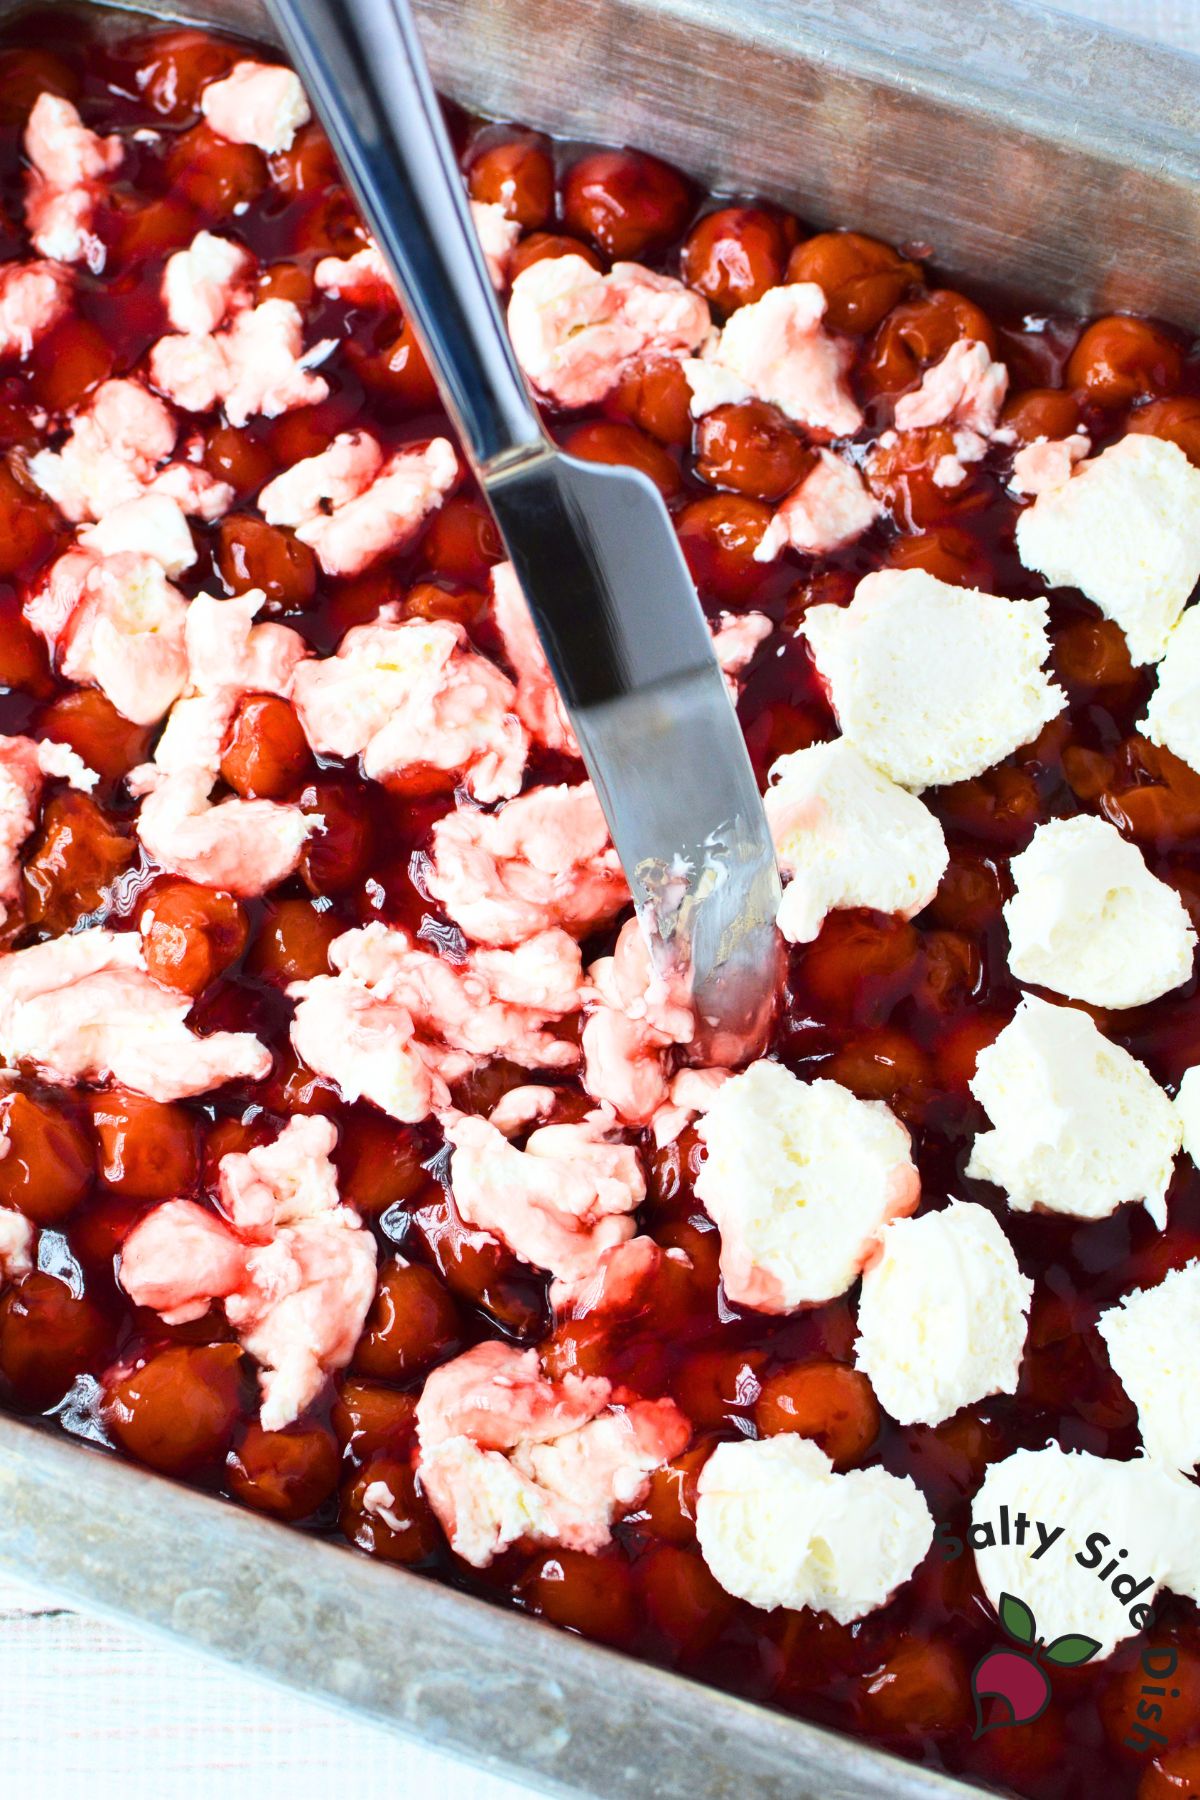
Place small dollops of softened whipped cream cheese on top, spacing them out. Use a butter knife to gently swirl and press the cream cheese into the filling.
You want it folded in and spread around, but not completely mixed.
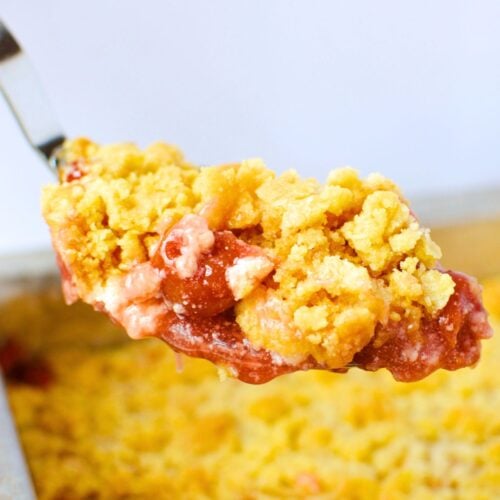
In a separate bowl, mix the dry yellow cake mix and softened butter. Stir and press them together until the mixture looks like coarse, clumpy crumbs, similar to streusel or damp sand. This is your crumble topping.
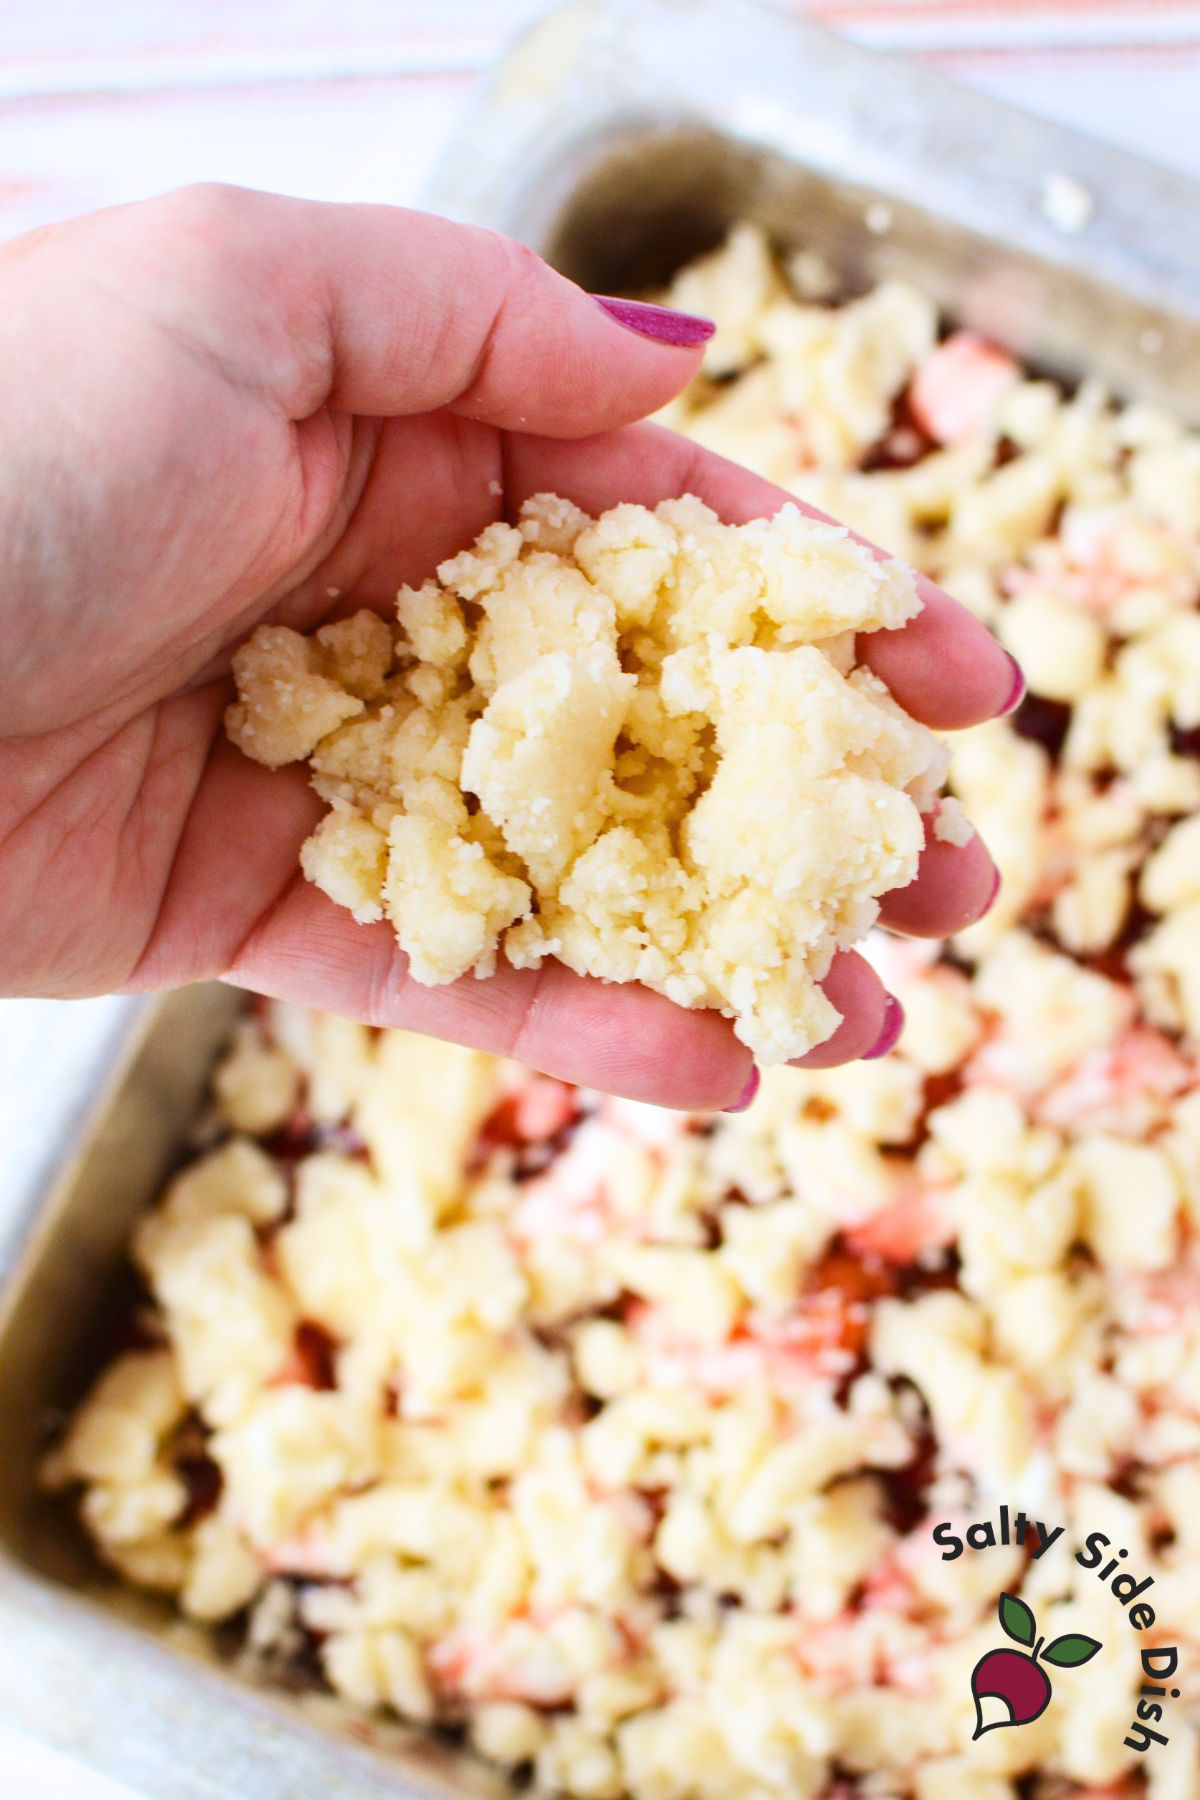
Spread the crumble mixture evenly over the cherry and cream cheese layer, breaking up any large clumps as you go and making sure the edges are covered.
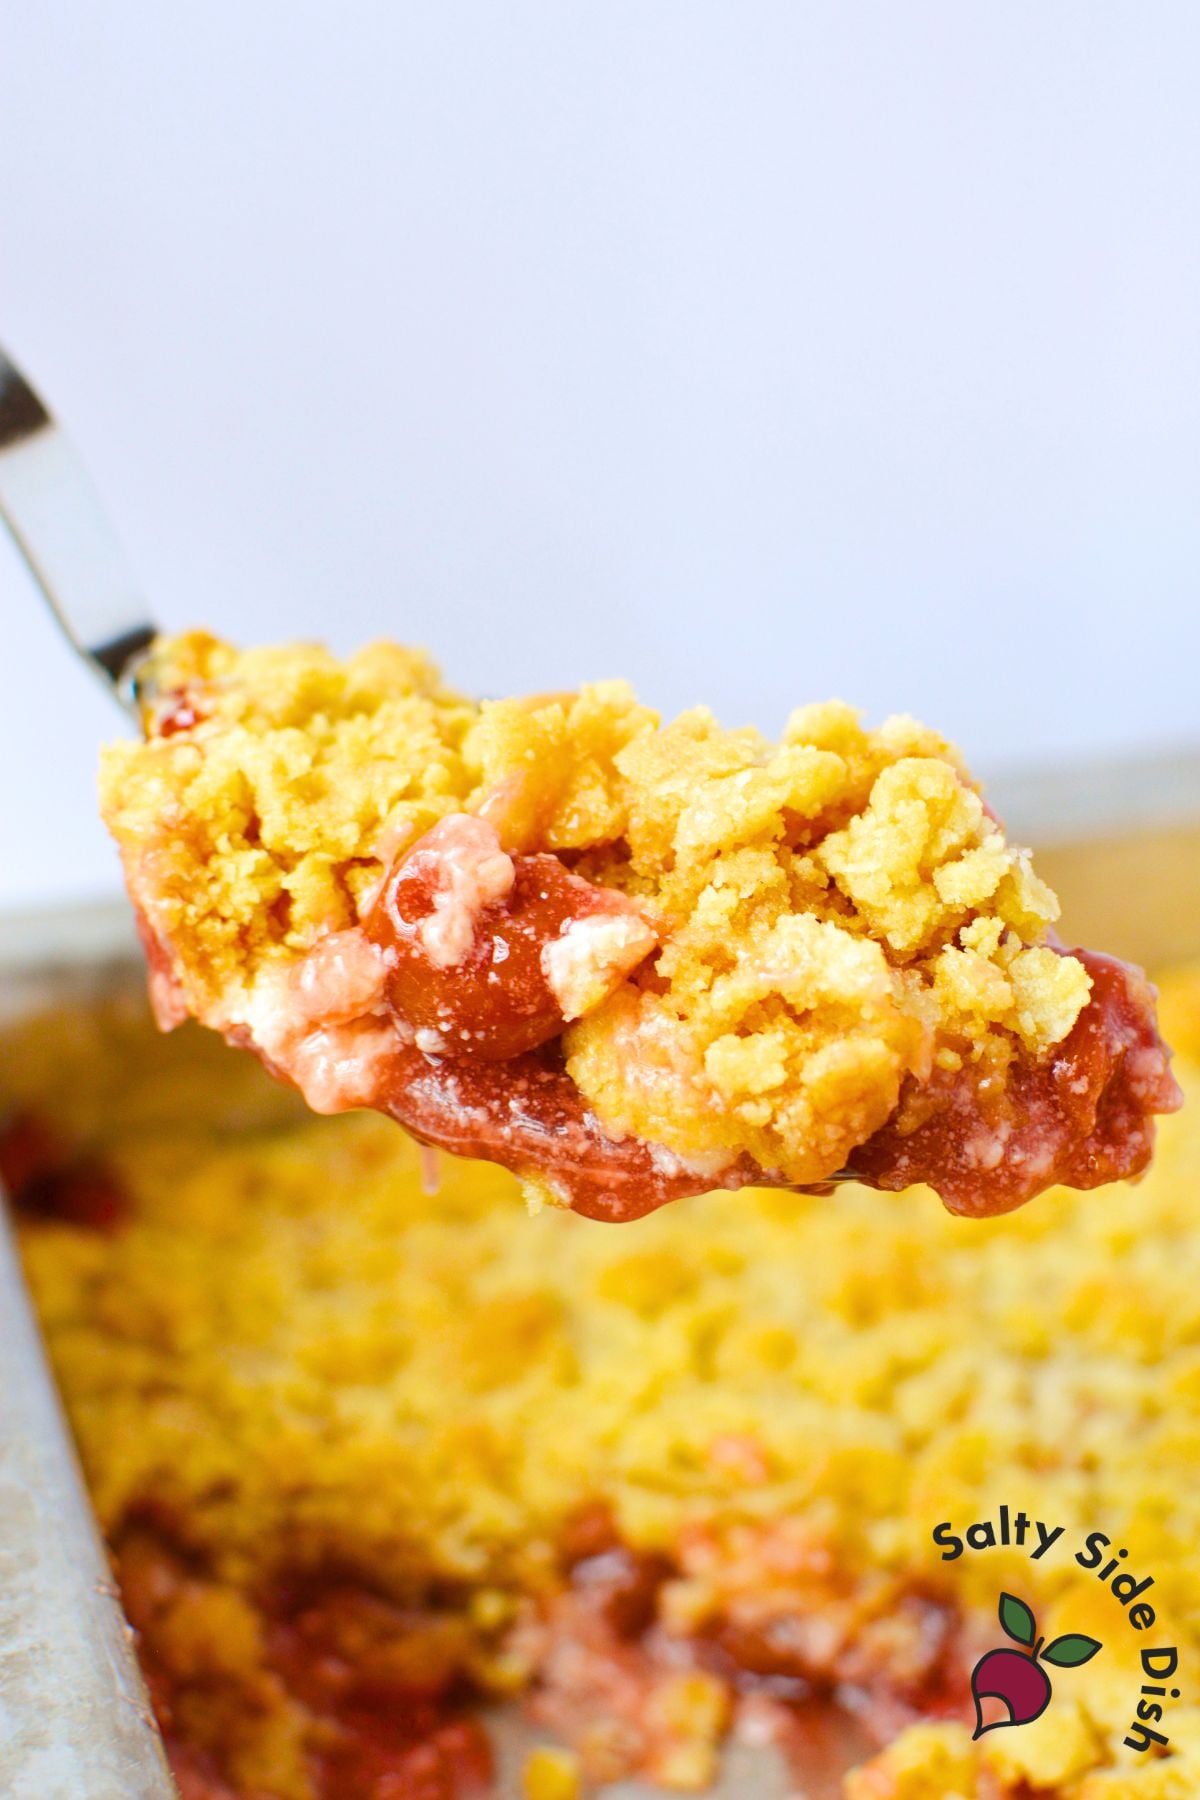
Bake for 50-55 minutes or until edges are bubbly and the top is browned. Let the cake rest for at least 10 minutes before serving. This helps the filling thicken and makes it easier to serve with a scoop of vanilla ice cream or a dollop of whipped cream.
Tips for the Best Cherry Cheesecake Dump Cake
Make sure your cream cheese is fully softened. Cold cream cheese won’t swirl into the filling; it will just sit on top in big clumps. Let it sit at room temperature for at least 30 minutes before you start.
Use softened butter, not melted, for the crumble. Melted butter will make the topping wet and dense instead of crumbly. The mixture should look like coarse sand, not like batter. This is what gives you a crispy, golden top.
Don’t skip the rest time. Dump cakes need those 10 minutes out of the oven to set. The filling will look loose and bubbly at first, which is normal—it will firm up as it cools a bit.
Make sure the crumble topping covers all the way to the edges of the pan. The edges bake faster, and any bare spots can burn before the center is done.
If you want a thicker crumble, add 2–3 tablespoons of brown sugar to the mixture. This gives extra sweetness and a deeper, caramelized flavor on top.
Serving Suggestions
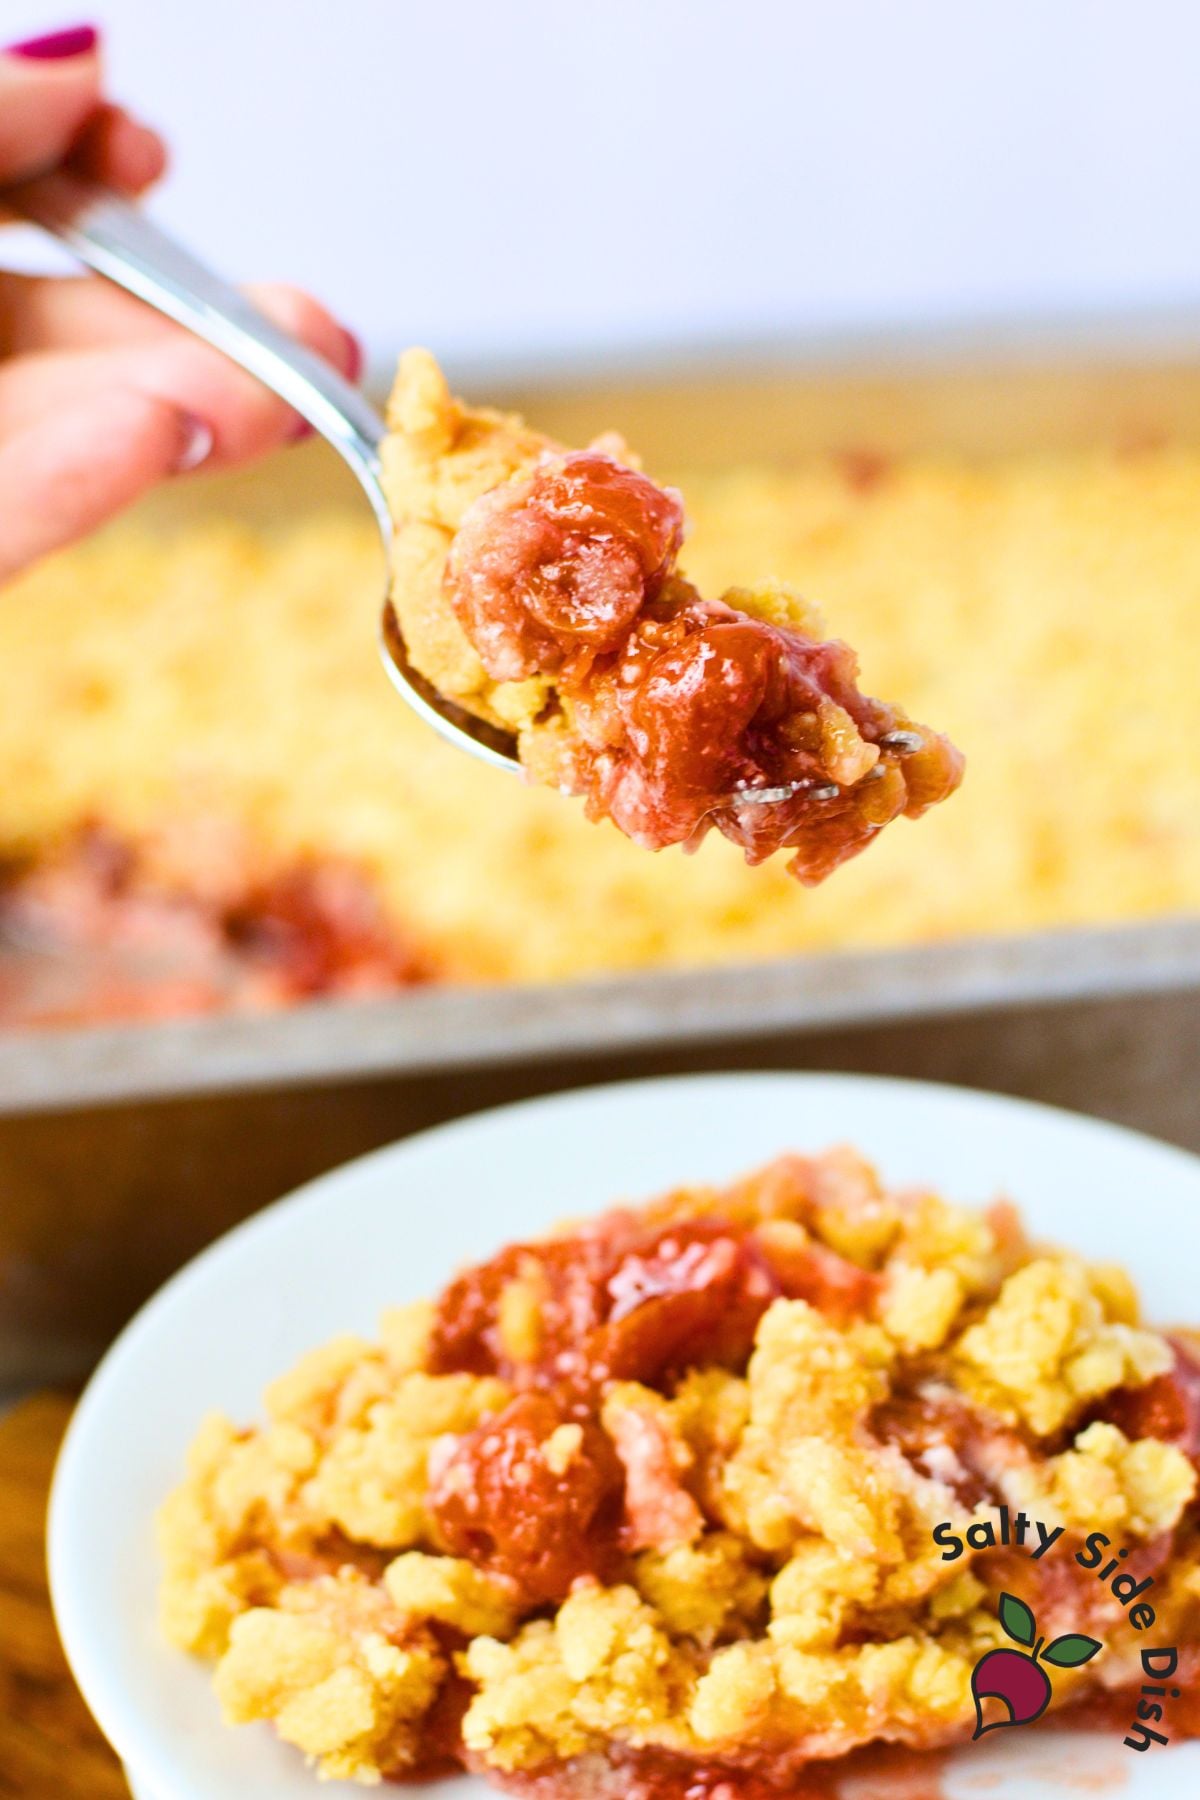
This cherry cheesecake crumble cake is delicious on its own, but a scoop of vanilla ice cream melting into the warm cherry filling is always a great choice. Whipped cream is a lighter option that still adds a creamy contrast.
If you’re serving a crowd, you can make this earlier in the day and reheat it in a 300°F oven for about 10 minutes before serving. It reheats with no issues.
More Cherry Desserts You’ll Love
If you love cherries, I have plenty of recipes for you. My Easy Cherry Cobbler is an upside-down cobbler where a buttery batter bakes around the filling—just ten minutes of prep, then the oven does the rest. If you like cookie crusts, try the Cherry Cream Cheese Dump Cake with Chessman cookies on the bottom for a totally different dessert.
For a chocolate twist, the Crockpot Chocolate Cherry Dump Cake is a slow cooker recipe that’s always a hit at potlucks.
For more ideas using cherry pie filling, check out my full roundup of cherry pie filling recipes. You’ll find everything from no-bake dips to cobblers to fluff salads.
Can I Change the Fruit Filling?
Absolutely. This crumble technique works with any canned pie filling. Strawberry, blueberry, and peach are all great options. If you want to try the strawberry version with cream cheese and crumble, it’s a natural next step—the cream cheese swirl is delicious with strawberry pie filling too.
Frequently Asked Questions
Do I need to refrigerate cherry cheesecake dump cake? Yes. Because this recipe contains cream cheese, any leftovers need to be stored covered in the refrigerator. It keeps well for up to 3 days. Reheat individual portions in the microwave for about 30 seconds.
Can I make this in a slow cooker instead? This specific recipe is designed for the oven because the crumble topping needs dry heat to get golden and crispy. For a slow cooker cherry cake, try the Crockpot Chocolate Cherry Dump Cake — it’s built for the slow cooker and turns out incredible.
How many does this serve? This recipe serves 10–12 depending on portion size. It’s a great choice for feeding a crowd at a potluck or holiday gathering.
Want more easy dump cake ideas? You can find all my dump cake recipes in one place.
Cherry Cheesecake Dump Cake with Crumble Topping
Equipment
Ingredients
- 42 oz. cherry pie filling
- 8 oz whipped cream cheese softened
- 15.25 oz yellow cake mix
- ½ cup butter softened
Instructions
- Preheat oven to 350°F. Grease a 9×13 baking dish with nonstick cooking spray.
- Spread cherry pie filling in an even layer across the bottom of the prepared dish.
- Add small dollops of softened whipped cream cheese on top of the cherry filling. Use a butter knife to swirl and press the cream cheese into the filling, distributing it throughout without fully mixing it in.
- In a separate bowl, combine the dry yellow cake mix and softened butter. Stir and press together until the mixture resembles coarse, crumbly clumps — similar to a streusel topping.
- Sprinkle the crumble mixture evenly over the cherry and cream cheese layer, covering edge to edge.
- Bake uncovered for 50-55 minutes, or until the top is lightly golden and the cherry filling is bubbling around the edges.
- Remove from oven and let rest 10 minutes before serving. Serve warm with vanilla ice cream or whipped cream.
Notes
- Butter must be softened, not melted, to achieve a crumble texture. Melted butter will make the topping dense rather than crispy.
- Stir ¼ tsp almond extract into the cherry filling before layering for a deeper cherry flavor.
- Store leftovers covered in the refrigerator for up to 3 days. Reheat in the microwave for 30 seconds per serving.
- To reheat for a crowd, warm in a 300°F oven for 10 minutes.
Nutrition
Nutritional Disclaimer: The nutritional data provided here is auto-calculated and intended for your convenience only. As it’s generated via automation, its accuracy may be compromised. For precise nutritional insight, please compute the values utilizing the actual ingredients in your recipe through your chosen nutrition calculator or application.
Did You Make This Recipe?
Make sure to follow Salty Side Dish on Pinterest and rate the recipe here and make sure to leave a comment below!


