
Christmas Cornflake Wreaths
This post may contain affiliate links. Please read the Privacy Policy & Cookie Policy.
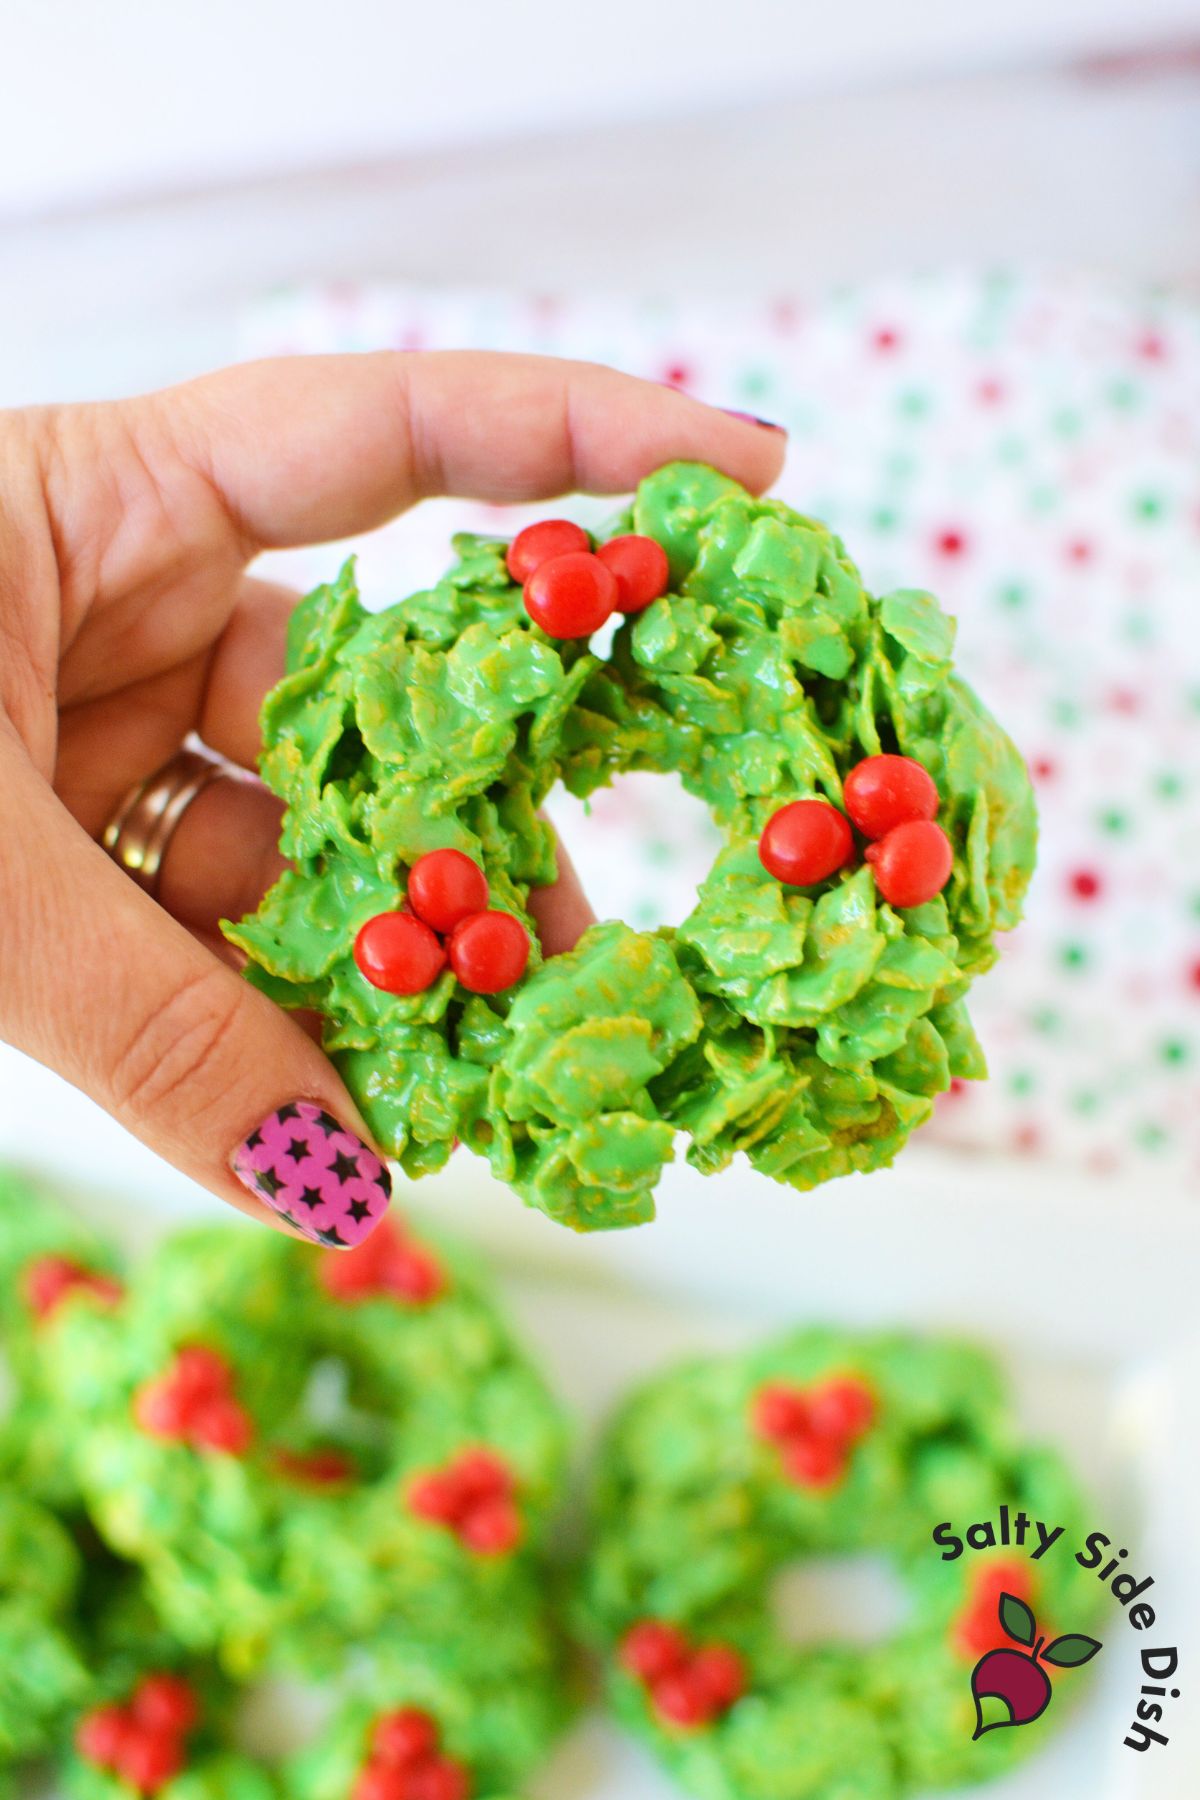
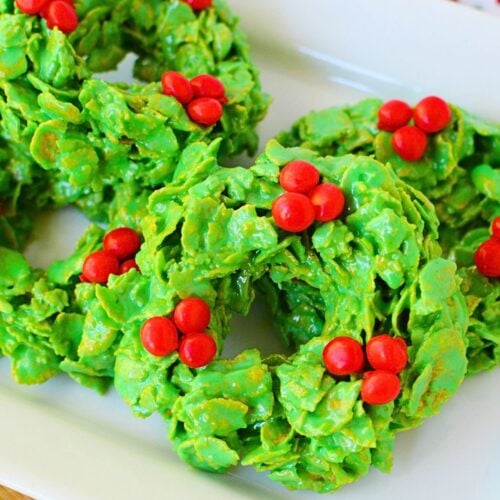
Cornflake wreaths are one of those holiday recipes that never go out of style. They’re chewy, colorful, and a little bit nostalgic; the kind of cookie that shows up on Christmas trays year after year.
If you’ve ever made rice krispie treats, this recipe will feel familiar, only with cornflakes shaped into festive green wreaths decorated with red holly “berries.”
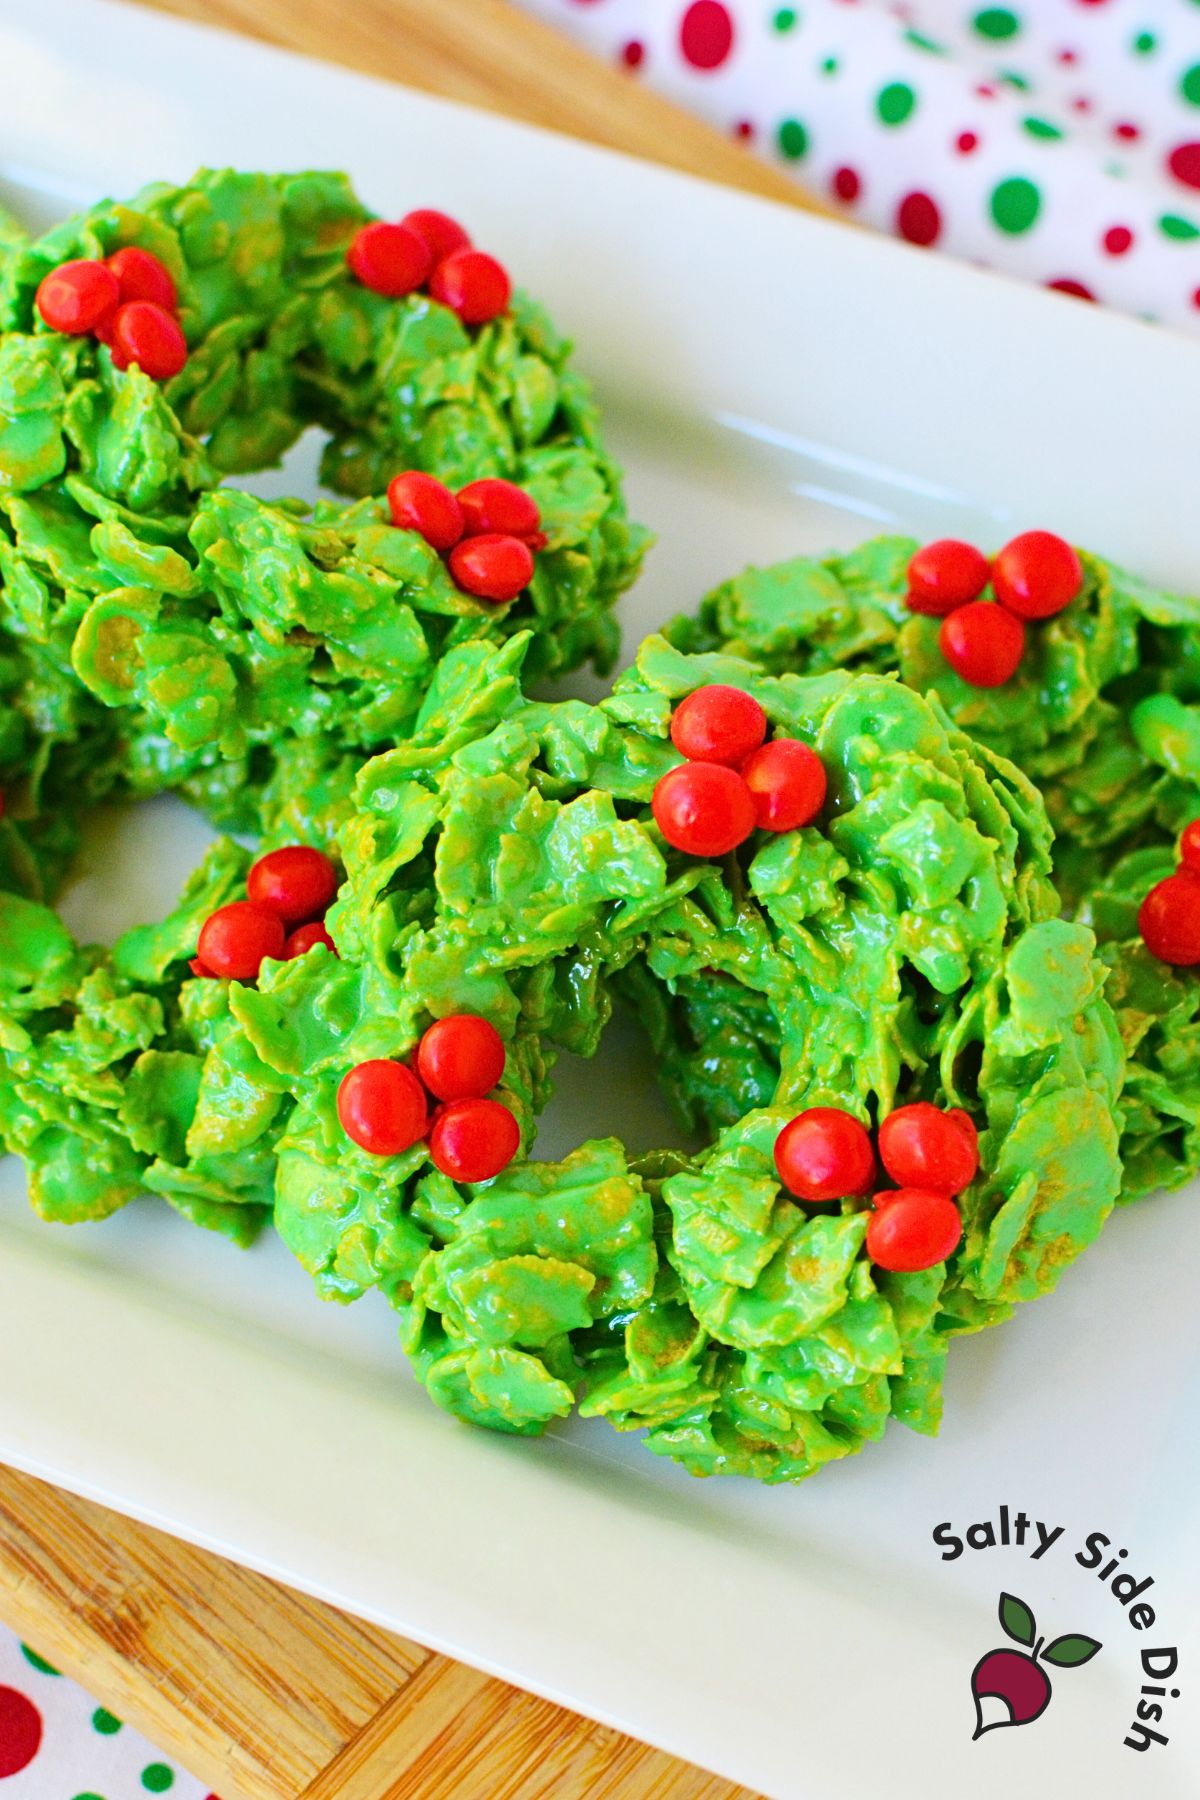
I like to think of these as the ultimate no bake Christmas cookie.
They’re fast, kid-friendly, and perfect when you want something that looks impressive without turning on the oven. If you love easy holiday sweets like Christmas Cream Cheese Mints or Christmas Nougat Candy, these wreaths will fit right in.
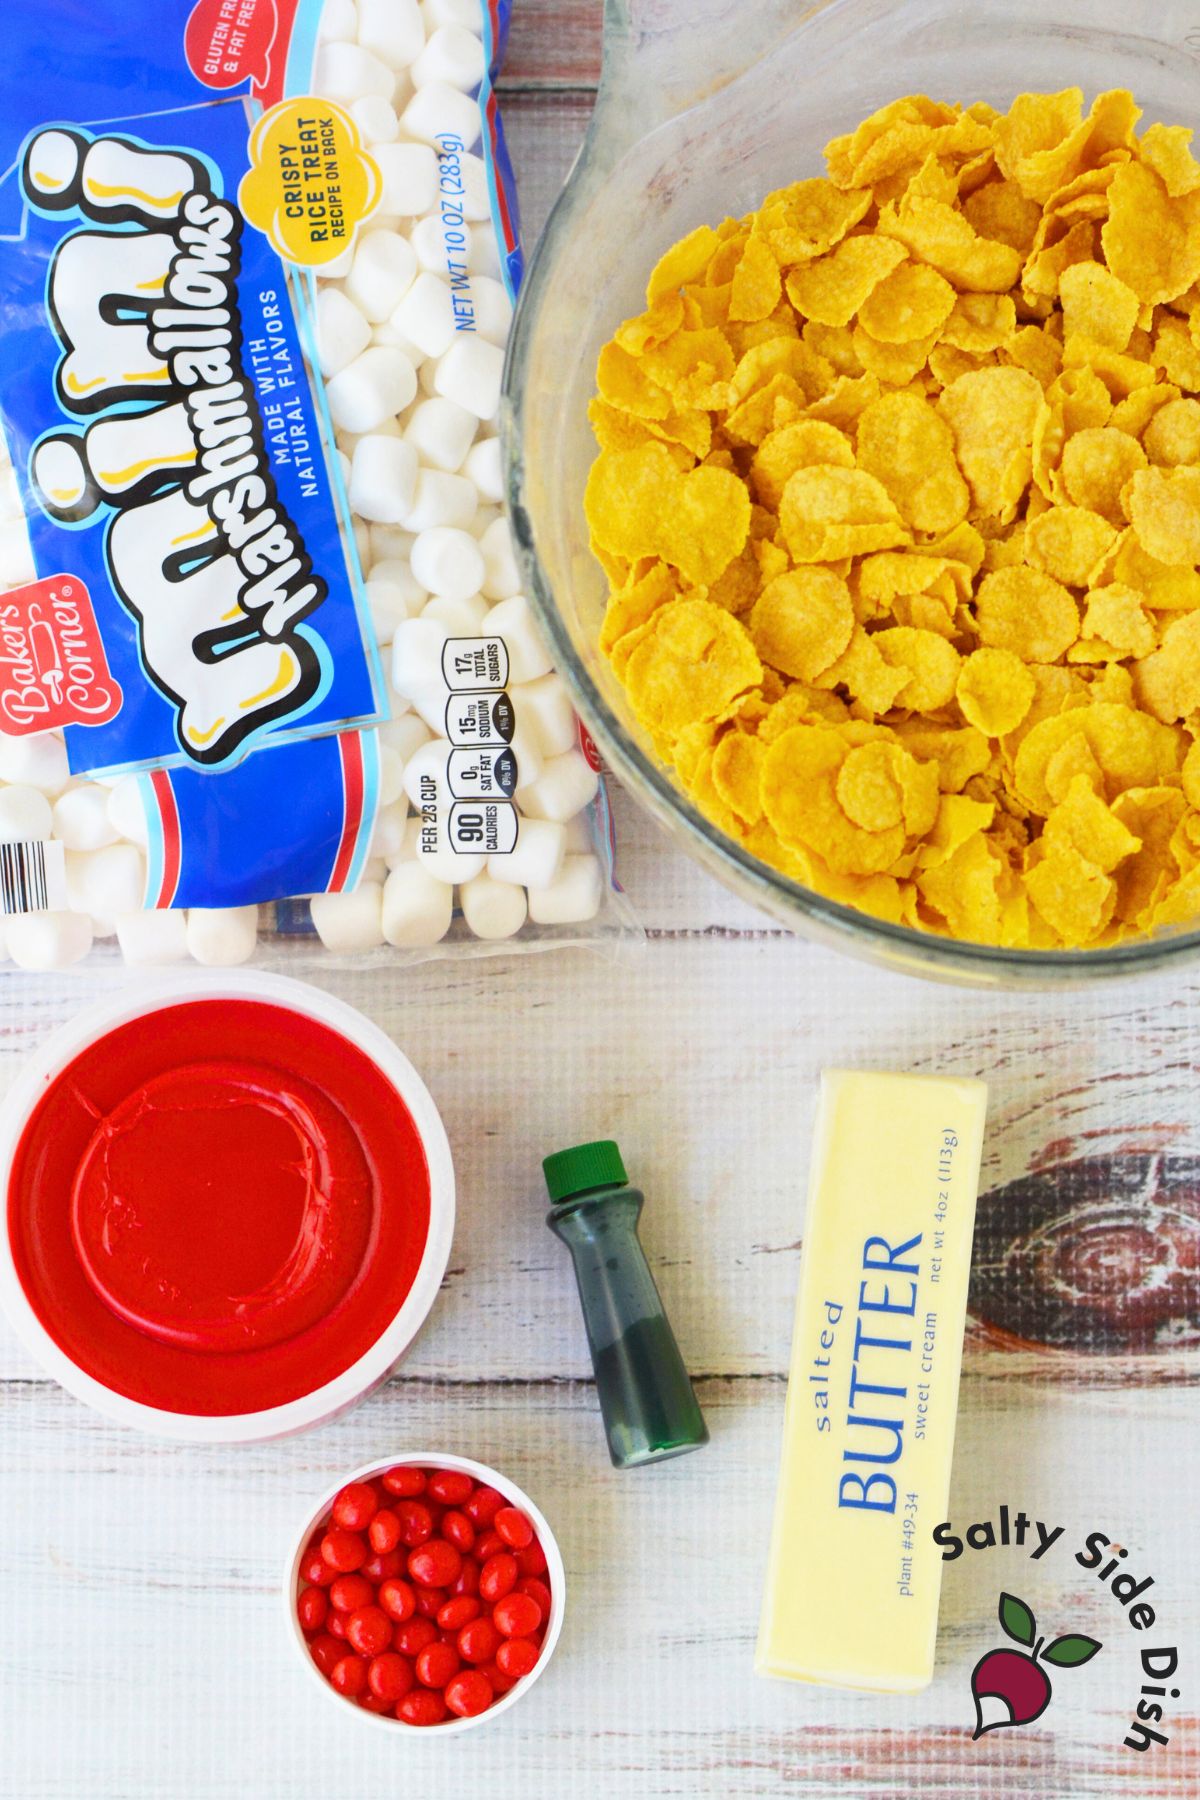
Ingredients for Wreath Cookies
- 1/3 cup butter
- 10 oz. mini marshmallows
- 6 cups cornflake cereal
- Green food coloring
- Red cinnamon candies (or red mini M&Ms)
- 1- 2 tablespoons red frosting
Tip: A large pot works best since you’ll be stirring in six cups of cereal and need room to coat everything evenly.
How to Make Cornflake Wreaths
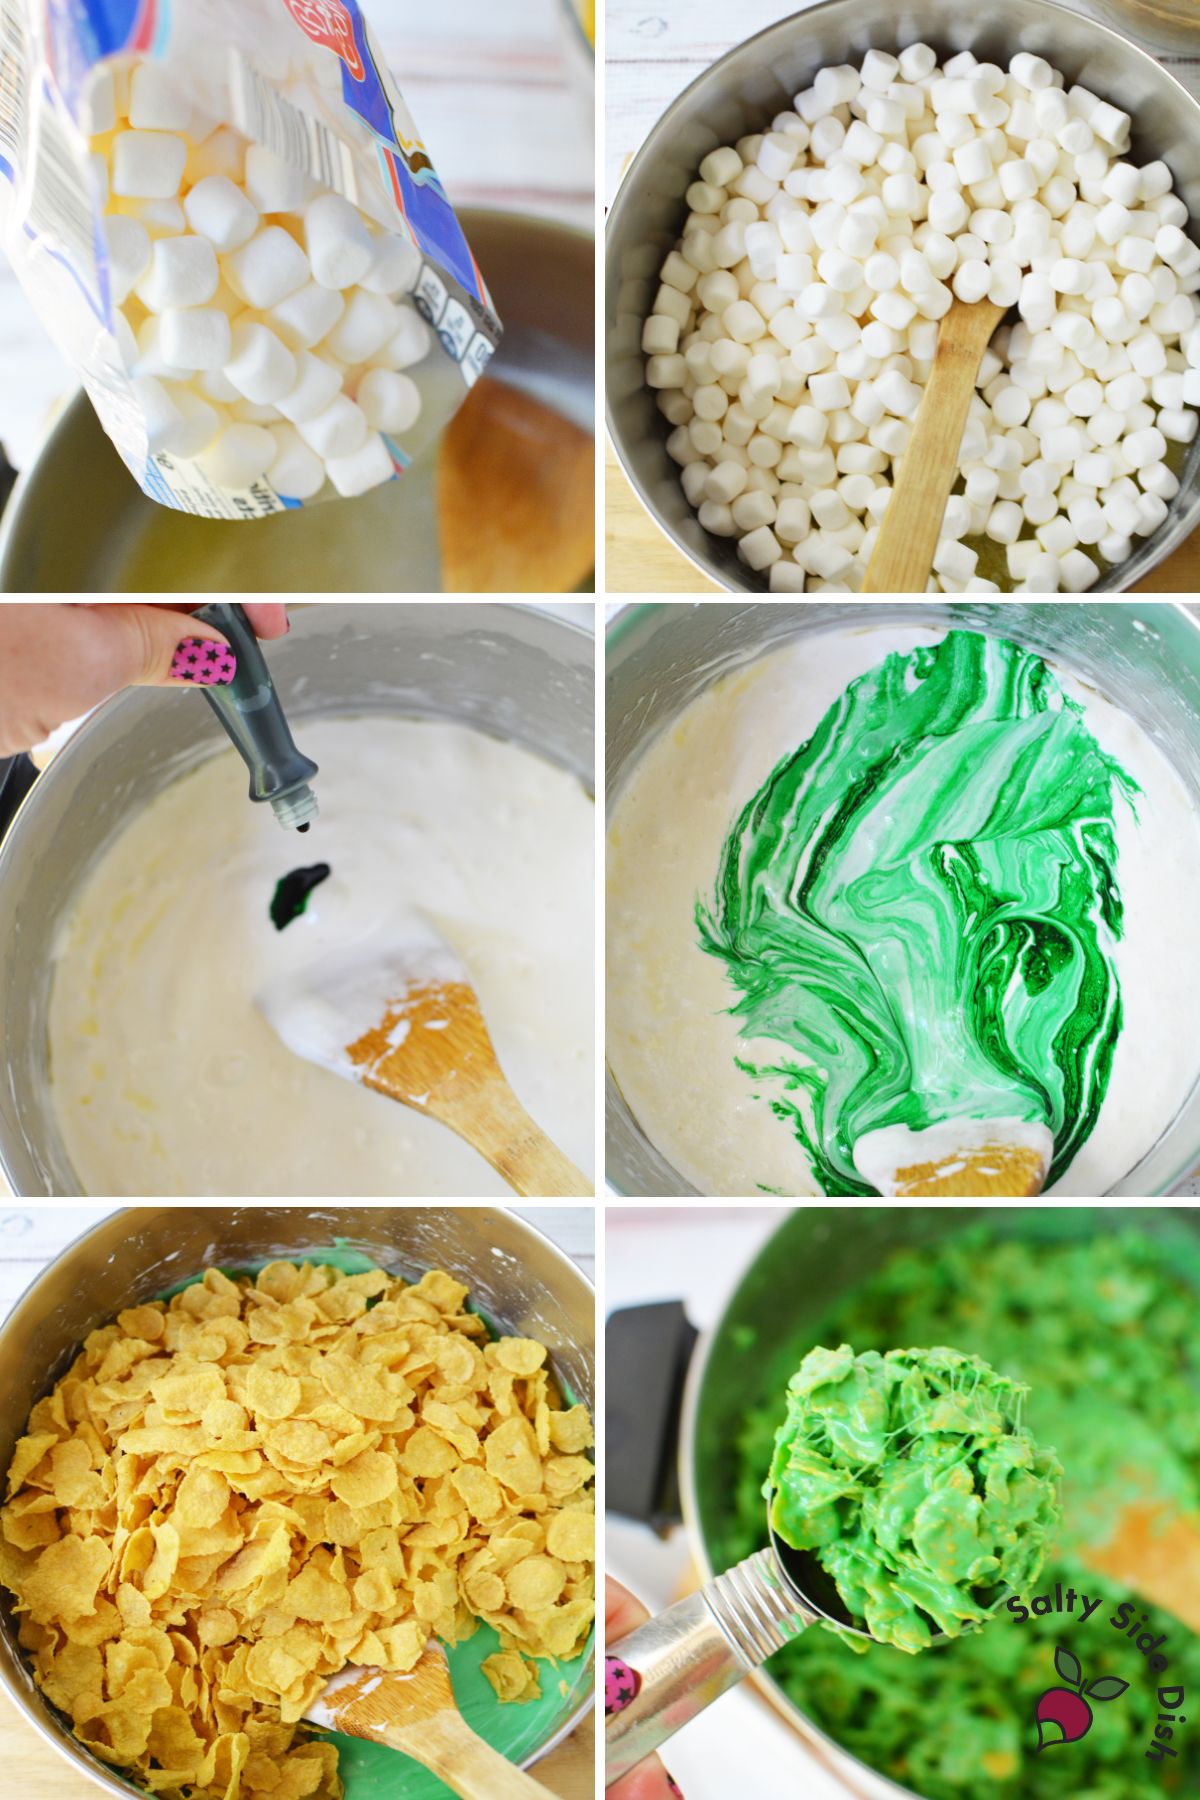
Melt the base. In a large stock pot, melt the butter over medium-low heat. Add the marshmallows and stir constantly until they’re smooth and melted. Keep the heat low and steady so the mixture doesn’t burn or seize.
Add color. Remove the pot from the heat and stir in green food coloring until you get the shade you like. The mixture sets fairly quickly once it cools, so move right into the next step.
Mix with cornflakes. Gently stir in the cereal, folding it over with a spatula until every flake is coated. A big pot really helps here, with six cups of cereal, you want plenty of room to stir without spilling.
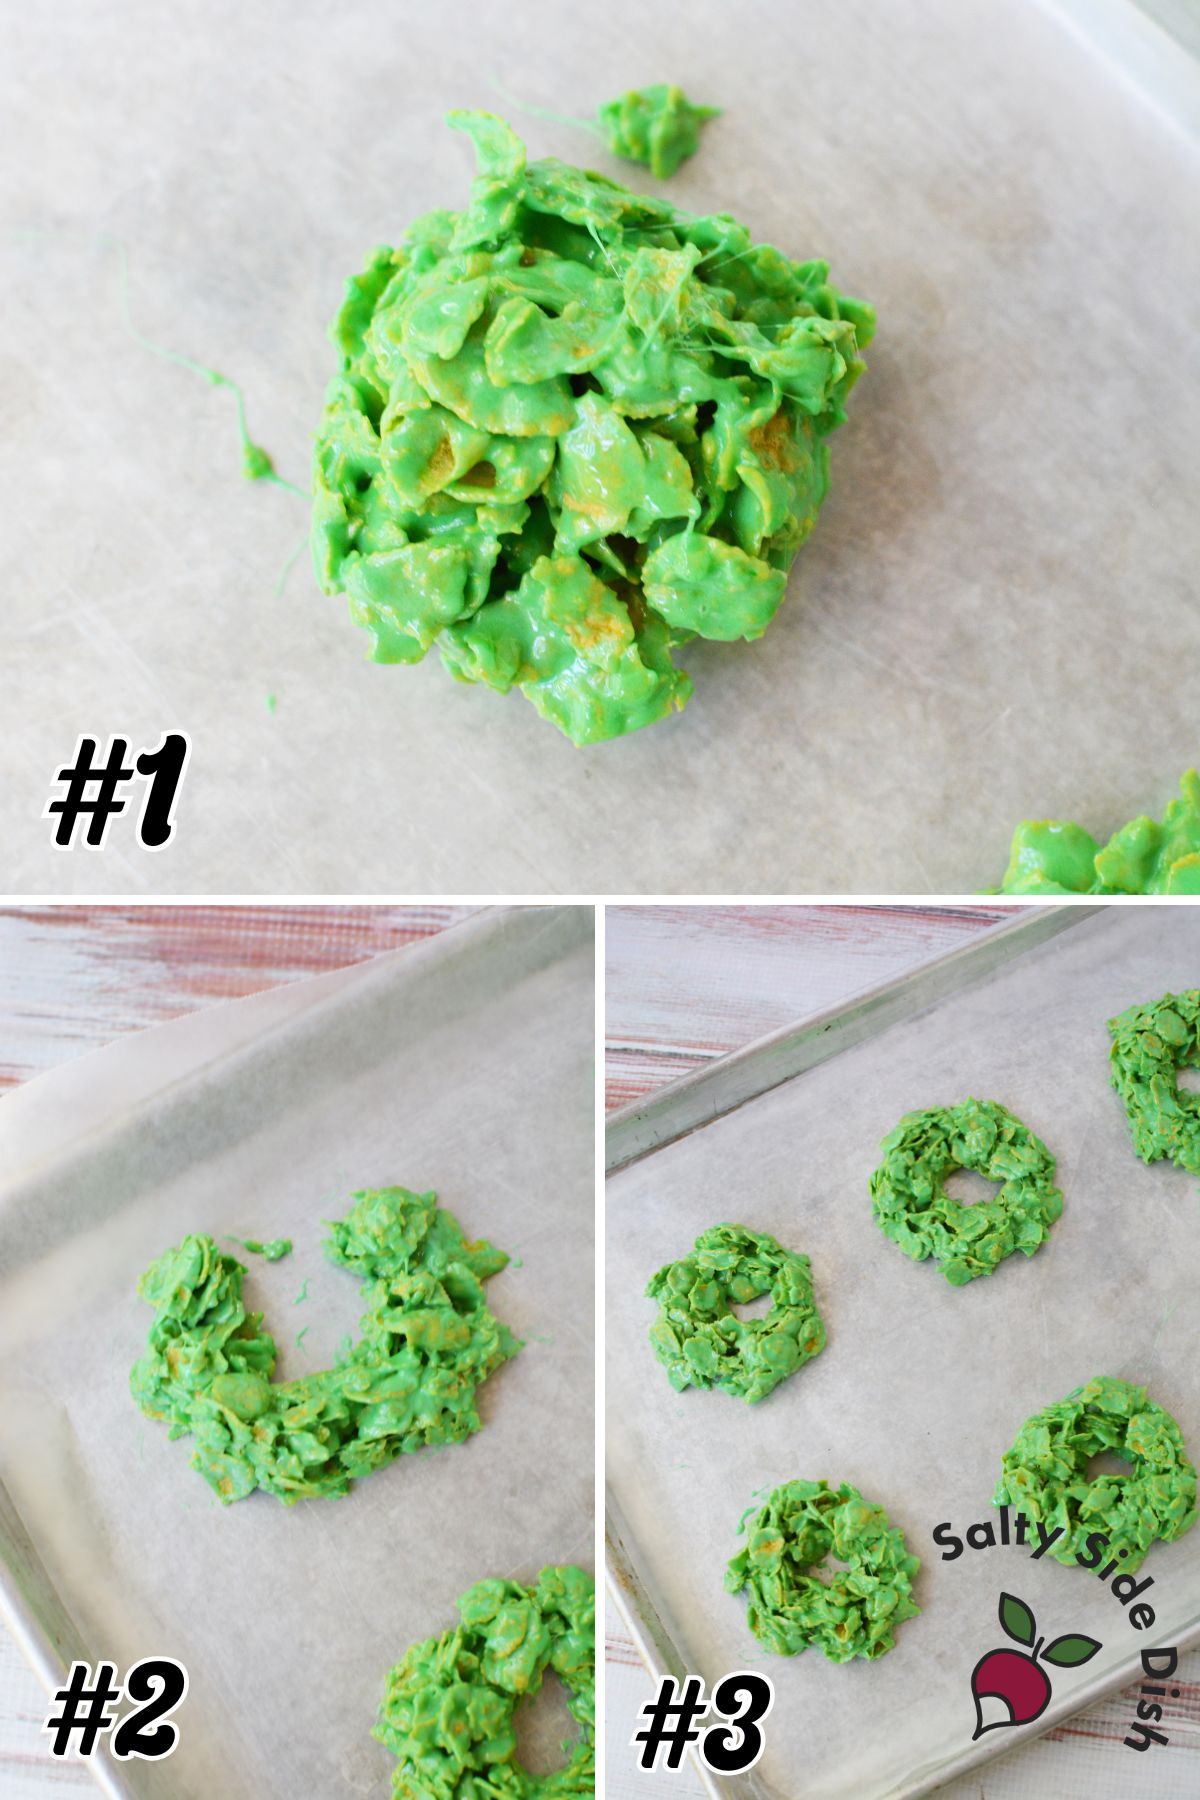
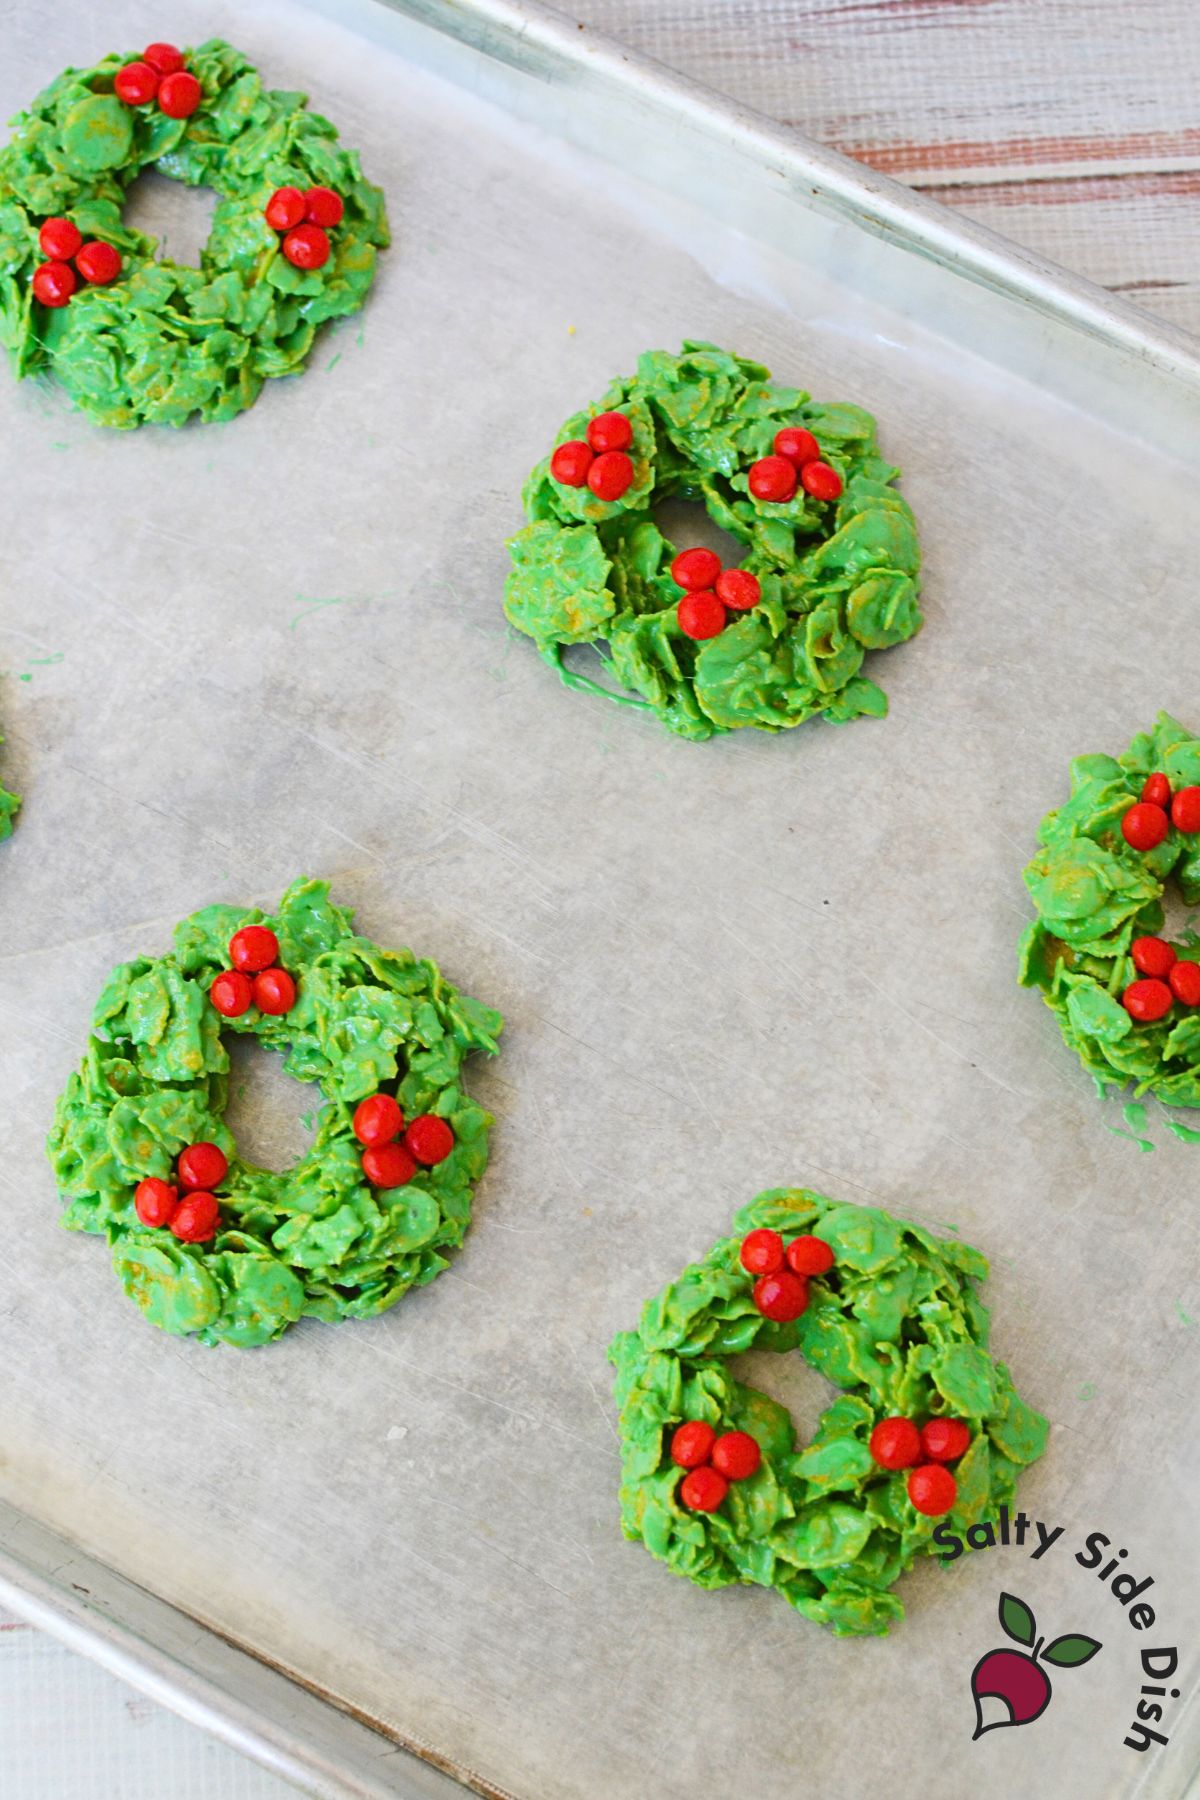
Shape the wreaths. Grease a 1/4 cup measuring cup and use it to scoop out even portions of the mixture. Spray or oil your hands each time before shaping (I use cooking spray because it’s fast), then form the scoop into a log and connect the ends into a circle.
Place each wreath on a wax or parchment paper–lined baking sheet. Work quickly because the marshmallow mixture firms up fast.
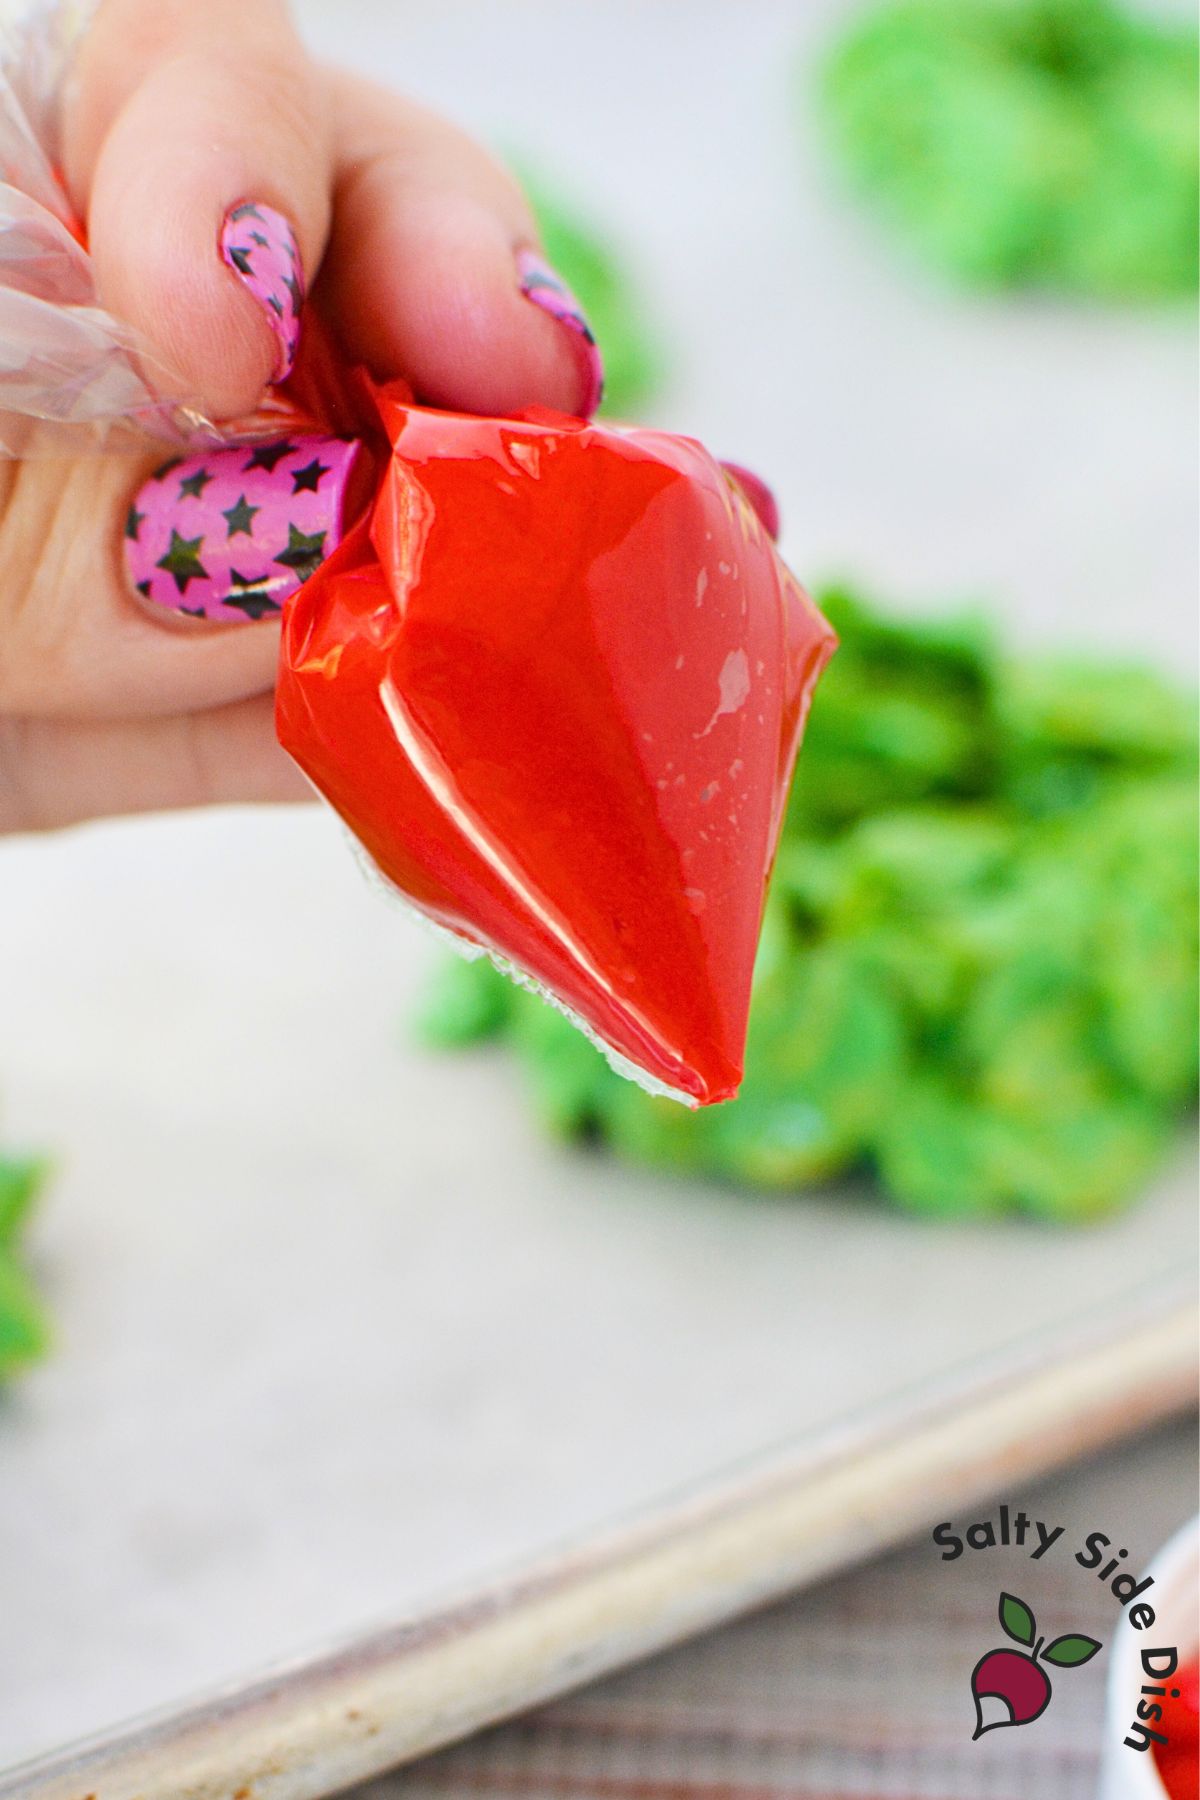
Decorate. Place about a tablespoon of frosting in a small sandwich bag and snip off the corner. Pipe a tiny dab on the back of each cinnamon candy (or red mini M&M) before pressing them onto the wreaths.
The frosting acts like glue and helps keep the candies in place.
Let them set. Allow the wreaths to sit at room temperature until they’re firm. Store them in a single layer in an airtight container for up to three days.
If you need to stack them, place wax paper in between, but I find they keep their shape best when stored side by side.
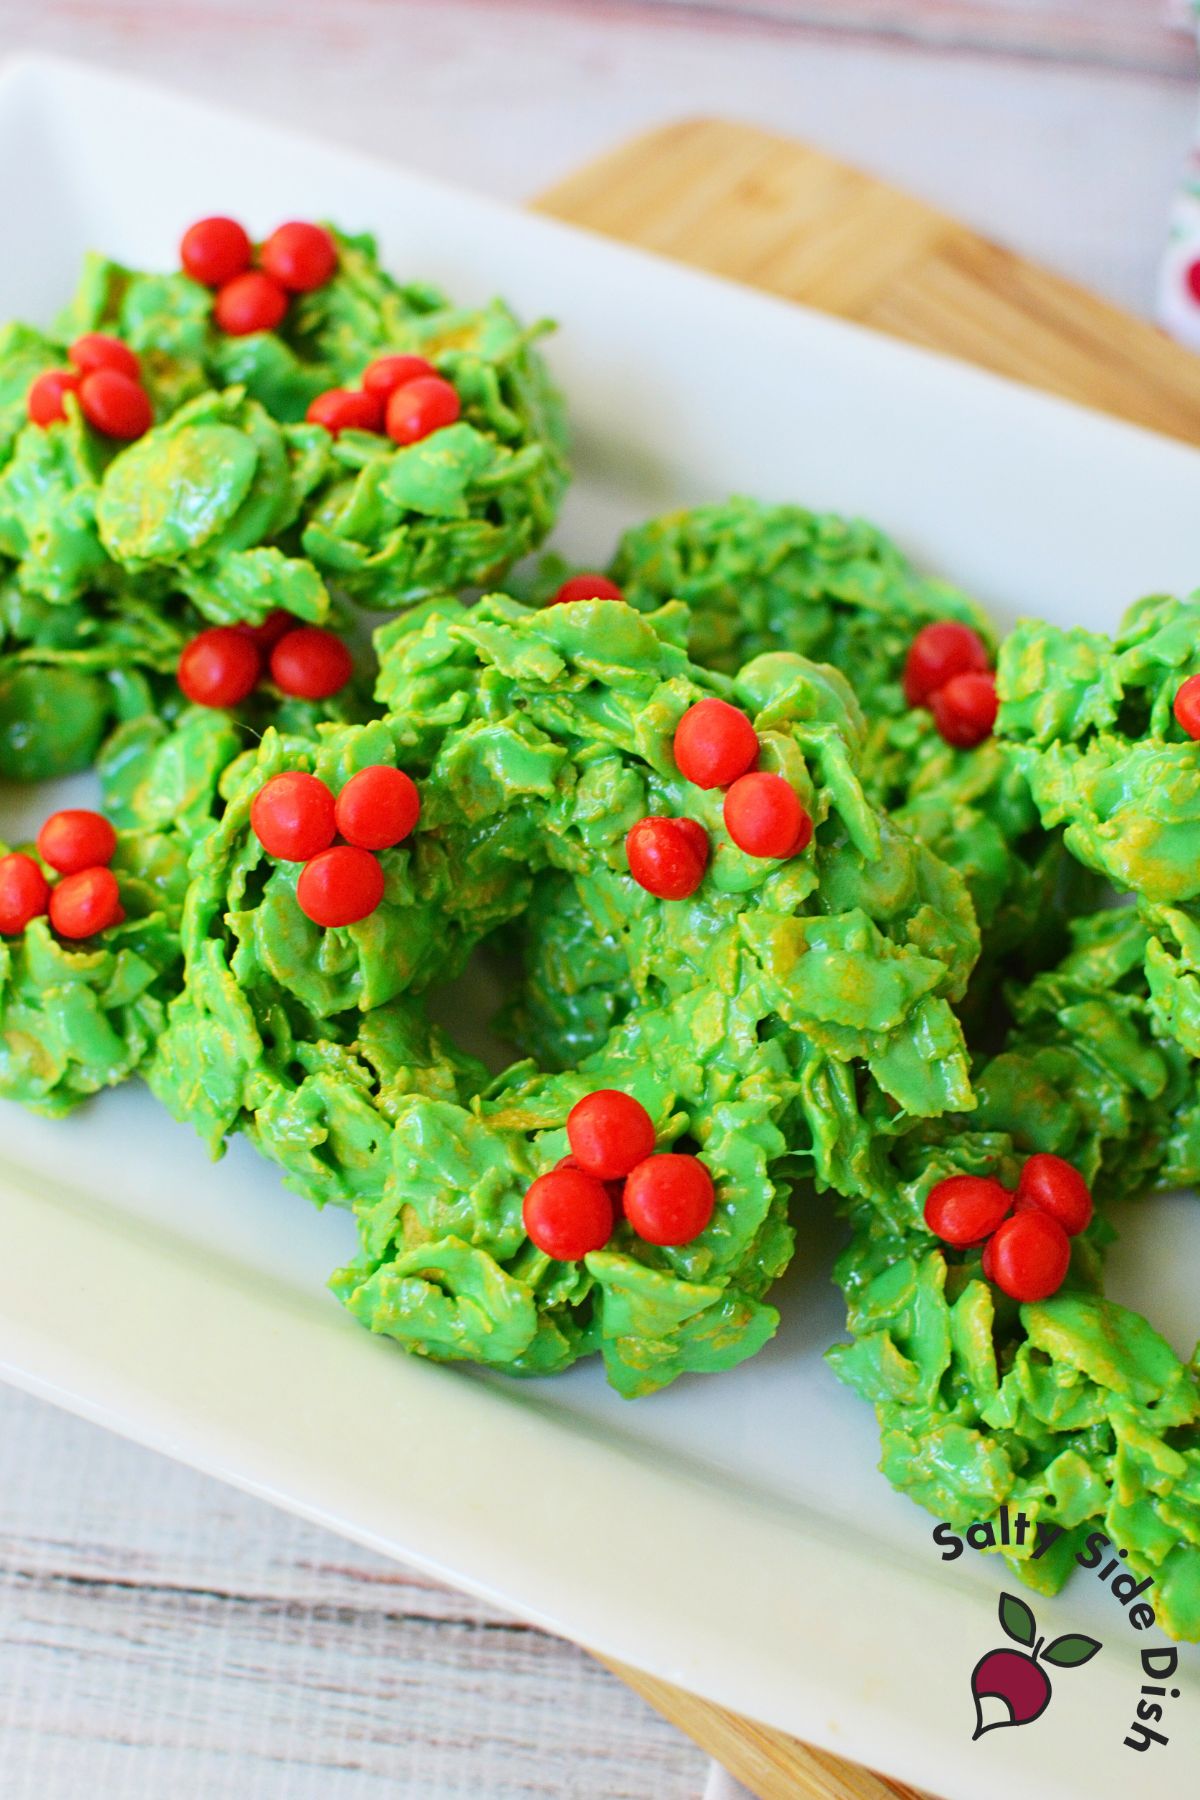
Serving Ideas for Holiday Cornflake Wreath Treats
I usually make these cornflake wreaths as part of a bigger holiday dessert tray, because they pair so well with other simple no-bake sweets. A batch of Oreo Fudge or Saltine Toffee Candy are always popular and Peanut Butter Haystacks or classic popcorn balls are another nostalgic favorite that disappears fast.
Put them all together on one platter, and you’ve got a colorful mix that works for cookie exchanges, school parties, or even just a family night with hot cocoa.
Storing Christmas Wreath Cookies
Cornflake wreaths are best stored at room temperature. Once they’ve set completely, place them in a single layer inside an airtight container.
They’ll stay fresh for about three days, which makes them a great make-ahead option if you’re prepping for a holiday party or Christmas cookie exchange.
It’s important not to stack the wreaths on top of each other. The marshmallow coating is sticky enough that they’ll end up glued together and can lose their round shape.
If your kitchen runs warm, you can also store them in the fridge to keep them firmer, but let them sit out for 10–15 minutes before serving so they aren’t too hard to bite into.
FAQ: Cornflake Wreaths Recipe
Can I freeze cornflake wreath cookies?
Not recommended. Freezing changes the texture of the marshmallows and makes the wreaths chewy in the wrong way.
Why are my cornflake wreaths sticky?
Usually it means the marshmallows weren’t fully melted or you added too much butter. Make sure to stir constantly and remove from heat as soon as the mixture is smooth.
Cornflake Wreaths (No Bake)
Ingredients
- 1/3 cup butter
- 10 oz mini marshmallows
- 6 cups cornflake cereal
- Green food coloring
- Red cinnamon candies or red mini M&Ms
- 1-2 tbsp red frosting
Instructions
- In a large stock pot, melt the butter over medium-low heat. Add the marshmallows and stir constantly until smooth and melted. Keep the heat low so the mixture doesn’t burn or seize.
- Remove the pot from the heat and stir in green food coloring until evenly colored. The mixture sets quickly as it cools, so move right into the next step.
- Gently stir in the cornflake cereal, folding carefully with a spatula until every flake is coated. Use a large pot for easier mixing since six cups of cereal take up more space than you’d expect.
- Grease a 1/4 cup measuring cup and scoop out even portions of the mixture. Spray or oil your hands before shaping each one (I like using cooking spray) so the sticky marshmallow mix doesn’t cling to your fingers. Form each portion into a log, then connect the ends into a circle. Place wreaths on a wax paper–lined baking sheet to set.
- Place about a tablespoon of frosting into a resealable sandwich bag, snip off a tiny corner, and pipe a small dab onto the back of each cinnamon candy. Press the candies onto the wreaths to look like red berries. (Red mini M&Ms or sprinkles can also work if you prefer.)
- Allow the wreaths to sit at room temperature until firm. Store in an airtight container in a single layer for up to 3 days. If stacking, place wax paper between layers, though they hold their shape best stored side by side.
Nutrition
Nutritional Disclaimer: The nutritional data provided here is auto-calculated and intended for your convenience only. As it’s generated via automation, its accuracy may be compromised. For precise nutritional insight, please compute the values utilizing the actual ingredients in your recipe through your chosen nutrition calculator or application.
Did You Make This Recipe?
Make sure to follow Salty Side Dish on Pinterest and rate the recipe here and make sure to leave a comment below!


