White Chocolate Cocoa Bombs
This post may contain affiliate links. Please read the Privacy Policy & Cookie Policy.
Fresh off the heels (or should I say out of the cup) of our last years Hot Chocolate Cocoa Bombs, we wanted to update a bit and share a few new ways to not only have a seamless cocoa bomb, but showcase that milk chocolate isn’t the only chocolate out there.
White chocolate is ultra decadent and so easy to work with – and as a bonus tastes delicious and delightful in a cup of hot cocoa. Plus, its perfect to make as a SNOWMAN BOMB!
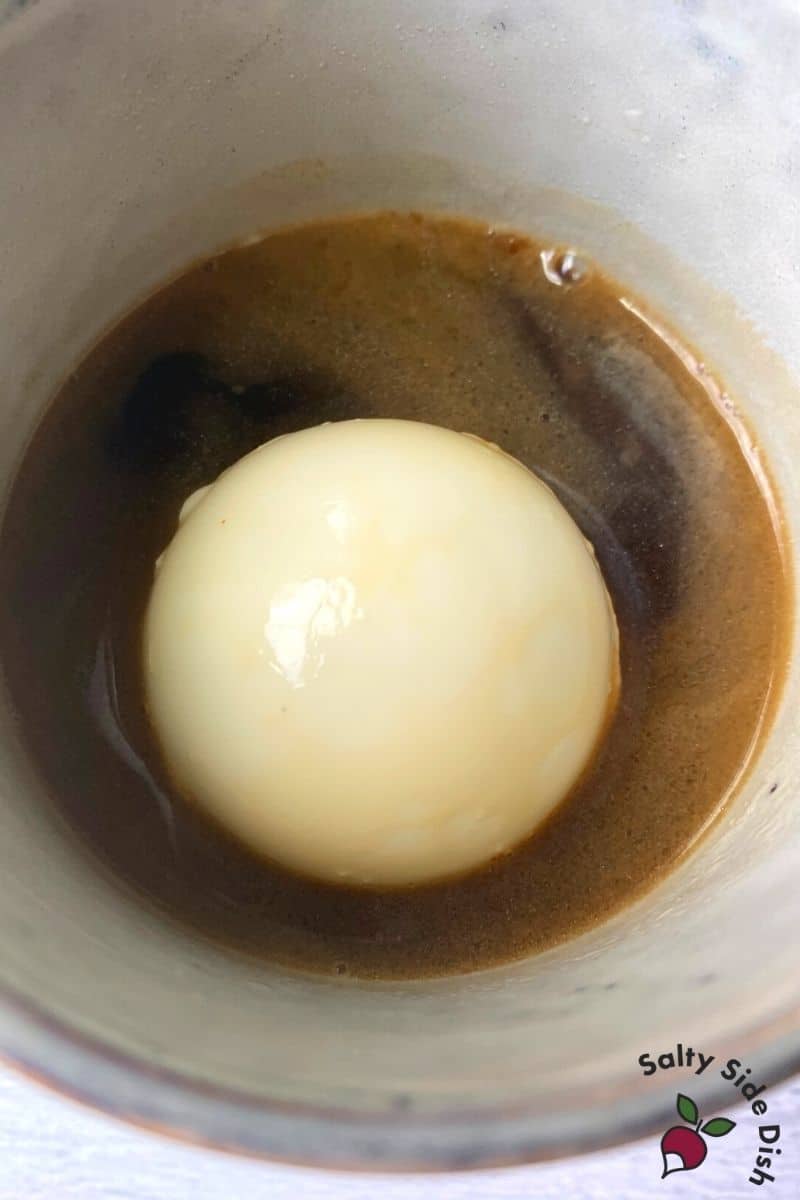
Whip up a batch easily of these white chocolate bombs, adding cocoa, mini marshmallows or even bits of peppermint, for a fun fall cocoa bomb that makes drinking your next cup of coffee or cocoa that much more special.
DIY White Chocolate Bomb Ingredients
Before you get started on this project, you need to plan it out. There are several ingredients you need to have on hand prior to getting started: White Melting Chocolate, a Semi-Circle Baking mold and whatever you want to stuff the inside of the chocolate with (suggestions below) like marshmallows.
- white melting chocolate
- circle baking mold
- marshmallows
What type of mold for a Cocoa Bomb?
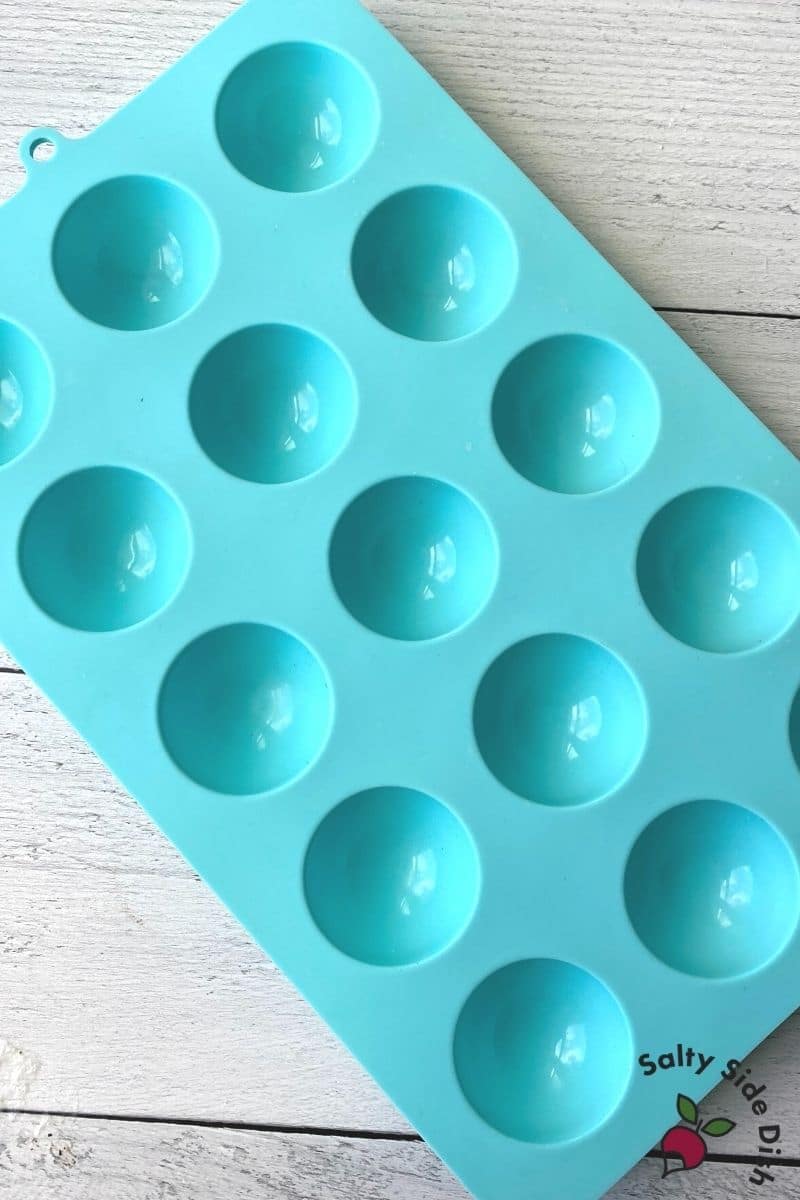
One of the first things you need to have on hand prior to starting this recipe is a mold. You can get half semi-circle molds at craft stores like Michaels and Hobby Lobby, but these days most people are shopping online. You can use this same mold for other cocoa bombs like our Harry Potter Cocoa Bomb, so you will get lots of use..
Because all mugs are different sizes and some days you may want a small cup and others a large cup, I recommend that you grab a trio of silicone semi-circle baking molds for this food project. There are 15 semi-circles, which means you will get 7 full circles and 1 extra semi-circle.
What type of White Chocolate for Cocoa Bombs?
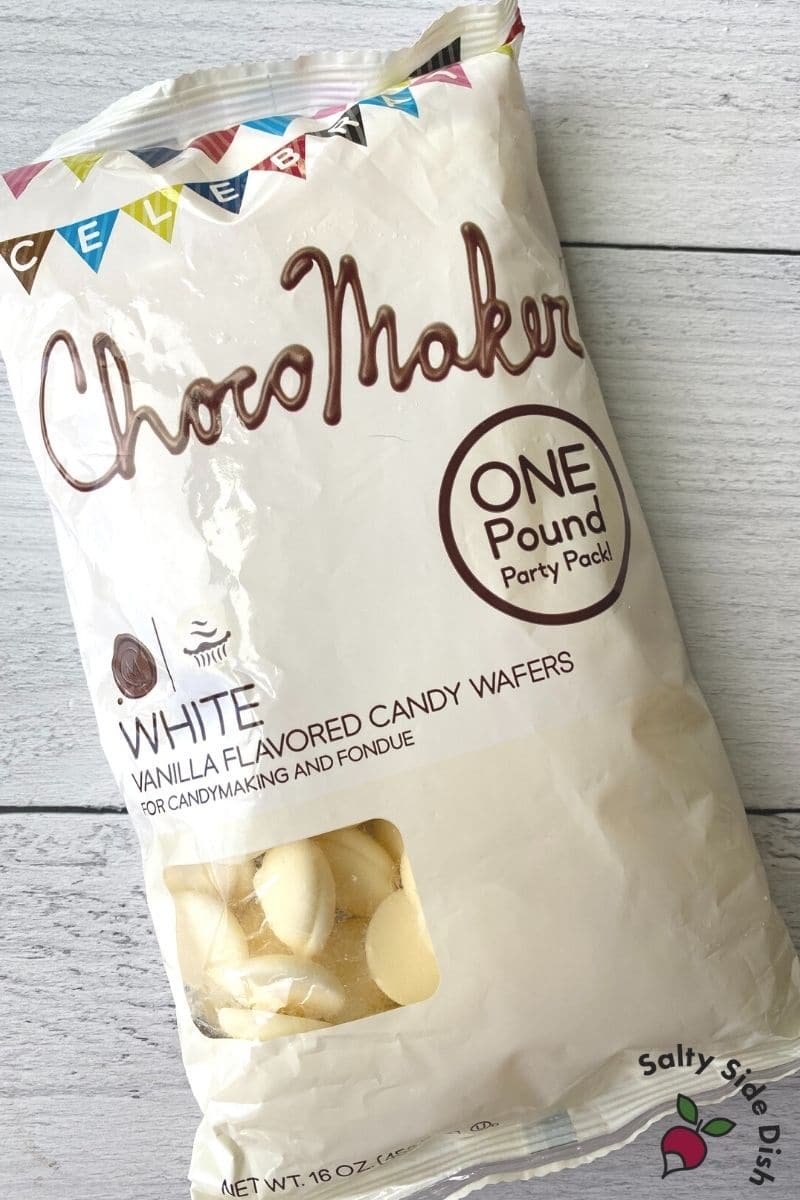
Any white chocolate MELTING chocolate will do.
Melting chocolate is not the same as a bar of white chocolate, so make sure that you specifically buy melting chocolate or you may end up with burned chocolate. There are all sorts of brands that carry white melting chocolate like Ghirardelli, Wilton (I dislike Wilton for this project) or Chocomaker (LOVE this brand for melting, never had an issue). Chocomaker white chocolate melts can typically be found in the Walmart baking aisle or on Amazon here.
How to make a white chocolate cocoa bomb
Melting White Chocolate
The first thing you need to know is that chocolate is fussy. It can easily be burned or re-hardened. Melting chocolate does a good job taking away some of the frustration with chocolate but the key with any candy making is PATIENCE.
For enough chocolate to fill a mold, take HALF A BAG of white melting chocolate (approximately 8 oz) and heat at 30 seconds at a time, stirring and heating, until melted. This typically only takes about a minute to two minutes depending on your microwave.
Chocolate WILL BE HOT, so do not stick your fingers in it!
Filling Chocolate Silicone Molds
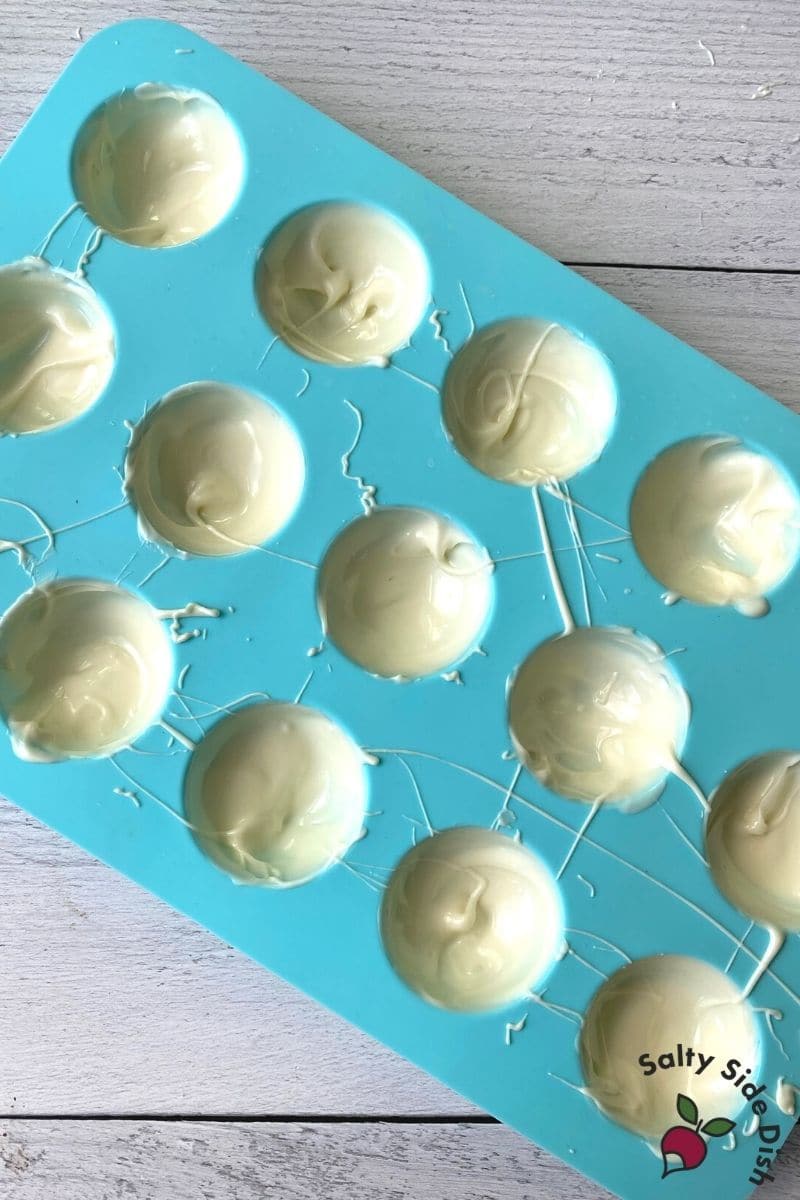
Working with a few semi-circles at a time, use a spoon to spoon white chocolate into mold.
- Use a pasty brush to brush chocolate into mold.
- Use clean fingers in a circle motion to push up the chocolate if its not too hot. Because chocolate hardens so quickly, I like to use fingers, although its not as flattering on film, it IS more practical in a kitchen setting.
Cocoa Bomb Tips
- Chocolate is messy. It is totally ok if your mold gets drips of melted chocolate on it. It will not affect the chocolate bombs in the end and it flakes right off once hardened.
- Take care to get chocolate into the entire mold and up the sides. If you can see the mold itself too much, chocolate may be thin when you remove.
- Its ok to have excess chocolate inside the mold, just scoop out any that seems that over the top so you have space for filling. The outside of the mold will be smooth.
Setting the Chocolate
Once your molds have chocolate, put into the freezer for about 10 minutes for chocolate to harden and set. Remove and careful peel back the silicone mold, one at a time on each semi-circle, and place on a plate.

Filling Variations
With most chocolate bombs, mini marshmallows are stuffed inside. But if it fits and tastes great in your cup, then try it!
Recommendations for your fall cup include:
- Crushed Peppermint Pieces
- Mini Jet Puffed Marshmallows
- Dehydrated Marshmallows for Hot Cocoa
- Colored Cereal Marshmallows (AKA Lucky Charms Marshmallows)
Sealing the Seams
You will note that the seams on the edge of the molds are jagged. There are several ways to seal your seams. Fill chocolate bombs with chosen items, put two halves together to make a circle and paint a seam around the middle, which you can also use to add additional sprinkles.
The other way is to heat a skillet on SUPER LOW and press your chocolate down for a few seconds to give a perfect bottom circle. Then quickly fill, do the second chocolate circle, and press together.
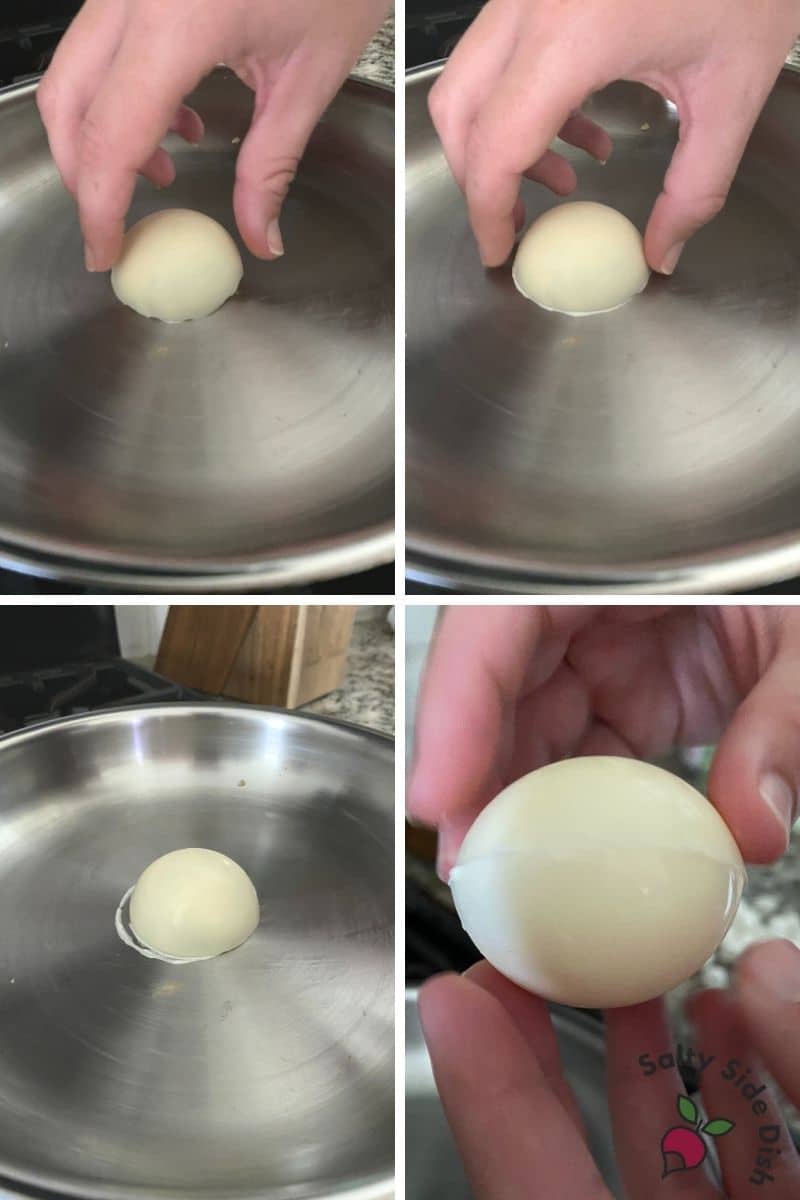
The melted chocolate should mold into each other, giving a seamless white chocolate bomb. Place on a plate and complete all chocolate bombs. Put back into freezer for 5 minutes.
Using the Cocoa Bombs
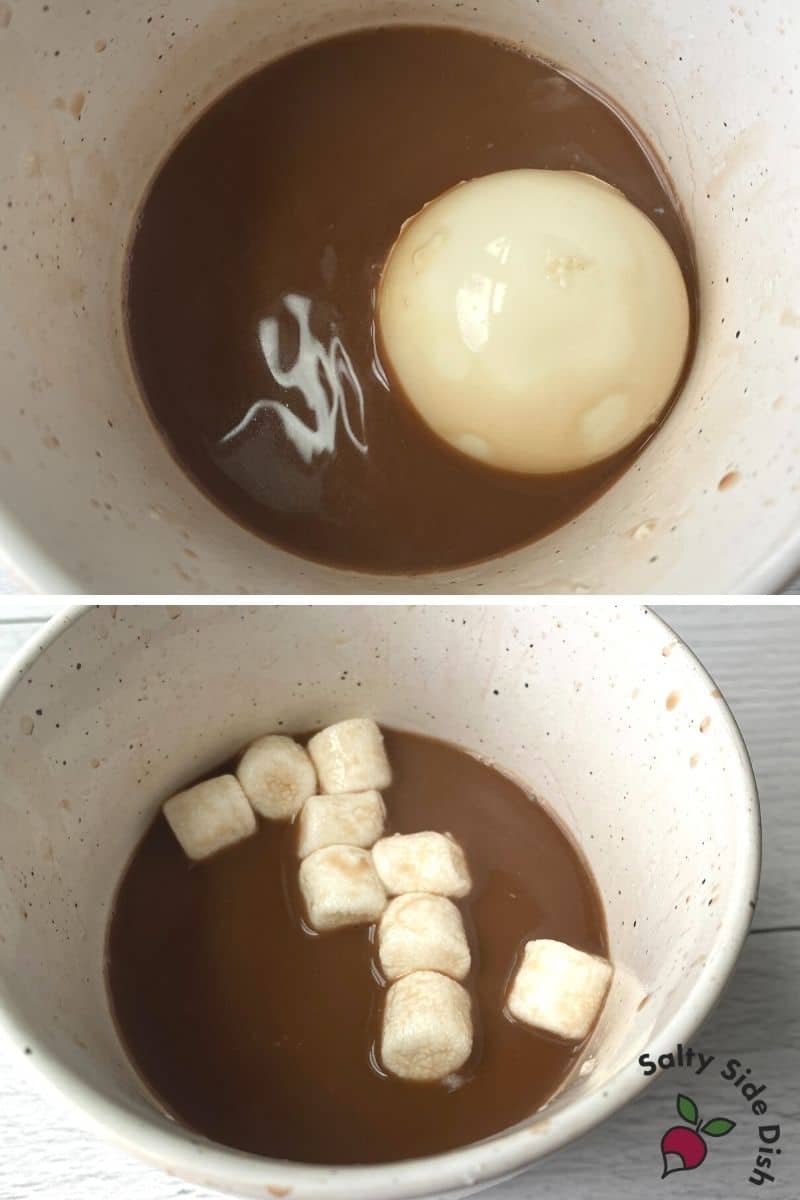
Simply drop your white chocolate cocoa bomb into a hot cup of cocoa or coffee and watch the magic happen! As the white chocolate is heated by the hot liquid, the chocolate melts and reveals the inside treats:

Storing
Chocolate is sensitive to humidity and heat – especially in holiday kitchens where everyone is cooking. White Chocolate bombs need to be placed into the fridge or freezer for storage until use.
Making Melting Snowman Bombs
Want to get creative? Use other colored melting chocolates to paint on a face in the mold FIRST and then add white melting chocolate for a SNOWMAN BOMB! (image is just a sample idea, and a full article coming soon!). Also use sprinkles and just get creative!

White Chocolate Marshmallow Bombs
Ingredients
- white melting chocolate
- circle baking mold
- marshmallows
Instructions
- The first thing you need to know is that chocolate is fussy. It can easily be burned or re-hardened. Melting chocolate does a good job taking away some of the frustration with chocolate but the key with any candy making is PATIENCE.
- For enough chocolate to fill a mold, take HALF A BAG of white melting chocolate (approximately 8 oz) and heat at 30 seconds at a time, stirring and heating, until melted. This typically only takes about a minute to two minutes depending on your microwave.
- Working with a few semi-circles at a time, use a spoon to spoon white chocolate into mold. Use a pasty brush to brush chocolate into mold.
- Use clean fingers in a circle motion to push up the chocolate if its not too hot. Because chocolate hardens so quickly, I like to use fingers, although its not as flattering on film, it IS more practical in a kitchen setting.
- Once your molds have chocolate, put into the freezer for about 10 minutes for chocolate to harden and set. Remove and careful peel back the silicone mold, one at a time on each semi-circle, and place on a plate.
- You will note that the seams on the edge of the molds are jagged. There are several ways to seal your seams. Fill chocolate bombs with chosen items, put two halves together to make a circle and paint a seam around the middle, which you can also use to add additional sprinkles.
- The other way is to heat a skillet on SUPER LOW and press your chocolate down for a few seconds to give a perfect bottom circle. Then quickly fill, do the second chocolate circle, and press together. The melted chocolate should mold into each other, giving a seamless white chocolate bomb. Place on a plate.
- Simply drop your white chocolate cocoa bomb into a hot cup of cocoa or coffee and watch the magic happen! As the white chocolate is heated by the hot liquid, the chocolate melts and reveals the inside treats.
Video
Notes
White Chocolate Cocoa Bomb Tips
- Chocolate is messy. It is totally ok if your mold gets drips of melted chocolate on it. It will not affect the chocolate bombs in the end and it flakes right off once hardened.
- Take care to get chocolate into the entire mold and up the sides. If you can see the mold itself too much, chocolate may be thin when you remove.
- Its ok to have excess chocolate inside the mold, just scoop out any that seems that over the top so you have space for filling. The outside of the mold will be smooth.
Nutrition
Nutritional Disclaimer: The nutritional data provided here is auto-calculated and intended for your convenience only. As it’s generated via automation, its accuracy may be compromised. For precise nutritional insight, please compute the values utilizing the actual ingredients in your recipe through your chosen nutrition calculator or application.
Did You Make This Recipe?
Make sure to follow Salty Side Dish on Pinterest and rate the recipe here and make sure to leave a comment below!


