Hawaiian Roll Garlic Bread
This post may contain affiliate links. Please read the Privacy Policy & Cookie Policy.
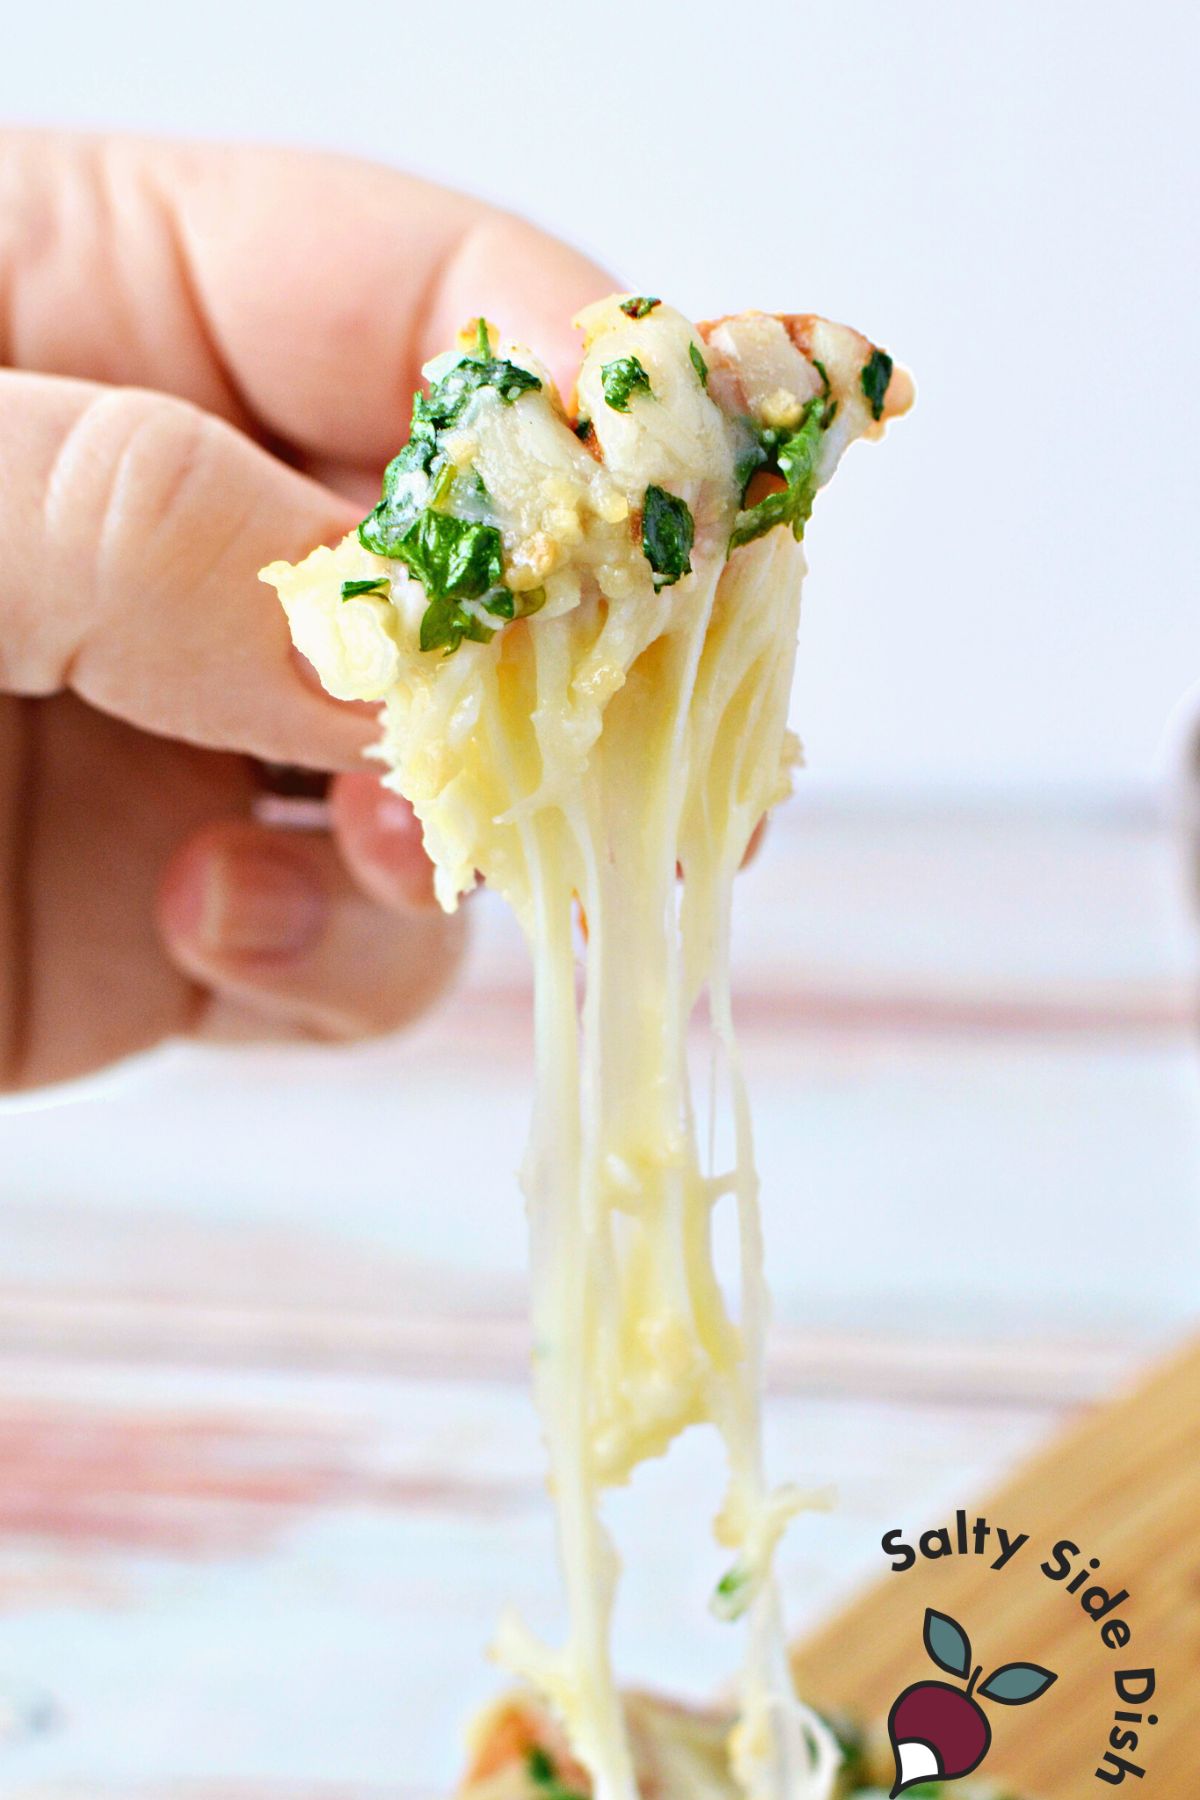
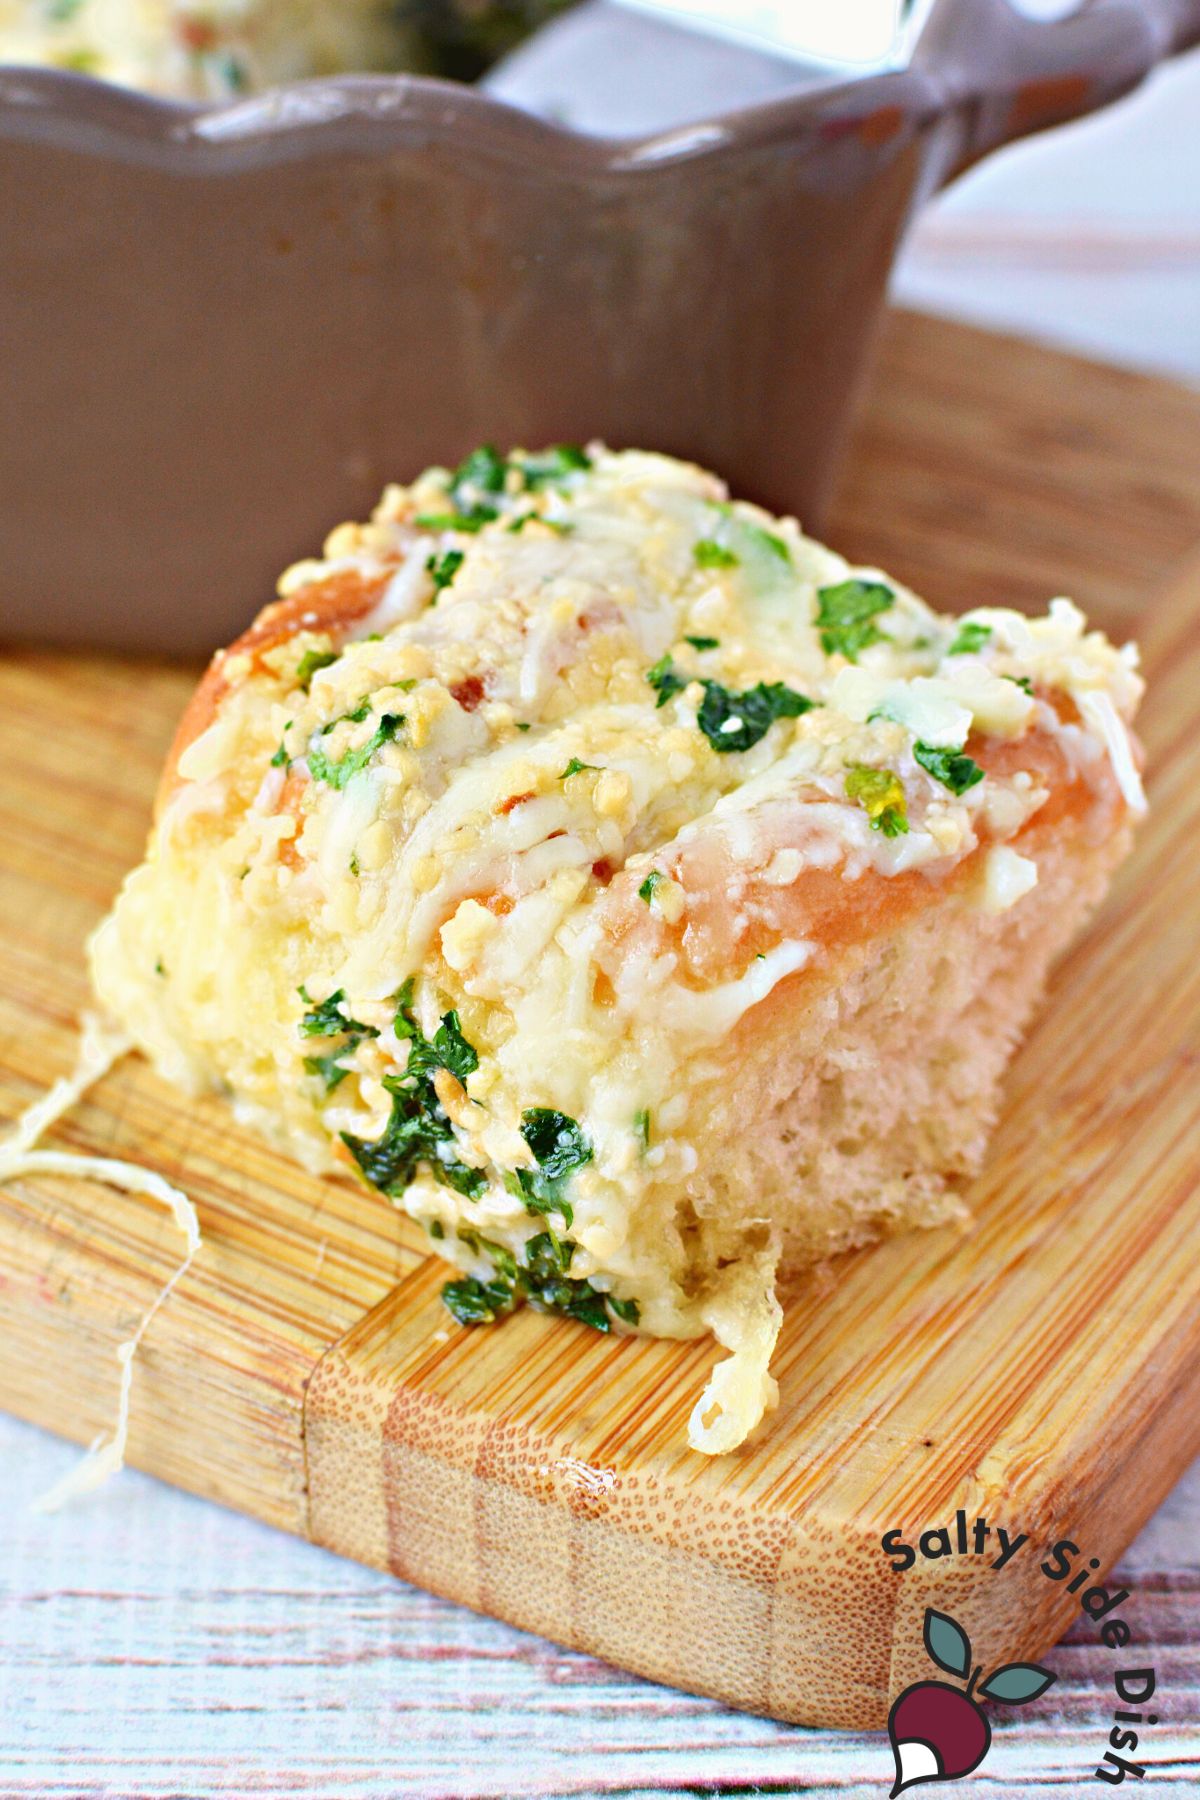
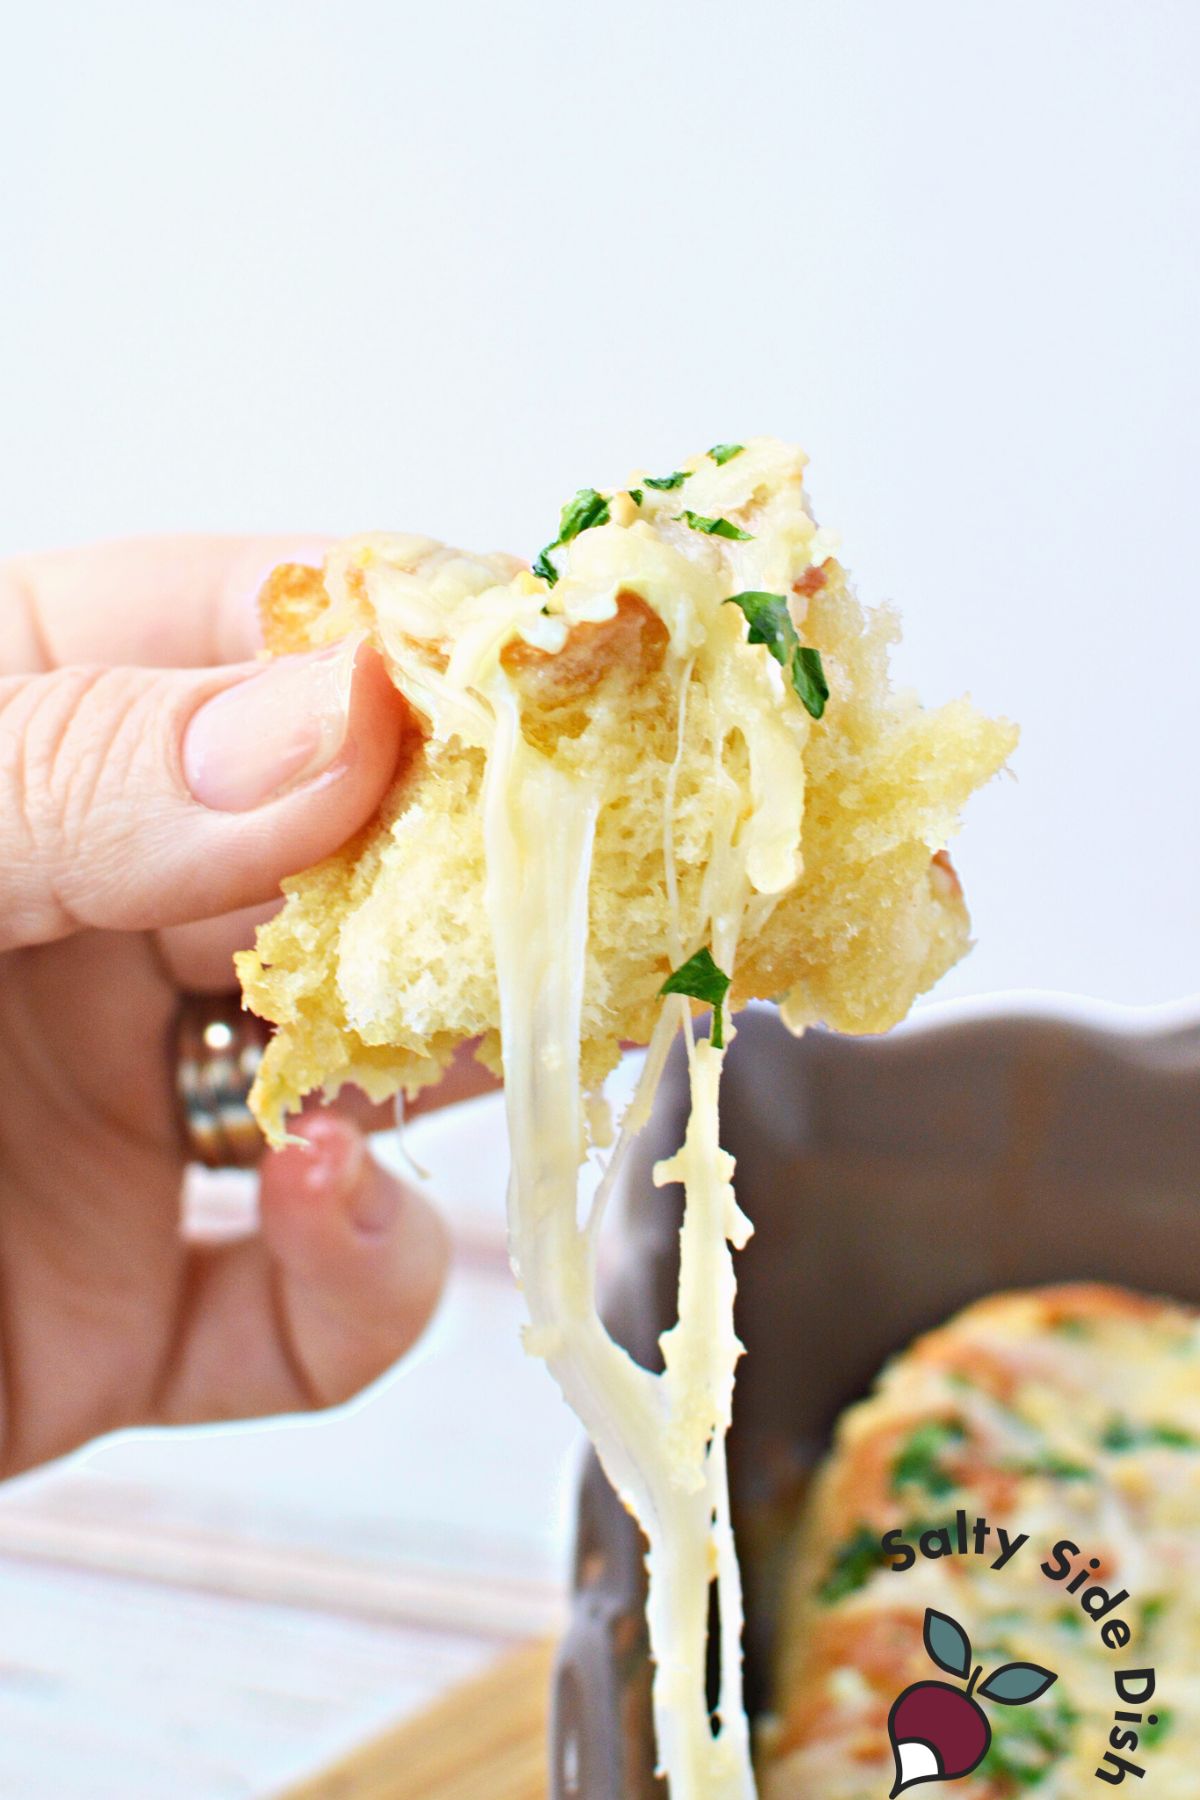
Experience the irresistible blend of flavors with our Hawaiian Roll Garlic Bread, where the sweetness of Hawaiian rolls meets savory garlic and cheese.
This easy-to-make side dish transforms light, fluffy rolls with garlic-herb butter, baking them to golden perfection. It’s a unique take on cheesy garlic bread that will elevate any meal.
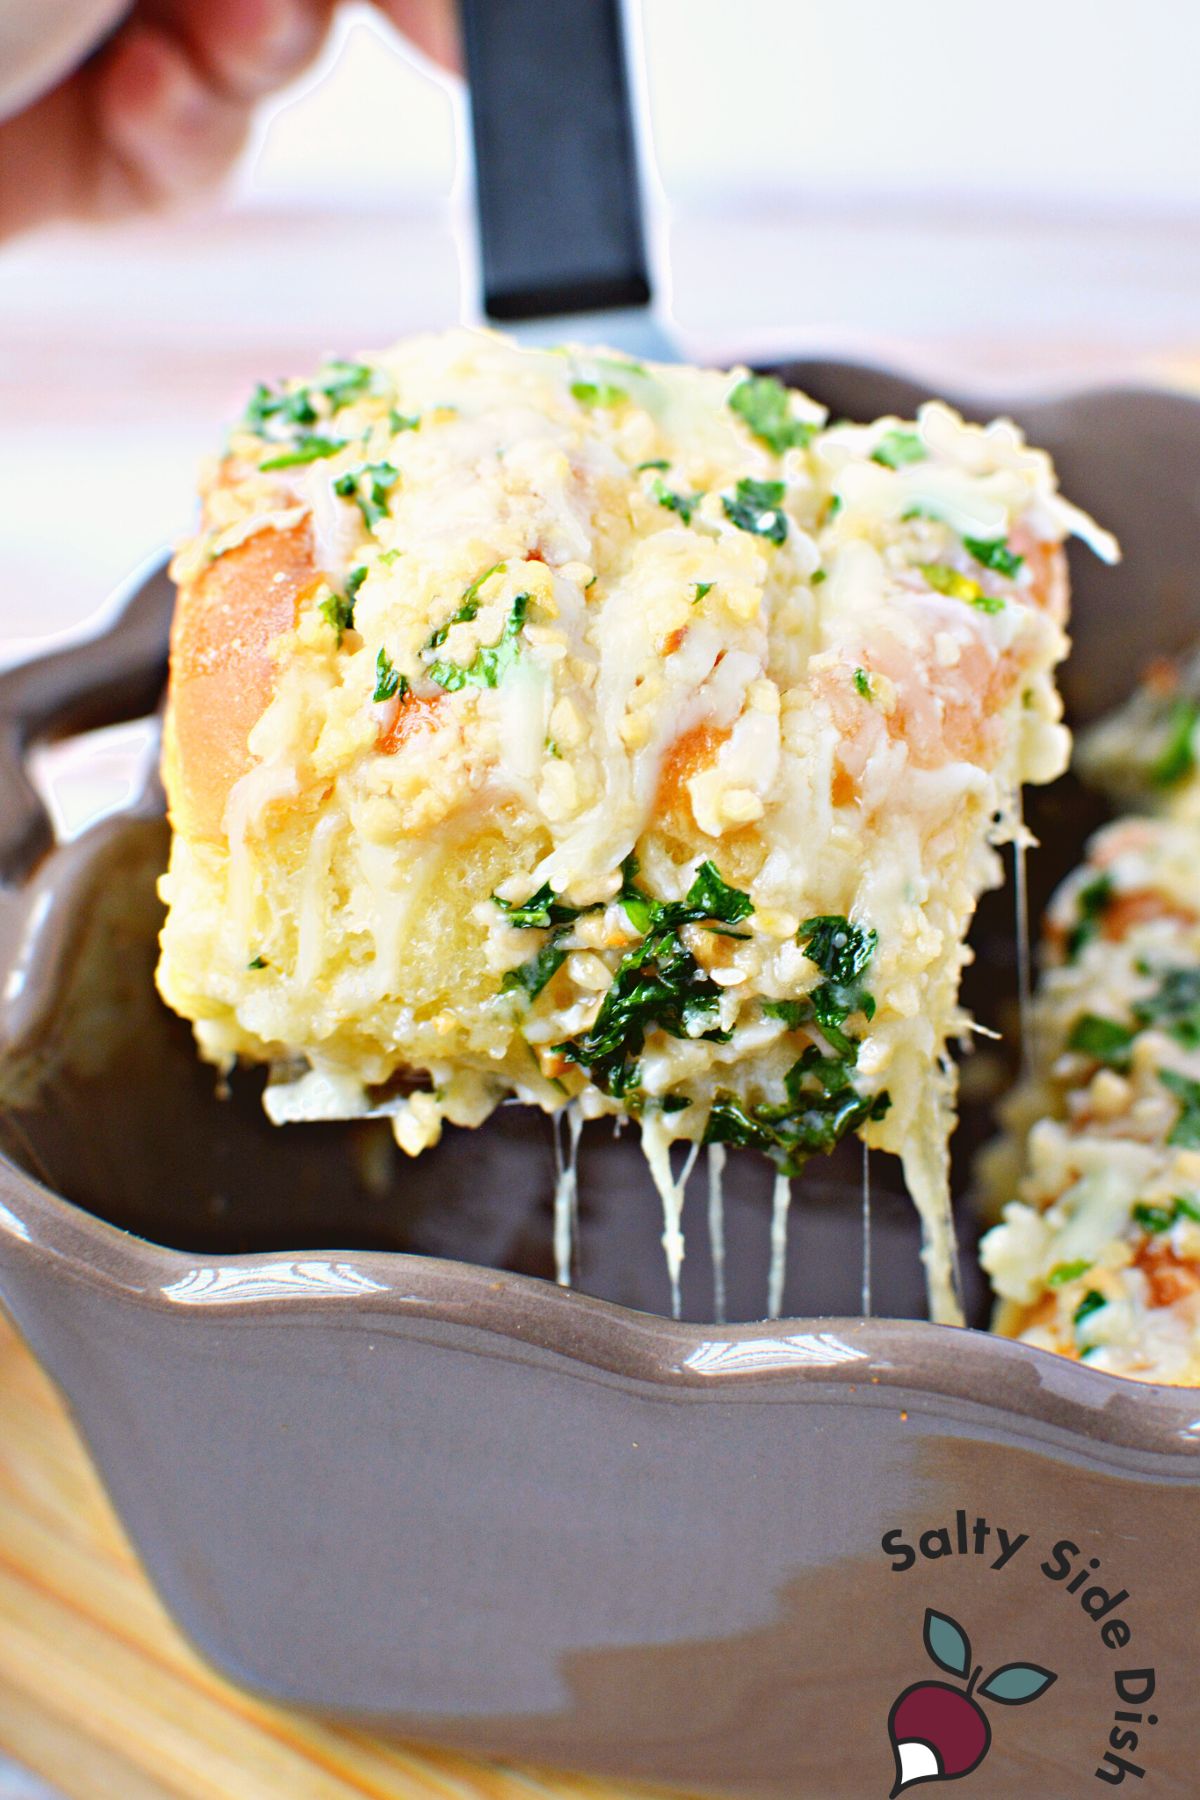
Served garlic rolls alongside Italian Pastina Soup, Honey Garlic Lemon Chicken, and Homemade Beefaroni.
Hawaiian Roll Garlic Bread Recipe
Ingredients:
- Hawaiian rolls
- Shredded Mozzarella cheese
- Butter
- Fresh parsley
- Minced garlic
- Grated Parmesan cheese
How to make Garlic bread with Hawaiian Rolls
- Enjoy the fusion of sweet Hawaiian rolls with the savory punch of garlic and cheese for a truly unforgettable side dish.
Preheat the oven: Preheat your oven to 400°F (200°C). This ensures your oven is hot enough to bake the rolls to perfection.
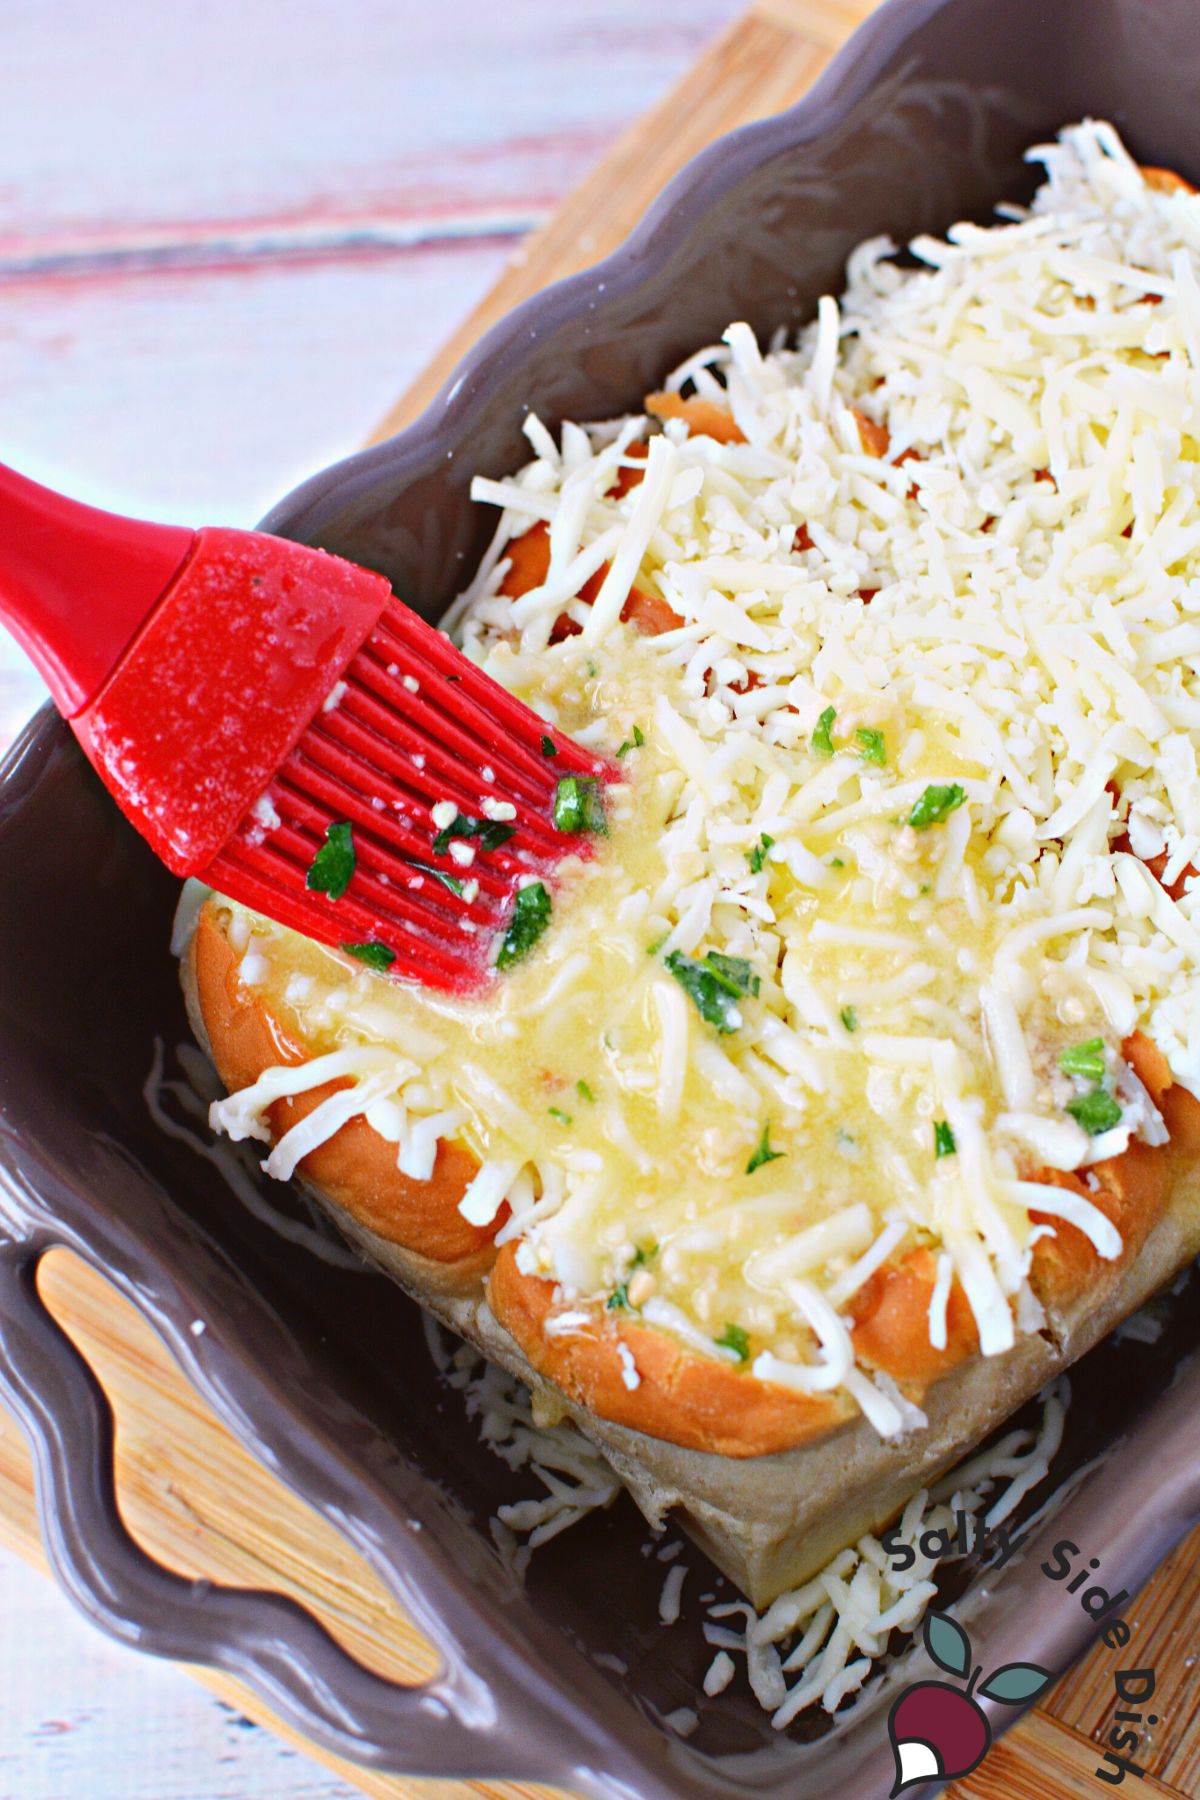
Prepare the rolls. Place your Hawaiian rolls in a baking dish. Carefully cut slits into each roll, aiming to go about halfway through.
This is where the magic happens—you’re going to stuff these slits with 1 cup of shredded mozzarella cheese.
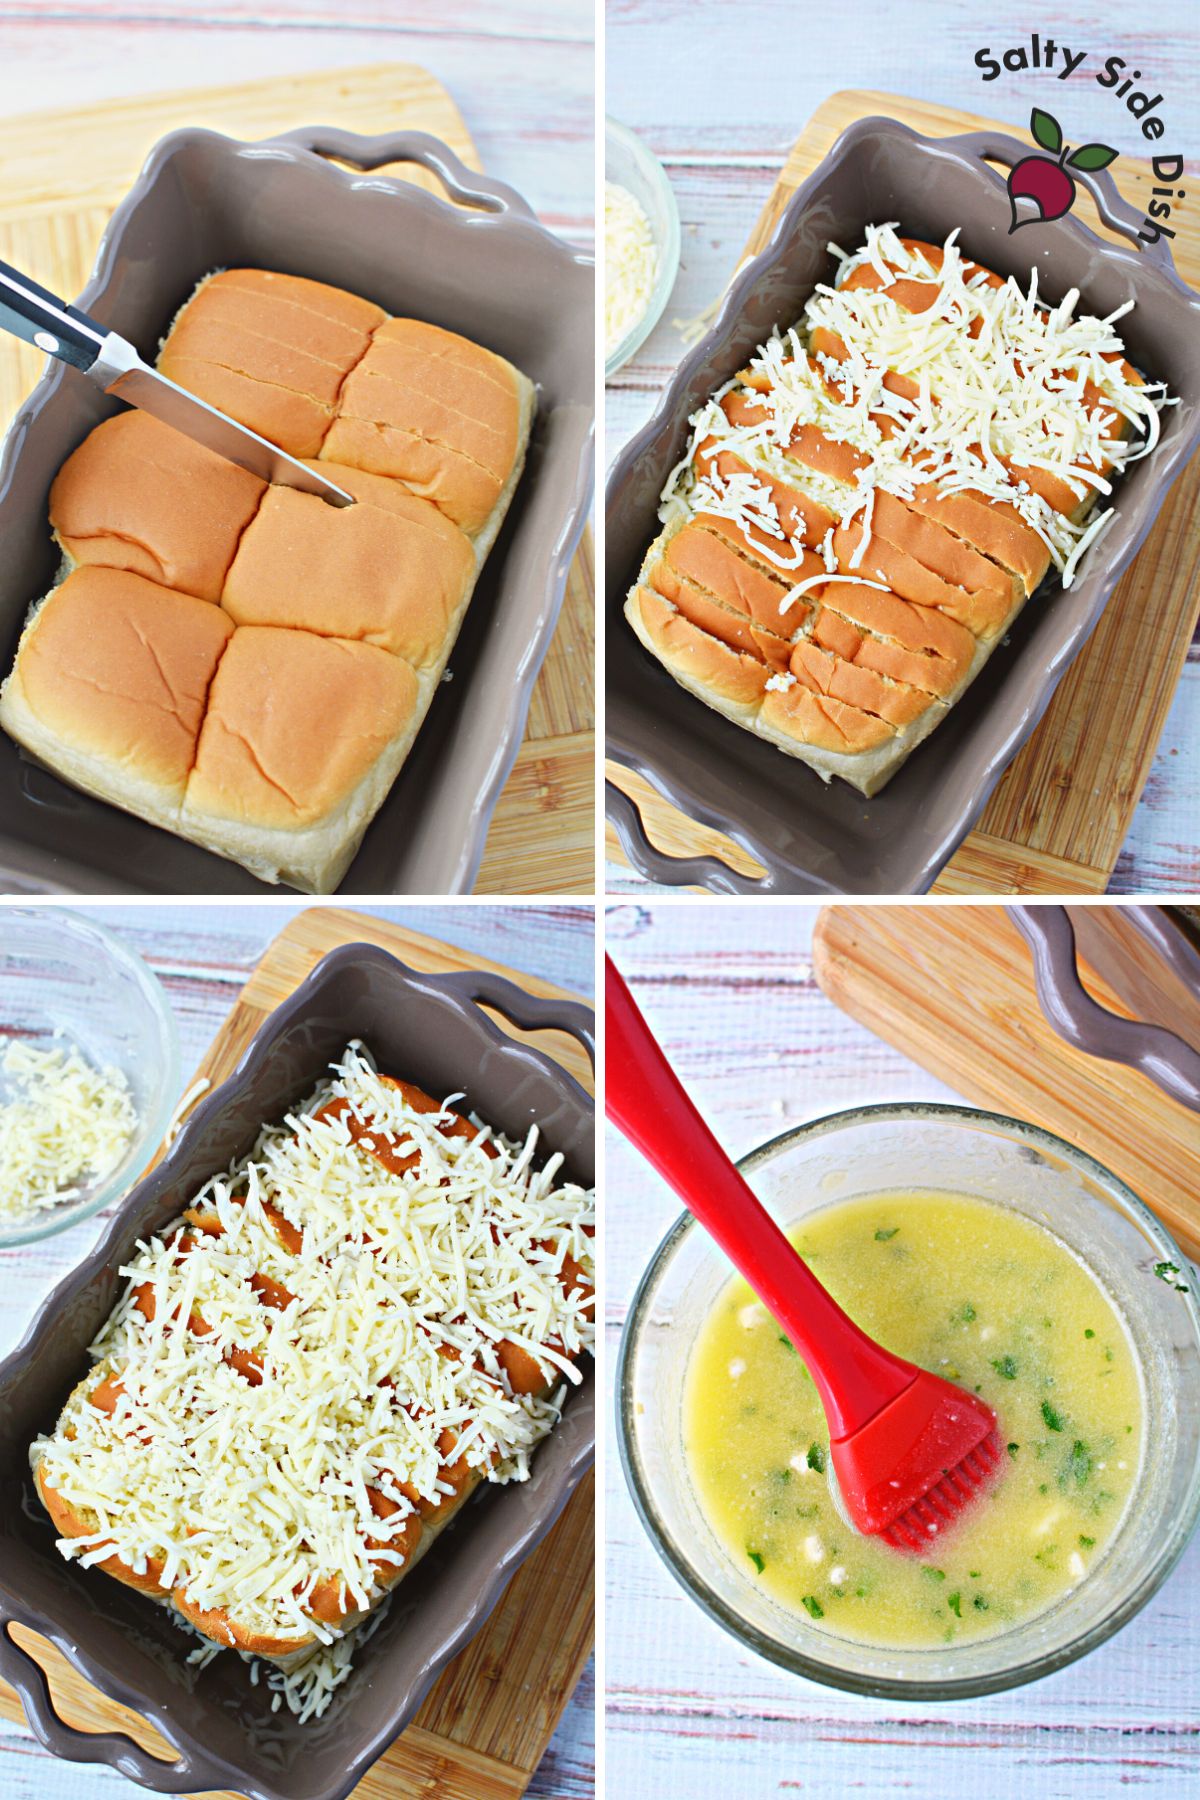
Mix the topping: Grab a small bowl and mix 1/4 cup of melted butter, one tablespoon of chopped fresh parsley, one tablespoon of minced garlic, and one tablespoon of grated Parmesan cheese.
This mixture is going to add a burst of flavor to your rolls and help them turn a beautiful golden brown color in the oven.
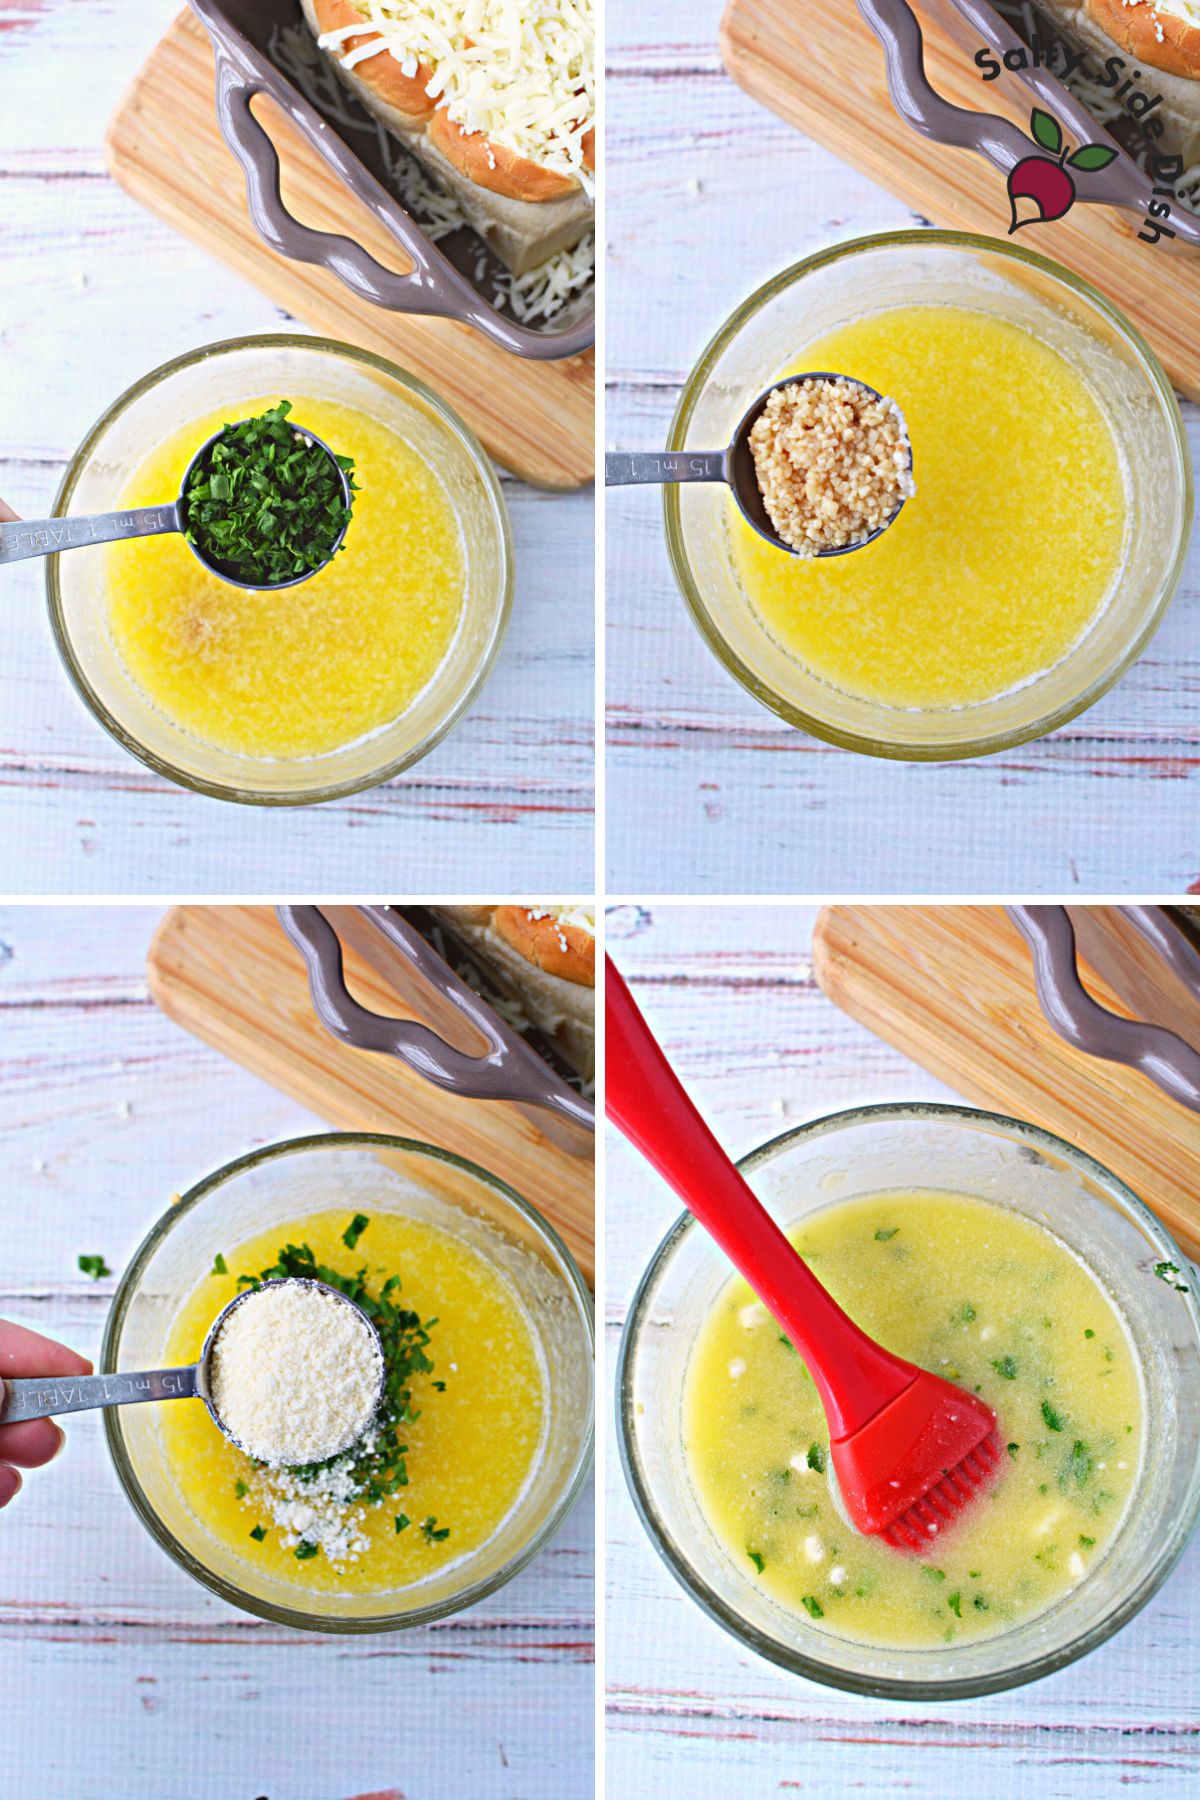
Brush and bake: Using a pastry brush, gently brush the butter mixture over the top of each roll.
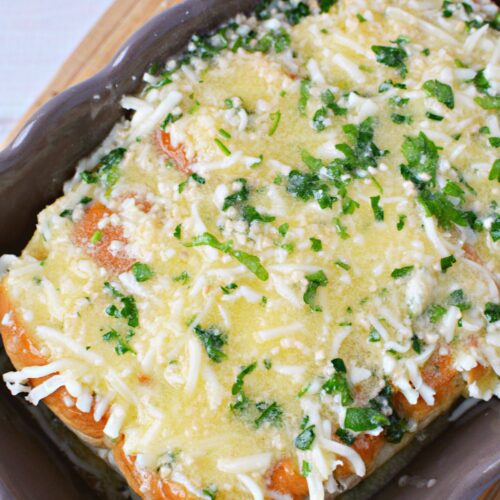
Cover them well, giving them a deliciously crispy and flavorful crust. Pop the dish into the oven and bake for 12 minutes. The aroma at this point will be irresistible!

Serve hot: After baking, take the rolls out of the oven and let them stand for 1-2 minutes.
This short wait is worth it, as it allows the cheese to set slightly, making the rolls easier to handle. Serve them hot for the ultimate cheesy, garlicky delight.
Q&A:
Can I use dried parsley instead of fresh?
Yes, you can use dried parsley if fresh is not available. The general rule is one teaspoon of dried herbs for every one tablespoon of fresh herbs.
How do I store leftovers?
Store any leftover garlic bread rolls in an airtight container at room temperature for up to 2 days or refrigerate for up to 5 days. Reheat in the oven or microwave before serving.
Recipe Notes:
- For an extra kick, sprinkle some red pepper flakes on top before baking to add a subtle heat that complements the garlic and cheese beautifully.
- Serve these garlic bread rolls alongside a creamy pasta dish or a hearty soup recipe to soak up all the flavors.
- If you have leftovers, reheat them in the oven at 350°F for 5 minutes to revive that freshly baked taste and texture.
- Experiment with cheeses, such as cheddar or gouda, for a twist on the classic mozzarella filling.
This Hawaiian Roll Garlic Bread recipe is sure to be a hit at your next dinner.
Its simple steps and mouthwatering results make it a foolproof way to elevate your meal with minimal effort. Make sure to follow me on Pinterest to save this and more delicious recipes!
Hawaiian Roll Cheesy Garlic Bread
Ingredients
- 6 Hawaiian rolls
- 1 cup shredded Mozzarella cheese
- 1/4 cup butter melted
- 1 tablespoon fresh parsley chopped
- 1 tablespoon minced garlic
- 1 tablespoon grated Parmesan cheese
Instructions
- Preheat the Oven: Start by turning your oven on to 400°F (200°C). This gets your oven hot and ready for baking.
- Prepare the Rolls: Take your Hawaiian rolls and put them in a baking dish. Make some cuts halfway through each roll, but be careful not to slice all the way through. Stuff these cuts with 1 cup of shredded Mozzarella cheese, spreading it out evenly across all the rolls.
- Mix the Topping: Grab a small bowl and mix together 1/4 cup of melted butter, 1 tablespoon of freshly chopped parsley, 1 tablespoon of minced garlic, and 1 tablespoon of grated Parmesan cheese. This mixture is going to add a ton of flavor to your rolls.
- Brush and Bake: Use a pastry brush to spread the butter mixture you just made over each roll. Make sure they're all nicely covered. Pop them in your preheated oven and bake for about 12 minutes. You're looking for the rolls to turn golden and the cheese inside to melt.
- Serve Hot: Once out of the oven, let the rolls sit for a minute or two. This little wait helps the cheese to settle, making the rolls easier to handle. Serve them up warm for a truly comforting and cheesy delight.
Notes
- Cheese Choices: Mix it up with different cheeses. Try a Mozzarella and Cheddar blend, or add Pepper Jack for a spicy twist.
- Garlic Boost: Love garlic? Add an extra half tablespoon to the butter. A pinch of Italian seasoning or herbs like oregano or basil can also enhance the flavor.
- Pan Size: An 8×8 or 9×9 inch pan works well, but feel free to use what you have.
- Dipping Sauce: Serve the rolls with marinara sauce for an extra flavor kick.
Nutrition
Nutritional Disclaimer: The nutritional data provided here is auto-calculated and intended for your convenience only. As it’s generated via automation, its accuracy may be compromised. For precise nutritional insight, please compute the values utilizing the actual ingredients in your recipe through your chosen nutrition calculator or application.
Did You Make This Recipe?
Make sure to follow Salty Side Dish on Pinterest and rate the recipe here and make sure to leave a comment below!


