
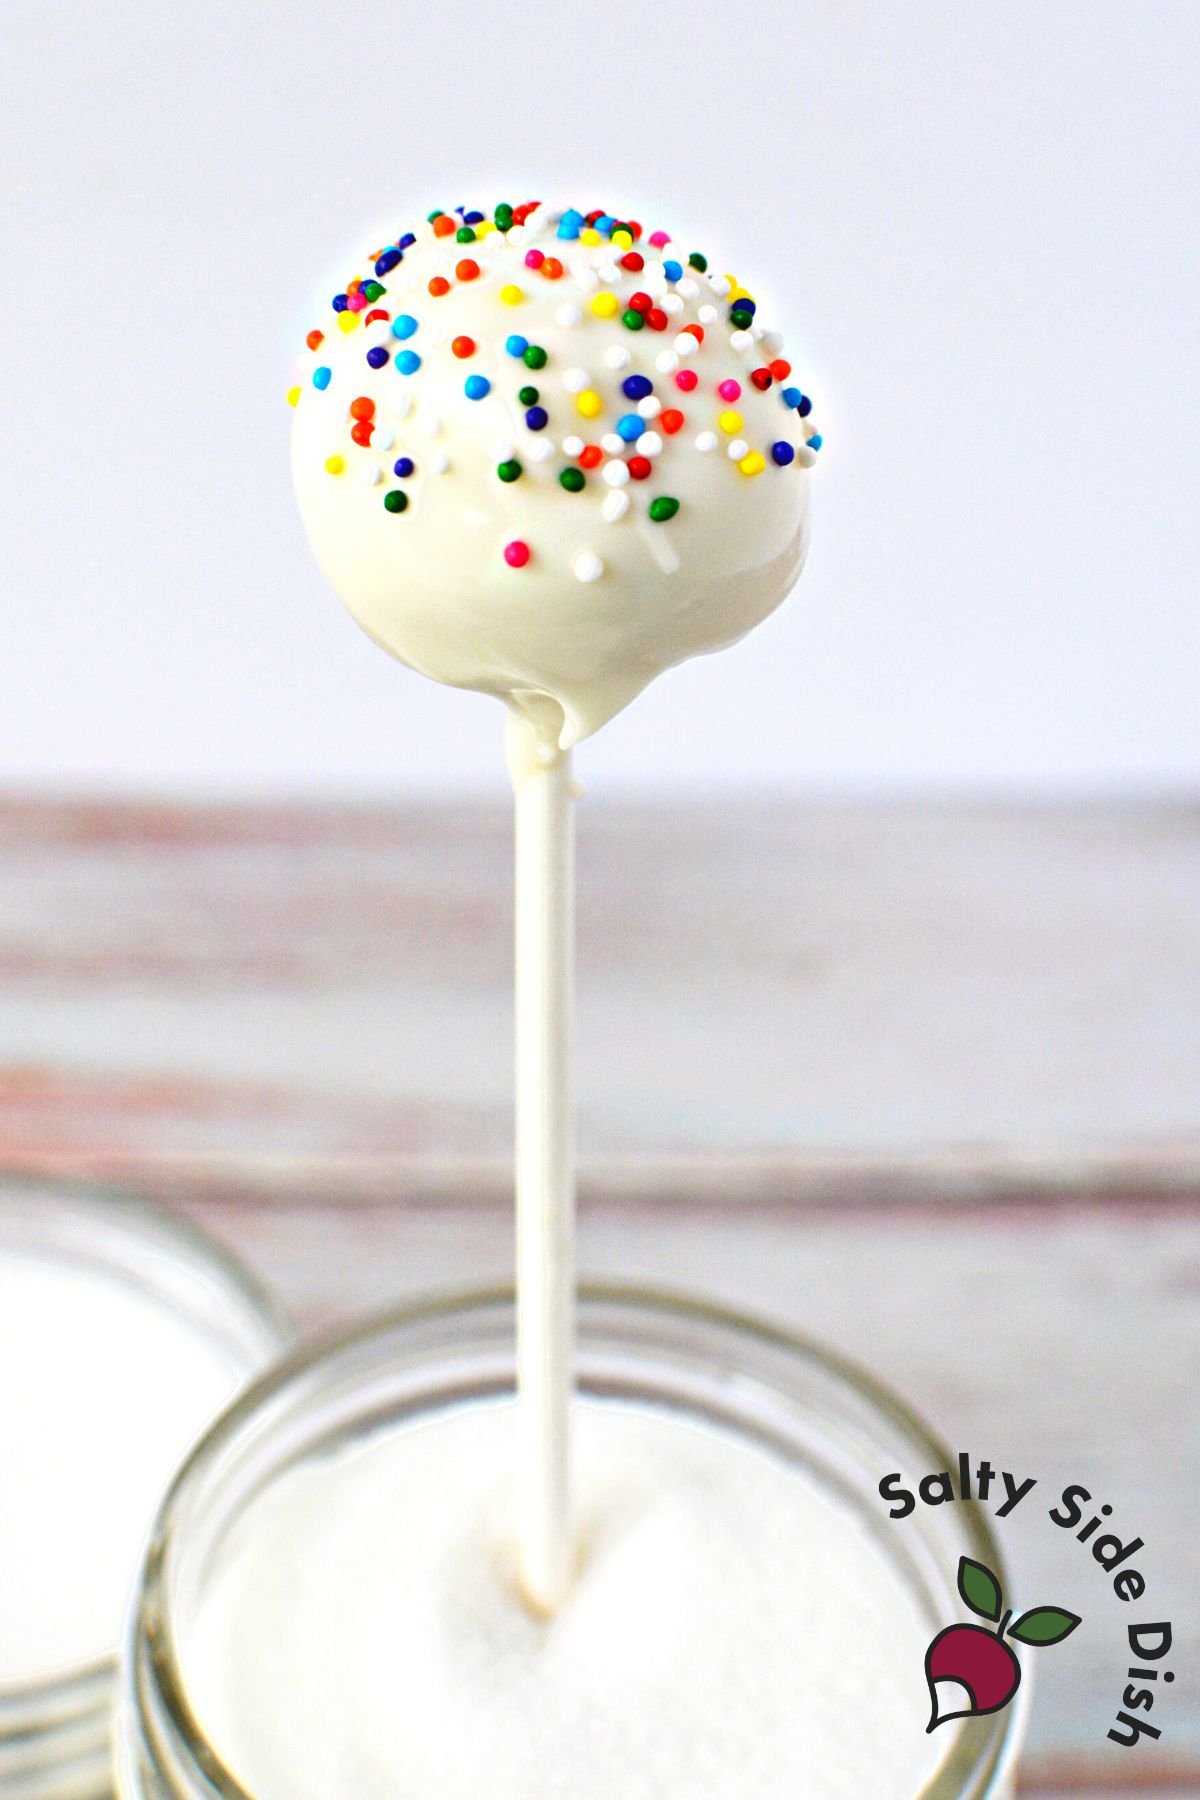
No Bake Cake Pops (Starbucks Version)
This post may contain affiliate links. Please read the Privacy Policy & Cookie Policy.
Welcome to the ultimate guide for whipping up no-bake cake pops that taste like Starbucks’ iconic sweet treat!
If you’ve been craving those deliciously moist and perfectly coated cake pops but want to skip the coffee house line and prices, you’re in the right place. You can recreate Starbucks magic in your kitchen with our easy-to-follow recipe and pro tips.

The best part? Pre-made, soft Lofthouse cookies mean no baking is required!
Why Copycat Starbucks Cake Pops Are the Best
Making Starbucks Cake Pops at home has never been easier, and there are many irresistible reasons why making cake on a stick is worth it.
Simple Ingredients: All it takes is some Lofthouse cookies, cream cheese, and candy melts to create these delicious sweet treats. No hard-to-find elements are required, making this a straightforward and stress-free no-baking experience.
Unleash Creativity in the Kitchen: Why settle for the limited options available at Starbucks when you can let your imagination run wild in your kitchen? Incorporating various colors (food coloring) or flavors (almond extract, peppermint extract, or vanilla extract) and then decorating to match a specific theme (like a gender reveal dessert) is simple.
Ingredients
- Lofthouse frosted sugar cookies
- Cream cheese (softened – not melted)
- White almond bark or candy melts.
- rainbow nonpareil sprinkles
- 6″ lollipop sticks
What are Lofthouse Cookies?
Lofthouse-style cookies are sugar cookies that are soft, thick, and cake-like in texture. They are sweet and commonly topped with a layer of frosting and sprinkles. These cookies are often found pre-packaged in grocery stores, but they can also be made at home.

How to make Cake Pops with Lofthouse Cookies
Crumble the Cookies
- Mixing the Base: Add Lofthouse cookies and cream cheese to a mixing bowl. Beat the ingredients until well incorporated and a dough forms.
- Creating Uniform Balls: Using a cookie scoop, portion out the mixture. Roll the mixture into balls between your palms, aiming for smooth balls. Place them on a cutting board or sheet pan lined with parchment paper or wax paper.
- Refrigeration: Firm up the cake balls in the refrigerator for about an hour.

Assembling Cake Pop Balls
- Melting the First Batch: Add 1/4 portion of white bark or candy melts to a microwave-safe bowl. Heat at 50% power for 60 seconds and stir until smooth.
- Stick Insertion: Remove cake balls from the refrigerator. Dip one end of each lollipop stick into the melted vanilla almond bark. Insert the dipped end into the center of each cake ball.
- Second Refrigeration: Return the prepped cake pops to the refrigerator for about 10 minutes to allow the candy coating at the base to harden.

Coating and Decorating Homemade Cake Pops
- Melting the Remaining Batch: Add the rest of the almond bark or candy melts to the bowl—microwave at 50% power for 60 seconds. Stir until smooth, returning to the microwave if necessary.
- Coating: Dredge each cake pop into the melted candy, shaking off the excess candy coating.
- Decorating: While wet, immediately sprinkle the cake ball pops with sprinkles. Set aside to harden.
Serving Starbucks Cake Pops
- Immediate Enjoyment: Serve immediately with a sweet drink like French Hot Chocolate, homemade strawberry milk, or viral TikTok Cafe Dalgona Coffee.
- Storing for Later: If not consumed immediately, store these bite-sized treats in an airtight container in the refrigerator until you’re ready to indulge.

Must-Have Tools for Cake Pop Creation
Click below to be taken to Amazon and view these items if you are unsure.
- Cookie Scoop or cake pop mold (for chocolate): To measure the perfect amount of cake mixture for uniform cake balls.
- Cake Pop Sticks: These are essential for turning cake balls into pops.
- Layered Cake Pop Stand: A specially designed holder with pre-drilled holes or slots, perfect for securely displaying your cake pops upright. Another way to sit them upright is to use a foam or Styrofoam block.
How to make Cake Balls without Cake (or an oven)
Cake balls can be made from various bases besides Lofthouse cookies and extra cake.
Brownie Base
- Ingredients: Brownies, frosting, or cream cheese
- Method: Crumble brownies, mix with frosting or cream cheese, and roll into balls.
Rice Krispie Treats
- Ingredients: Rice Krispies, marshmallows, butter
- Method: Prepare Rice Krispie treats, let them cool, and then form them into balls.
Oreo Balls
- Ingredients: Oreo cookies, cream cheese
- Method: Crush Oreos into crumbs, mix with softened cream cheese, and form into balls.
Donut Holes
- Ingredients: Leftover donuts, frosting or Nutella
- Method: Crumble donuts, mix with frosting or Nutella, and shape into balls.
Angel Food Cake
- Ingredients: Angel food cake, fruit puree or jam
- Method: Crumble the cake, mix it with fruit puree or jam, and form it into balls.
Cheesecake Balls
- Ingredients: No-bake mini cheesecakes
- Method: Scoop out cheesecake portions, including the crust, and roll into balls.
Food challenge: If you want to get weird with it, try making a mix for cake pops using a Ketchup Cake recipe.
Delicious Cake Recipes You Won’t Want to Miss
Are you tired of the same old cake recipes and ready to mix things up?
We have a collection of unique, easy-to-make cake recipes that are perfect for any occasion—or no occasion! From the movie-famous Cuppa Cake to a Biscoff Cake, these recipes will satisfy your sweet tooth.
Ice Cream Sandwich Cake
Takes “Chill Desserts” to a Whole New Level: Ice cream and cake—a match made in dessert heaven! This Ice Cream Sandwich Cake is as simple as it is delicious.
Layer ice cream sandwiches with whipped cream and crushed Oreos, then freeze until it’s time to serve. This 20 million-viewed viral dessert has the internet talking!
Oatmeal Cream Pie Cheesecake
Your Childhood Favorite, All Grown Up: Imagine the soft, spiced oatmeal cookie you loved as a kid combined with the creamy richness of cheesecake. It’s a unique dessert, with everyone asking for seconds—and for the recipe!
Chocolate Dump Cake
A Cake So Easy, It Practically Makes Itself: If you’re looking for an effortless yet delicious cake recipe, Chocolate Dump Cake has got you covered.
“Dump” all your ingredients into a pan—no mixing required.


No-Bake Cake Pops (Better-Than-Starbucks)
Equipment
- Baking Sheet or other flat transfer surface like cutting board
- Cookie Scoop tablespoon portion scoop
- Lollipop Sticks 6 inch
- Parchment Paper
Ingredients
- 13.5 oz. Lofthouse frosted sugar cookies
- 8 oz. Cream Cheese please see notes on amount of cream cheese, softened at room temperature
- 12 oz. white almond bark candy melts can substitute
- rainbow nonpareil sprinkles
- 36 6" lollipop sticks
Instructions
- Prepare the Cake Pop MixtureBeat the Ingredients: Place Lofthouse-style cookies and softened cream cheese into the mixing bowl of a stand mixer (a hand mixer works, too).Blend Until Smooth: Turn on the mixer and beat the ingredients until the dough is uniform.
- Shape the Cake PopsScoop: Scoop out portions of the blended mixture using a tablespoon portioned cookie scoop.Roll into Balls: Use the palms of your hands to roll each scoop into a smooth ball.Place on a flat surface: Line a cutting board or cookie sheet with wax paper for easy removal later, and place the rolled balls on it. Wax or parchment paper prevents sticking.
- Chill the Cake BallsRefrigerate: Place the cutting board with the cake balls into the refrigerator for about an hour. This helps them firm up, making it easier to insert the lollipop sticks later.
- Prepare the Initial Candy CoatingPortion the Candy: Place 1/4 of the white almond bark or candy melts in a microwave-safe bowl.Microwave: Heat in the microwave for 60 seconds at 50% power.Stir Until Smooth: Use a spatula to stir the melted candy until it's smooth and lump-free.
- Attach the SticksRemove Cake Balls: Take the cutting board out of the refrigerator.Dip Sticks: Dip about an inch of one end of each lollipop stick into the melted white bark.Insert into Cake Balls: Push the dipped end of the stick into each chilled cake ball.Chill Again: Place them back in the refrigerator for another 10 minutes. This allows the candy on the stick to harden, securing it in the cake ball.
- Prepare the Final Candy Coating:Melt More Candy: Add the remaining almond bark or candy melts to the microwave-safe bowl.Microwave Again: Heat for 60 seconds at 50% power.Stir: Mix until smooth, reheating in the microwave to melt any stubborn pieces.
- Coat and Decorate the Cake Pops:Dip in Candy Coating: Hold each cake pop by the stick and dip it into the bowl of melted candy, ensuring it's fully coated.Remove Excess: Gently shake off any excess coating for a smoother finish.Add Sprinkles: While the coating is wet, sprinkle your rainbow sprinkles.Set to Harden: Place the coated cake pop on a stand to harden.
- Immediate Enjoyment: You can serve the cake pops when the candy coating hardens.
Notes
Nutrition
Nutritional Disclaimer: The nutritional data provided here is auto-calculated and intended for your convenience only. As it’s generated via automation, its accuracy may be compromised. For precise nutritional insight, please compute the values utilizing the actual ingredients in your recipe through your chosen nutrition calculator or application.
Did You Make This Recipe?
Make sure to follow Salty Side Dish on Pinterest and rate the recipe here and make sure to leave a comment below!


Only Use a couple tablespoons cream cheese the whole pack was too mushy for me
The batter was sticky. Is a block of cream cheese too much.
It shouldnt be – did you softened cream cheese get too soft (like melted) because that would def change the consistency. There are two fixes – either add additional cookies to thicken the batter or pop the entire mixture in the fridge and let it chill for about 30 minutes. Cream cheese naturally hardens back up so if your cream cheese was too soft, this should fix the issue. Let me know if that helps! In the mean time, Ill remake the recipe and make sure its fine.
This recipe can not be right!! It has waaay too much cream cheese in it! The consistency is like a mushy cheesecake and not a cake pop! So disappointing that I pitched a double batch before wasting my melting wafers! Please revise this recipe so others don’t make the same mistake!
I wanted to say I got your comment and this had been made a few times with no issues. That being said, I consulted with a team member here and she was concerned that the lofthouse cookies that are out now have less volume than they used to from when this was published. Cream cheese is one of those ingredient items that simply firm back up, so even if you have a sticky dough, you can place the bowl in the fridge to firm it OR add more cookies.
However, we are going to redo this and double check that our cookies (the ones that you can currently buy) are the same volume as they used to be. This recipe relies on storebought ingredients and any change in those cookies could have resulted in a change in the recipe. If you still have your dough you can salvage easily though by adding up some cookies to even the cream cheese.
I havent gotten this comment in the past but did have another person reach out this week plus your comment- so I fear there may have been an overall recipe change in those cookies.
Trisha
I made these cake pops for a St Patrick party and they turned out perfect! I used the recipe as written!😀
Wonderful!
Can the cake pops be frozen?
I haven’t frozen them but I don’t see any reason why not. The shell should keep them encapsulated. I imagine it would be a lot like freezing truffles.
How many cookies do you use
We buy per oz as listed on the instructions. The amount of cookies in the container will vary depending on the size.
Made these for my daughter’s birthday party but I only used 4oz of room temperature cream cheese. They turned out amazing!
I liked this recipe. I did only use about 6oz of cream cheese instead of 8oz and it was a great consistency. This recipe says it makes 36 cake pops. I only got 18 and the size of my cake pops were very normal (size of Starbucks ones). If you’re looking for 36, you’ll have to double it.
Can I prep them the night before?
Yes!